Table of Contents
Advertisement
Quick Links
Advertisement
Table of Contents

Related Manuals for Asus ASMB2


Summary of Contents for Asus ASMB2
- Page 1 ASMB2 Server Management Board...
- Page 2 Product warranty or service will not be extended if: (1) the product is repaired, modified or altered, unless such repair, modification of alteration is authorized in writing by ASUS; or (2) the serial number of the product is defaced or missing.
-
Page 3: Table Of Contents
Running the BIOS IPMI configuration ... 2-7 2.5.2 Running the ASMC utility ... 2-10 2.5.3 Configuring the LAN controller ... 2-11 2.5.4 Using ASWM to update the ASMB2 firmware ... 2-13 Software installation ... 2-14 2.6.1 Installing the ARC ... 2-14 2.6.2 Launching ARC ... 2-15... - Page 4 Updating the remote server BIOS file ... 3-16 3.1.10 Controlling the remote server power ... 3-17 3.1.11 Viewing PET information ... 3-18 ASUS Host Management Controller Setup ... 3-21 3.2.1 Installing and launching the ASUS Host Management Controller Setup utility ... 3-21 3.2.2...
-
Page 5: Notices
Notices Federal Communications Commission Statement Federal Communications Commission Statement Federal Communications Commission Statement Federal Communications Commission Statement Federal Communications Commission Statement This device complies with Part 15 of the FCC Rules. Operation is subject to the following two conditions: • This device may not cause harmful interference, and •... -
Page 6: Safety Information
Safety information Electrical safety Electrical safety Electrical safety Electrical safety Electrical safety • To prevent electrical shock hazard, disconnect the power cable from the electrical outlet before relocating the server. • When adding or removing devices to or from the server, ensure that the power cables for the devices are unplugged before the signal cables are connected. -
Page 7: About This Guide
A S U S w e b s i t e s A S U S w e b s i t e s The ASUS website provides updated information on ASUS hardware and software products. Refer to the ASUS contact information. - Page 8 Conventions used in this guide Conventions used in this guide Conventions used in this guide Conventions used in this guide Conventions used in this guide To make sure that you perform certain tasks properly, take note of the following symbols used throughout this manual. D A N G E R / W A R N I N G : D A N G E R / W A R N I N G : D A N G E R / W A R N I N G : Information to prevent injury to yourself...
-
Page 9: Asmb2 Specifications Summary
ASUS Host Management Controller Utility (DOS-based) Specifications are subject to change without notice. - Auto monitoring sensor and event logging... - Page 10 x x x x x...
-
Page 11: Chapter 1: Product Introduction
This chapter describes the server management board features and the new technologies it supports. Product introduction... -
Page 12: Welcome
Short Message Service (SMS) or text message to your mobile or PDA phone. The ASMB2 comes with a power management feature that allows you to power on/off or reset the remote server giving you full control during power-critical situations. The server management board also comes with a... -
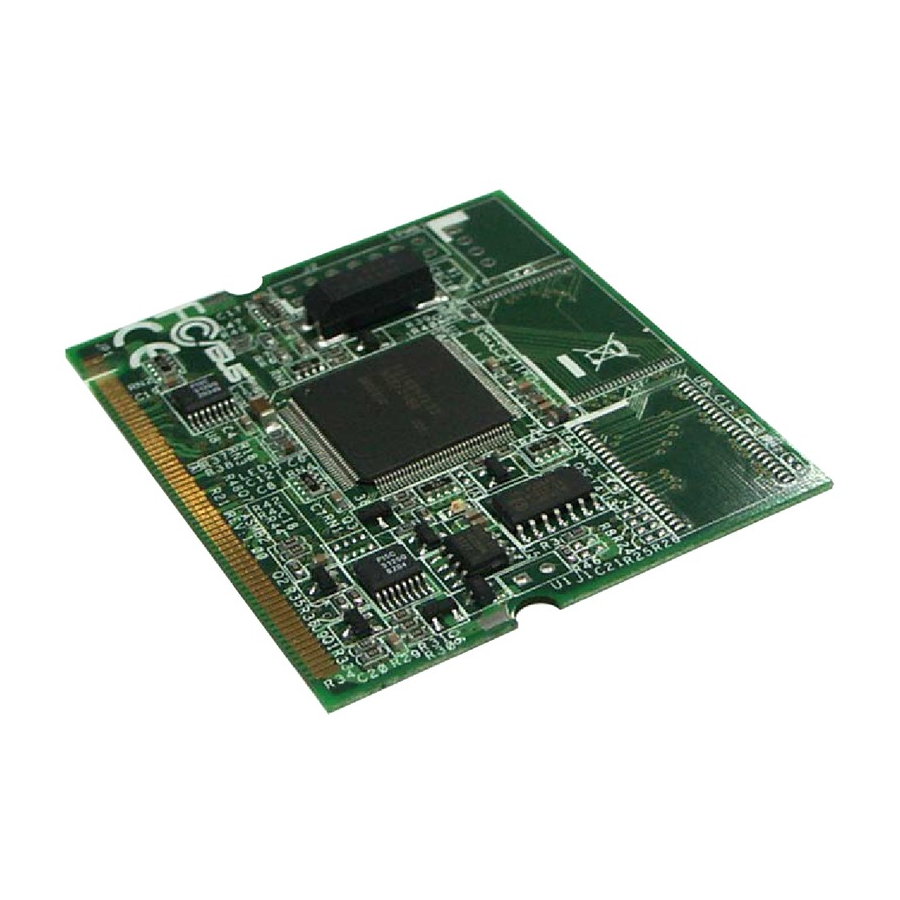
Page 13: Board Layout
LED indicators LED indicators LED indicators LED indicators LED indicators The ASMB2 board comes with a BMC heartbeat LED. Refer to the table below for the LED indications. L E D L E D L E D L E D... - Page 14 Network and smart phone setup The ASMB2 server management board installed on the remote server connects to a local/central server via direct LAN connection or through a network hub. Below are the supported server management configurations. Direct LAN connection Direct LAN connection...
-
Page 15: Chapter 2: Installation
This chapter provides instructions on how to install the board to the server system and install the utilities that the board supports. A S U S A S M B 2 A S U S A S M B 2 A S U S A S M B 2 A S U S A S M B 2 A S U S A S M B 2... -
Page 16: Before You Proceed
Before you proceed Take note of the following precautions before you install the server management board to the remote server system. • Unplug the server system power cord from the wall socket before touching any component. • Use a grounded wrist strap or touch a safely grounded object or to a metal object, such as the power supply case, before handling components to avoid damaging them due to static electricity. - Page 17 Press the board firmly until the BMC socket retaining clips snap back and secure the board in place. When installed, the board appears as shown. Reinstall the server system cover, then connect the power plug to a grounded wall socket. Insert the LAN cable plug to the LAN port for server management.
- Page 18 To uninstall the board: Simultaneously push the BMC socket retaining clips outward until the board tilts up. Carefully pull the board out from the BMC socket, then set aside. 2 - 4 2 - 4 2 - 4 2 - 4 2 - 4 C h a p t e r 2 : I n s t a l l a t i o n C h a p t e r 2 : I n s t a l l a t i o n...
-
Page 19: Firmware Update
A S U S A S M B 2 A S U S A S M B 2 A S U S A S M B 2 ® IPMI and ASMB2 firmware before you 2 - 5 2 - 5 2 - 5... -
Page 20: Bios Remote Console
Update the remote server BIOS file following the instructions in the motherboard/system user guide. Visit the ASUS website (www.asus.com) to download the latest BIOS file for the motherboard. To adjust the Remote Access settings: Restart the remote server, then press <Del> during POST to access the BIOS setup. -
Page 21: Asmb2 Configuration
ASMB2 configuration You must configure the network settings of both the remote server and the local/central server to establish communication for remote server control and monitoring. Prepare the support CD and a bootable floppy disk to configure the network settings. - Page 22 Boot Option Uses [System] Set this item to [System] if you want the BIOS to control the boot option. Set to [BMC] if you want the BMC to control the boot option OS Boot Timeout [Disabled] A systen reset occurs after the specified timeout if the operating system boot fails (does not connect to the Server Manager).
-
Page 23: Lan Setting
LAN Setting Allows you to set the BMC LAN Parameter settings. Server Local IP Address Subnet Mask Gateway Address Local IP Address • • • Subnet Mask • • • Gateway Address • • • v02.58 (C)Copyright 1985-2004, American Megatrends, Inc. L o c a l I P A d d r e s s L o c a l I P A d d r e s s L o c a l I P A d d r e s s... -
Page 24: Running The Asmc Utility
Running the ASMC utility Running the ASMC utility The ASUS Server Management Card Utility allows you to know the MAC address of the server motherboard and to set the IP address. This utility is available from the support CD that came with the package. -
Page 25: Configuring The Lan Controller
2.5.3 Configuring the LAN controller Configuring the LAN controller Before you can establish connection to the ASMB2 board, you must configure the LAN port for server management used by the remote server to connect to the local/central server. To configure the LAN port of the remote server:... - Page 26 Configure the ASMB2 baud rate (asmc -sol_baud 57600). Make sure that the ASMB2 baud rate is the same as the Remote Access baud rate that you previously set in the BIOS. See section “2.4 BIOS remote console” for details.
-
Page 27: Using Aswm To Update The Asmb2 Firmware
A p p l y A p p l y Click A p p l y A p p l y to update the ASMB2 firmware. A p p l y A S U S A S M B 2... -
Page 28: Software Installation
ASUS Remote Console (ARC). The ARC is a web-based application available from the support CD that came with the ASMB2 package. You must install the ARC on the local/central server to access the remote server. B e f o r e y o u i n s t a l l t h e A R C :... -
Page 29: Launching Arc
A S U S R e m o t e C o n s o l e A S U S R e m o t e C o n s o l e from the Windows Double-click the ASUS Remote Console icon on the Windows A S U S A S M B 2... - Page 30 2 - 1 6 2 - 1 6 2 - 1 6 2 - 1 6 2 - 1 6 C h a p t e r 2 : I n s t a l l a t i o n C h a p t e r 2 : I n s t a l l a t i o n C h a p t e r 2 : I n s t a l l a t i o n C h a p t e r 2 : I n s t a l l a t i o n...
-
Page 31: Chapter 3: Software Support
This chapter tells you how to use the software applications that the server management board supports. Software support... -
Page 32: Asus Remote Console (Arc)
ASUS Remote Console (ARC) The ASUS Remote Console (ARC) is a web-based utility that allows you to monitor the remote host’s hardware information including temperatures, fan rotations, voltages, and power. This application also lets you instantly power on/off or reset the remote server. -
Page 33: Arc Sections
3.1.1 3.1.1 3.1.1 ARC sections ARC sections ARC sections 3.1.1 3.1.1 ARC sections ARC sections Menu bar Menu bar Menu bar Menu bar Menu bar The Menu bar contains all the commands for the ARC application. Click on a menu to display a list of available commands. M e n u M e n u A v a i l a b l e c o m m a n d s... - Page 34 Some remote server information (such as the SDR) contains several sensor groups such as T e m p e r a t u r e T e m p e r a t u r e T e m p e r a t u r e T e m p e r a t u r e, V o l t a g e T e m p e r a t u r e remote server information to display the sensor groups.
- Page 35 Detail/SEL window Detail/SEL window Detail/SEL window Detail/SEL window Detail/SEL window The Detail/SEL window displays the detailed SDR and FRU information, and the System Event Log (SEL). The window provides the link for detailed sensor information or system events and allows you to adjust the sensor threshold values.
-
Page 36: Connecting To The Remote Server
3.1.2 3.1.2 3.1.2 Connecting to the remote server Connecting to the remote server Connecting to the remote server 3.1.2 3.1.2 Connecting to the remote server Connecting to the remote server To connect to the remote server: From the menu bar, click S e r v e r S e r v e r S e r v e r, then select N e w... - Page 37 The navigation window displays the remote server. The available remote server information are displayed on the Detail/SEL window. Use any of these options to connect to the server: • Click before the remote server to display the remote server information, then select from the list. •...
-
Page 38: Retrieving Sensor Information
3.1.3 3.1.3 3.1.3 Retrieving sensor information Retrieving sensor information Retrieving sensor information 3.1.3 3.1.3 Retrieving sensor information Retrieving sensor information The Sensor Data Record (SDR) provides remote server system information through available sensors including CPU/system/power temperatures, voltages, fan speeds, chassis intrusion, etc. The SDR also provides information on the sensor location (e.g. - Page 39 Click M o r e M o r e M o r e. A sensor window M o r e M o r e appears displaying additional information on the sensor. The I n f o r m a t i o n I n f o r m a t i o n I n f o r m a t i o n tab displays I n f o r m a t i o n...
-
Page 40: Displaying Fru Information
3.1.4 3.1.4 3.1.4 Displaying FRU information Displaying FRU information Displaying FRU information 3.1.4 3.1.4 Displaying FRU information Displaying FRU information The Field Replaceable Unit (FRU) information provides the manufacturer, product name, and/or serial number of various modules and components installed on the remote server. For example, the FRU feature can display the remote server motherboard name, model, and serial number. -
Page 41: Displaying System Event Logs
3.1.5 3.1.5 3.1.5 Displaying system event logs Displaying system event logs Displaying system event logs 3.1.5 3.1.5 Displaying system event logs Displaying system event logs The System Event Log (SEL) is a non-volatile storage area where all remote server system events are stored for real-time tracking or later retrieval. The ARC application can display system events for efficient remote server monitoring and troubleshooting. -
Page 42: Using Remote Console
3 . 3 . 3 . 3 . 3 .1 . 6 1 . 6 1 . 6 1 . 6 Using Remote Console Using Remote Console Using Remote Console 1 . 6 Using Remote Console Using Remote Console The Remote Console feature lets you see the remote server screen (text only) and is useful when you update the remote server BIOS file or adjust the BIOS settings. -
Page 43: Displaying All Remote Server Sensors
3.1.7 3.1.7 3.1.7 Displaying all remote server sensors Displaying all remote server sensors Displaying all remote server sensors 3.1.7 3.1.7 Displaying all remote server sensors Displaying all remote server sensors To display all remote server sensors in graphical format: From the navigation window, click the remote server information. -
Page 44: Adjusting The Monitoring Settings
3.1.8 3.1.8 3.1.8 Adjusting the monitoring settings Adjusting the monitoring settings Adjusting the monitoring settings 3.1.8 3.1.8 Adjusting the monitoring settings Adjusting the monitoring settings The ARC application allows you to adjust the remote server monitoring settings including SEL polling, SDR reading, ASF, and PET. To adjust the monitoring settings: S e r v e r S e r v e r... - Page 45 Enabling the Short Message Service (SMS) feature Enabling the Short Message Service (SMS) feature The Short Message Service or SMS feature allows you to receive Platform Event Trap (PET) information on your smart phone (ASUS P505). You must install Microsoft feature. Visit www.microsoft.com to download Microsoft...
-
Page 46: Updating The Remote Server Bios File
Updating the remote server BIOS file Updating the remote server BIOS file The ASMB2 features a remote BIOS file update capability that allows you to update the BIOS file of the remote server when the file gets outdated or corrupted. -
Page 47: Controlling The Remote Server Power
3.1.10 3.1.10 Controlling the remote server power 3.1.10 Controlling the remote server power Controlling the remote server power Controlling the remote server power 3.1.10 3.1.10 Controlling the remote server power ARC allows you to power up, power down, or reset the remote server using the power menu. -
Page 48: Viewing Pet Information
3.1.11 3.1.11 3.1.11 Viewing PET information Viewing PET information Viewing PET information Viewing PET information 3.1.11 3.1.11 Viewing PET information The Platform Event Trap or PET is an SNMP trap used for system management alerts. When the ARC receives a PET, it displays a pop-up window notifying you of the alert and its source (IP address). - Page 49 Double-click M a n a g e m e n t M a n a g e m e n t M a n a g e m e n t M a n a g e m e n t M a n a g e m e n t a n d M o n i t o r i n g T o o l s.
- Page 50 A d d button to display a S e r v i c e A d d A d d A d d Description of service field Description of service field (i.e. ASUS ARC). Description of service field Description of service field 1 6 2 1 6 2 1 6 2.
-
Page 51: Asus Host Management Controller Setup
Boot the server in DOS mode using the support CD. When the A:> prompt appears, type X: (where X is the drive letter of the optical drive). When the X:> prompt appears, type cd\asmb2\dos, then press <Enter>. At the prompt, type asmc, then press <Enter> to display the ASMC Utility Help Menu. -
Page 52: Command Fields
3.2.2 3.2.2 3.2.2 Command fields Command fields Command fields 3.2.2 3.2.2 Command fields Command fields The utility menu bar has five commands: Initial, View, Set, Monitor and Help. You can select a command using the left or right arrow button on the keyboard. - Page 53 To view the System Data Record (SDR): To view the System Data Record (SDR): To view the System Data Record (SDR): To view the System Data Record (SDR): To view the System Data Record (SDR): B M C S D R B M C S D R Select B M C S D R B M C S D R...
- Page 54 To view the BMC information: To view the BMC information: To view the BMC information: To view the BMC information: To view the BMC information: B M C I n f o B M C I n f o Select B M C I n f o B M C I n f o from the V i e w B M C I n f o <Enter>.
-
Page 55: Set
3.2.5 3.2.5 3.2.5 S e t S e t S e t 3.2.5 3.2.5 S e t S e t The S e t S e t S e t S e t command controls the host interface type and the correct BMC time. S e t To select the host interface: To select the host interface:... -
Page 56: Monitor
3.2.6 3.2.6 3.2.6 Monitor Monitor Monitor 3.2.6 3.2.6 Monitor Monitor The M o n i t o r M o n i t o r command displays real-time data on the remote server M o n i t o r M o n i t o r M o n i t o r system and CPU temperatures, voltages, and fan speeds. - Page 57 The Appendix shows the location of the LAN port for server management and BMC socket on several motherboards. This section also presents common problems that you may encounter when installing or using the server Reference management board. information...
-
Page 58: Appendix: Reference Information
LAN port for server management The ASUS server motherboards that support the ASMB2 comes with two LAN (RJ-45) ports: one for network connection and the other for server management. For easy identification, the LAN port for server management is the LAN port near the VGA port. You must use the LAN port for server management to connect the remote server to the local/central host (direct LAN connection) or to the network hub or router. -
Page 59: Bmc Socket
BMC socket The ASUS server motherboards that support the ASMB-LE comes with a Baseboard Management Controller (BMC) socket. Refer to the illustrations below to locate the BMC socket on different server motherboards. NCL-DE/1U and NCL-DE/SCSI motherboards NCL-DE/1U and NCL-DE/SCSI motherboards... - Page 60 K8N-DRE motherboard K8N-DRE motherboard K8N-DRE motherboard K8N-DRE motherboard K8N-DRE motherboard Super RECOVERY1 BMCSOCKET1 RAGE-XL 68 34 VGA_EN1 SCSI_EN1 1020A SB_PWR1 CPU2 FRNT_FAN2 FRNT_FAN1 A - 4 A - 4 A - 4 A - 4 A - 4 30.5cm (12in) VGA1 COM1 LAN2...
-
Page 61: Troubleshooting
Troubleshooting This troubleshooting guide provides answers to some common problems which you may encounter while installing and/or using ASUS ASMB-LE. These problems requires simple troubleshooting that you can perform by yourself. Contact the Wireless LAN Technical Support if you encounter problems not mentioned in this section. - Page 62 A - 6 A - 6 A - 6 A - 6 A - 6 A p p e n d i x : R e f e r e n c e i n f o r m a t i o n A p p e n d i x : R e f e r e n c e i n f o r m a t i o n A p p e n d i x : R e f e r e n c e i n f o r m a t i o n A p p e n d i x : R e f e r e n c e i n f o r m a t i o n...