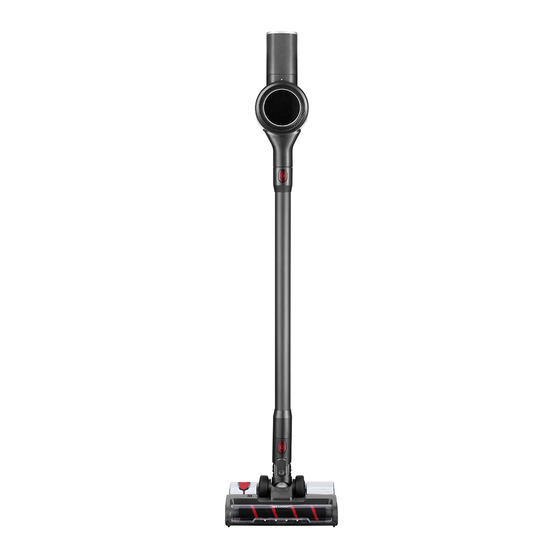
Summary of Contents for Sharp EC-SC95U-H
- Page 1 Instruction Manual Read this user manual carefully before first use. Keep this manual for further guidance in case.
-
Page 2: Table Of Contents
Please read this instruction carefully to know how to operate this product safely and correctly, and obtain the most ideal use effect from it. Using method …………………………………………………………………………………………………… 4 This instruction includes the latest information as of the time of printing, and the Sharp Use of floor brush ① ………………………………………………………………………………… 4-6 Sharp Corporation. -
Page 3: Safe Operation Guide
9. Please do not store the charger by wrapping the charger wire around the charger; 6. The vacuum cleaner is used for household; please do not use it in factories or 10. The charger wire must be kept away from hot surfaces or sharp objects; commercial places;... -
Page 4: Introduction Of Product Components
Introduction of product components Using method Ⅰ.Use of floor brush Batter y release 1、 As shown in the figure, align the electric interface with the aluminium tube button interface, and then gently push it. After hearing a "click", the installation is completed On/off button (when disassembling, just press and hold the latch button, and pull it down and away). -
Page 5: Using Method
Using method Using method 3、Press the ON/OFF to start working 4、 Clean sweeping brush a) Clean with a cleaning brush ON/OFF Harrow Cleaning Cut-off Use a blade to cut off the Use a brush to clean up C lea n up t h e cu t- of f hair and other garbage dust and other small wrapped around the roller... -
Page 6: Use Of Mite-Removing Brush
Using method Using method 2、As shown in the figure, turn the brush head to the front, and then insert the long flat b)Remove the roller brush rod nozzle into the main body As shown in the figure, rotate the ON/OFF to unlock, and then pull out the roller brush rod. -
Page 7: Charging Method
Using method Using method 4、 Attach onto the aluminium tube following instructions on page 4. LED2 LED1 LED3 2)Indicator light 1、White LED 1 flashing, charging/undervoltage 2、If the White LED1 is always on and LED2 light flashes, it indicates charging 3、If the White LED1 and LED2 are always on and LED3 light flashes, it indicates charging 4、If the White LED1, LED2 and LED3 are always on, it indicates full power... - Page 8 Using method Using method 6)Install the HEPA according to the direction shown in the figure 2) As shown in the figure, rotate the cyclone cone, and then pull it down to take out the cyclone cone 7)Install the cyclone cone in the direction shown in the figure 3)As shown in the figure, rotate the HEPA, and then pull it upwards to take out it 8)Rotate the bottom cover of the dust bucket as shown in the figure, and hear a "click"...
-
Page 9: Precautions
Please keep away from heaters, such as radiators and cigarette butts, etc. Before using the vacuum cleaner 2) Please remove large and sharp objects to prevent the machine from being damaged after collision. Do not suck up flammable materials or liquids, such as gasoline or cigarettes, alcohol, etc. - Page 10 WARRANTY Congratulations on Your Purchase! This Sharp vacuum cleaner is warranted against faults in material and manufacture for the 24 months period. If service is required during the warranty period, please contact your nearest Sharp Approved Service Centre. These repairs would be carried out at no charge to the owner, subject to the conditions specified herein.
- Page 11 Sharp Corporation...


