Advertisement
Quick Links
—
INSTALLATION AND WIRING
BDS0031 rev 10
NEXUS-3 Series
INSTALLATION INSTRUCTIONS
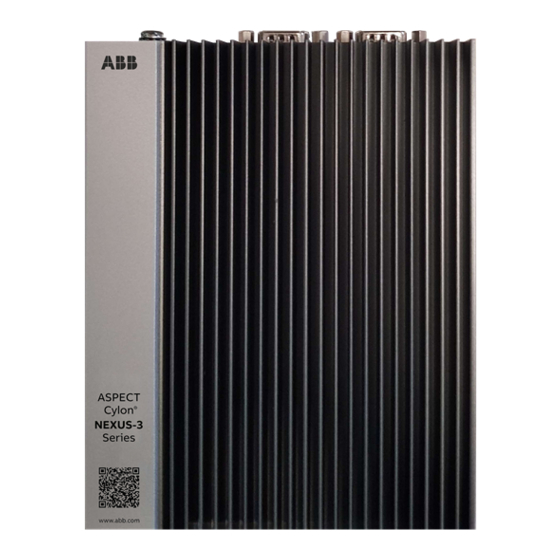
Front
Bottom
NEXUS-3
Warning:
powered by a 24 V DC
supply only.
The device will be damaged
if connected to a 24 V AC
power source.
Note:
NEXUS-3
requires
later and cannot be downgraded to
any version prior to this release.
©ABB 2021 All Rights Reserved.
Subject to change without notice
WWW.CYLON.COM
Side
Top
can be
ASPECT
3.04.02 or
1) Remove the NEXUS-3 from its packaging, and mount it as describe in
Mounting Instruction overleaf
2) Attach the supplied
DB9-to-screw-terminal adapters
to the two COM ports, making
sure that the DB9 connections
are secured with the attached
screws.
Port 2
Port 1
3) Connect an Ethernet cable to
the Primary Ethernet port
4) Attach 24 V DC to the Power
Input
The cable from the supplied PSU
to the NEXUS-3 device should be
min 0.5 mm² cross-section (20
AWG), with max length 3 m.
1
Advertisement

Related Manuals for ABB NEXUS-3 Series


Summary of Contents for ABB NEXUS-3 Series
- Page 1 The device will be damaged if connected to a 24 V AC power source. Note: NEXUS-3 requires ASPECT 3.04.02 or later and cannot be downgraded to any version prior to this release. ©ABB 2021 All Rights Reserved. Subject to change without notice WWW.CYLON.COM...
- Page 2 Step 3: Fasten the device to the mounting surface using suitable wall fixings For further information on installing and configuring the NEXUS-3 device see the NEXUS-3 Series Installation manual: https://share.library.abb.com/api/v4?cid=Root&q=MAN0151 ©ABB 2021 All Rights Reserved. Subject to change without notice...