Yaesu FT2DR Manuals
Manuals and User Guides for Yaesu FT2DR. We have 11 Yaesu FT2DR manuals available for free PDF download: Operating Instructions Manual, Operating Manual, Instruction Manual, Technical Supplement, Quick Manual
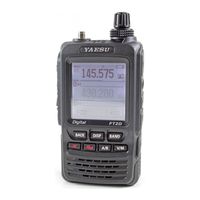
Yaesu FT2DR Operating Instructions Manual (173 pages)
Brand: Yaesu
|
Category: Transceiver
|
Size: 40.21 MB
Table of Contents
Advertisement
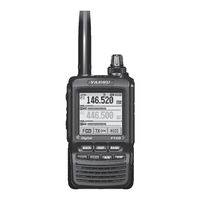
Yaesu FT2DR Operating Manual (173 pages)
144/430 MHz DIGITAL/ANALOG TRANSCEIVER
Brand: Yaesu
|
Category: Transceiver
|
Size: 11.75 MB

Yaesu FT2DR Operating Manual (173 pages)
144/430 MHz DIGITAL/ANALOG TRANSCEIVER
Brand: Yaesu
|
Category: Transceiver
|
Size: 12.64 MB
Advertisement
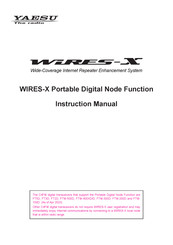
Yaesu FT2DR Instruction Manual (78 pages)
Portable Digital Node Function
Brand: Yaesu
|
Category: Transceiver
|
Size: 15.4 MB
Table of Contents

Yaesu FT2DR Instruction Manual (56 pages)
144/430 MHz Digital Analog Transceiver
Brand: Yaesu
|
Category: Transceiver
|
Size: 10.67 MB
Table of Contents

Yaesu FT2DR Instruction Manual (80 pages)
144/430 MHz Digital/Analog Transceivers C4FM/FM
Brand: Yaesu
|
Category: Transceiver
|
Size: 24.68 MB
Table of Contents
Yaesu FT2DR Instruction Manual (66 pages)
Portable Digital Node Function
Brand: Yaesu
|
Category: Transceiver
|
Size: 13.83 MB
Table of Contents

Yaesu FT2DR Technical Supplement (65 pages)
144/430 MHz dual-band digital transceiver
Brand: Yaesu
|
Category: Transceiver
|
Size: 17.79 MB

Yaesu FT2DR Instruction Manual (31 pages)
Brand: Yaesu
|
Category: Transceiver
|
Size: 7.46 MB
Table of Contents

Yaesu FT2DR Operating Manual (10 pages)
144/430MHz DIGITAL/ANALOG TRANSCEIVER
Brand: Yaesu
|
Category: Transceiver
|
Size: 4.83 MB
Table of Contents

Advertisement