Panasonic AGDVX100BP - DVC CAMCORDER Manuals
Manuals and User Guides for Panasonic AGDVX100BP - DVC CAMCORDER. We have 4 Panasonic AGDVX100BP - DVC CAMCORDER manuals available for free PDF download: Service Manual, Operating Instructions Manual, Parts List
Advertisement

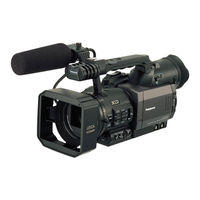
Panasonic AGDVX100BP - DVC CAMCORDER Operating Instructions Manual (88 pages)
Camera-Recorder
Table of Contents
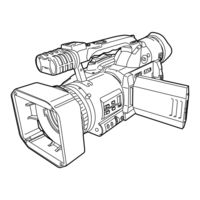
Panasonic AGDVX100BP - DVC CAMCORDER Operating Instructions Manual (88 pages)
Panasonic AG-DVX100B: User Guide
Table of Contents
Advertisement
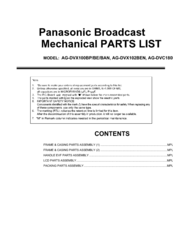
Panasonic AGDVX100BP - DVC CAMCORDER Parts List (11 pages)
Broadcast Mechanical PARTS LIST
Table of Contents
Advertisement
Related Products
- Panasonic AGDVX100 - DV CAMCORDER
- Panasonic AGDVX100AP - DV CAMCORDER
- Panasonic AG-DVX100P
- Panasonic AG-DVX100BE
- Panasonic AG-DVX100B
- Panasonic AG-DVX102B
- Panasonic DV PROLINE AG-DVX100BAN
- Panasonic DV PROLINE AG-DVX102BEN
- Panasonic AG-DVX100A - Pro 3-CCD MiniDV Proline Camcorder
- Panasonic AG-DVX100AE