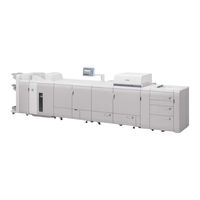
Canon imagePRESS C6000 Manuals
Manuals and User Guides for Canon imagePRESS C6000. We have 4 Canon imagePRESS C6000 manuals available for free PDF download: Reference Manual, Service Manual, Customer Expectation Document, Brochure & Specs
Canon imagePRESS C6000 Reference Manual (563 pages)
Table of Contents
-
Preface11
-
Utilities67
-
Orientation71
-
Orientation77
-
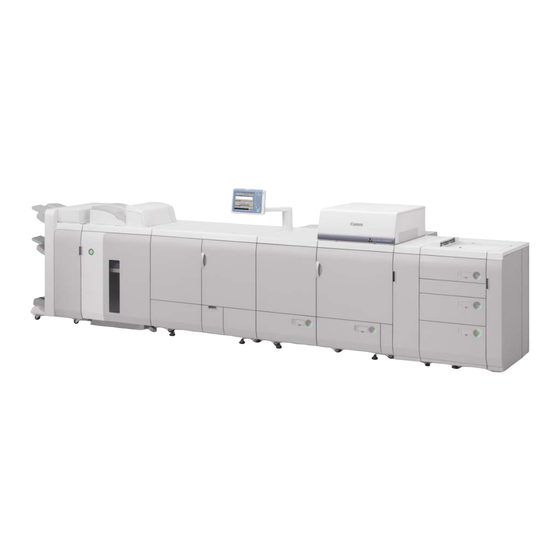
External View104
-
Internal View105
-
Finishing Modes106
-
Card Reader-C1112
-
Tone Settings145
-
Inch Entry147
-
Image Form158
-
Auto Sleep Time177
-
Timer Settings177
-
Auto Clear Time178
-
Full Adjustment184
-
Quick Adjustment184
-
Wire Cleaning193
-
Roller Cleaning194
-
Job Details213
-
Remote UI234
-
Auto Offline237
-
Auto Online237
-
MEAP Settings246
-
Use HTTP Server246
-
USB Settings253
-
Using a USB Host253
-
Quick Adjustment280
-
Full Adjustment281
-
Color Balance291
-
Test Print Paper321
-
Paper Decks357
-
Loading Paper358
-
Loading Paper368
-
Loading Paper377
-
Loading Paper391
-
Routine Cleaning413
-
Wire Cleaning415
-
Roller Cleaning416
-
Consumables417
-
Troubleshooting420
-
Paper Deck-AC1425
-
Feeding Unit449
-
(Optional)481
-
Appendix
549-
Sample Reports550
-
Counter Report550
-
Copy Log List551
-
Sample Reports551
-
Print Log List552
-
Advertisement

Canon imagePRESS C6000 Service Manual (107 pages)
Table of Contents
-
Overview6
-
Dadf-R112
-
Soft Counter34
-
Meap Counter35
-
Consumables36
-
Qa Kits71
-
E-Tag79
-
Navi88
-
Appendix93
-
List of Tables106
Canon imagePRESS C6000 Customer Expectation Document (56 pages)
Table of Contents
-
-
Main Unit17
-
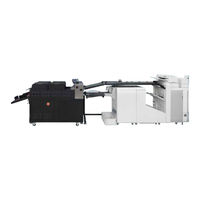
Finisher-AB124
-
-
-
-
-
Consumables39
-
Advertisement
Canon imagePRESS C6000 Brochure & Specs (4 pages)
Swift UV Coater/In-Line Bridge/Automatic Feeder/Swift Ductless Air Filter
Brand: Canon
|
Category: Printer Accessories
|
Size: 0.62 MB
Advertisement