
Burkert SE35 Manuals
Manuals and User Guides for Burkert SE35. We have 9 Burkert SE35 manuals available for free PDF download: Operating Instructions Manual, Quick Start Manual, Manual

Burkert SE35 Operating Instructions Manual (140 pages)
Batch controller
Brand: Burkert
|
Category: Controller
|
Size: 5.54 MB
Table of Contents
Advertisement

Bürkert SE35 Operating Instructions Manual (124 pages)
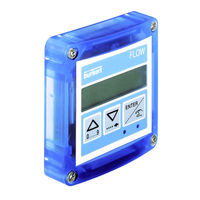
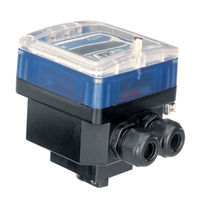
Battery powered flowmeter and battery powered flow transmitter
Brand: Bürkert
|
Category: Measuring Instruments
|
Size: 1.36 MB
Table of Contents

Bürkert SE35 Operating Instructions Manual (92 pages)
Flowmeter - Flow Transmitter
Brand: Bürkert
|
Category: Transmitter
|
Size: 2.1 MB
Table of Contents
Advertisement

Bürkert SE35 Operating Instructions Manual (92 pages)
Flowmeter - Flow Transmitter
Brand: Bürkert
|
Category: Transmitter
|
Size: 2.09 MB
Table of Contents
Burkert SE35 Operating Instructions Manual (88 pages)
Flowmeter - Flow Transmitter
Brand: Burkert
|
Category: Transmitter
|
Size: 4.64 MB
Table of Contents

Bürkert SE35 Operating Instructions Manual (42 pages)
Battery powered flowmeter and battery powered flow transmitter
Brand: Bürkert
|
Category: Measuring Instruments
|
Size: 0.47 MB
Table of Contents

Burkert SE35 Quick Start Manual (72 pages)
Batch controller
Brand: Burkert
|
Category: Controller
|
Size: 3.79 MB
Table of Contents

Burkert SE35 Quick Start Manual (66 pages)
Flowmeter/Flow Transmitter
Brand: Burkert
|
Category: Measuring Instruments
|
Size: 3.58 MB
Table of Contents
Burkert SE35 Manual (36 pages)
BATCH CONTROLLER
Brand: Burkert
|
Category: Controller
|
Size: 0.74 MB