Foscam FI9853EP Quick Installation Manual
Outdoor hd poe ip camera
Hide thumbs
Also See for FI9853EP:
- User manual (81 pages) ,
- How-to (3 pages) ,
- Quick installation manual (2 pages)
Advertisement
Quick Links
Download this manual
See also:
User Manual
Quick Installation Guide
(For Windows & Mac OS)
Outdoor HD PoE IP Camera
Model: FI9853EP
Foscam Digital Technologies
V4.1
Foscam Digital Technologies
www.foscam.us www.foscam.ca
www.foscam.co.uk
www.foscamgroup.com
www.foscam.com
Package Contents
IP Camera
Power Adapter
Ethernet Cable
Resource CD
Quick Installation Guide
(For Windows & Mac OS)
Outdoor HD PoE IP Camera
Model: FI9853EP
Foscam Digital Technologies
Quick Installation Guide
Security Warning Card
Hardware Connection
WPS
WPS
1. Connect the camera to the LAN network (Router or Switch)
Notes:
via ethernet cable.
2. Connect the power adapter to the camera.
you can nd the corresponding le in the opened control panel.
the IP camera tool from our website for free.
Security Warning
Foscam cameras require good security practices to
safeguard your privacy. You can help protect your camera
by changing the default username and/or password.
You should update your camera regularly at
http://www.foscam.us/ rmware.html. Make sure your
camera has the latest rmware installed for your speci c
camera model.
2
Software Installation
1. Insert the CD into the CD drive of your computer.
2. Go to the folder "IP Camera Search Tool" and nd the folder "For
Windows OS"or "For Mac OS". Copy and paste the IP camera tool le
to your computer, or drag it onto your desktop.
Shortcut icon for Windows OS
Shortcut icon for Mac OS
If your computer ( Windows OS ) supports autorun function,
If your computer doesn't have CD drive, you can download
1
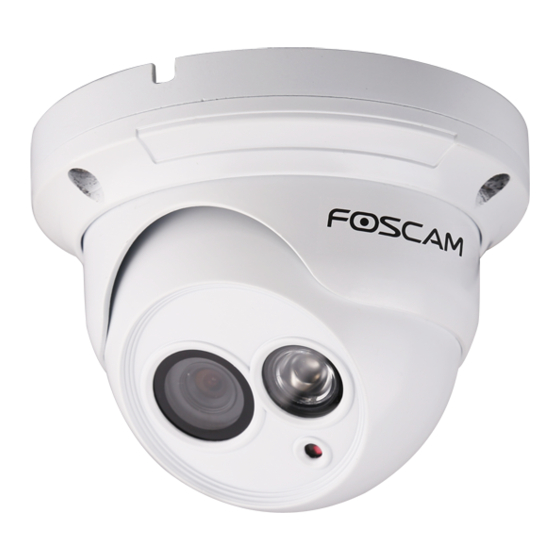
Hardware Introduction
Physical Description
Power
LAN
Reset Button
LENS
Array LED
Hardware Installation
1. Loosen the three screws on the base of the camera, remove
the camera base.
3
Access the Camera
1. Enable the DHCP feature of your router (Enabled by default
normally), then open the IP Camera Tool program. It should
display the camera's IP address in your LAN (Local Area Network).
FI9853EP
Http://192.168.1.100:88
2. Double click the camera listed here, and your default browser
will open up to the camera's login page. When logging in for the
rst time, you will need to download and install the add-on. We
will use Internet Explorer as an example. For Google Chrome,
Apple Safari, or Mozilla Firefox, please refer to the User Manual.
Note:
Doesn't support 64-bit browser, such as IE9 64-Bit.
Click Install
According to the monitored area, install the base of the
2.
camera on the ceiling or wall with expansion screws.
Assembly the sphere, cover and decorative ring of the
3.
order, according to the monitored area to turn the angle of the
sphere. Finally, x the decorative ring and the base with screws.
Ceiling or wall
Base
Sphere
Cover
Decorative ring
3. After installing the add-on, refresh the browser and click
Login.
Default user is admin with no
password.
Main stream o ers the highest
quality video while Sub stream
o ers less quality, but also less
delay when viewing.
4. When you log in for the rst time, it will request that you
modify the default username and/or password . Input the New
username, New password and Con rm the password, click
Modify to complete the modi cation. You will now use the new
username and password to log in to the camera in the future.
Input the New username,
Input the New username,
New password and
New password and
Con rm the password.
Con rm the password.
Advertisement

Related Manuals for Foscam FI9853EP


Summary of Contents for Foscam FI9853EP
-
Page 1: Package Contents
Package Contents Security Warning Quick Installation Guide Physical Description Foscam cameras require good security practices to safeguard your privacy. You can help protect your camera According to the monitored area, install the base of the (For Windows & Mac OS)... - Page 2 3. When you nish QR code scanning, the UID will be input automatically, then input the (default is Device Name Username 1. Search and install Foscam Viewer on the App Store or admin), and (blank by default). Then tap Password FI9853EP Google Play store for iOS or Android devices.
Need help?
Do you have a question about the FI9853EP and is the answer not in the manual?
Questions and answers