Table of Contents
Advertisement
Advertisement
Table of Contents

Related Manuals for Vax S85-SF-R


Summary of Contents for Vax S85-SF-R
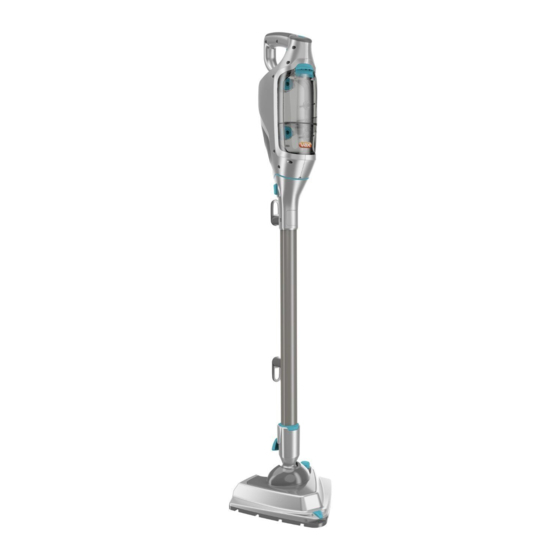
- Page 1 Steam Fresh Reach Let’s get started vax.co.uk S85-SF-R...
-
Page 2: Let's Talk Safety
Do’s • Always fill the twin tank with water/Vax detergent only as per the instructions in this user guide, never add perfume, stain remover or products containing alcohol. - Page 3 • This steamer should not be used to clean electrical appliances such as microwaves, televisions, electrical heating systems… etc. • Only Vax recommended accessories and detergent should be used with the steamer. • Don’t handle the plug or use the steamer with wet hands.
- Page 4 Calls are charged at the UK local rate. Please make a note of the serial number and model number of the product before calling. Alternatively, you can write to us at: Vax Ltd, Plot 302, Stonebridge Cross Business Park, Hampton Lovett, Droitwich, WR9 OLW, UK This User Guide can be found online at: vax.co.uk/support @VaxUK...
-
Page 5: Table Of Contents
Contents Steam Fresh Reach Included with Let’s talk safety your machine Getting to know your machine Vax Steam Detergent Getting started 2x Microfibre Pad Using your machine Carpet Glider Taking care of your machine Tool Storage Bag Accessories Concentration Tool... -
Page 6: Getting To Know Your Machine
1-1-131448-00 Voltage Please refer to product rating label Hard Water Filter (Type 7) Wattage Please refer to product rating label 1-1-133327-00 Cord length 8m Weight 5.5kg Subject to technical change without notice. To purchase consumables and accessories, please visit vax.co.uk... -
Page 7: Getting Started
Getting started Before you Begin CAUTION: The steamer and accessories get very hot during use, always allow them to cool down before handling, or changing to handheld or steam wand mode. Always switch off and unplug the steamer when assembling. Always switch off the steamer before emptying the twin tank or changing the cloths/accessories. - Page 8 Getting started Fixing the wall bracket with adhesive strip Fully assemble the unit and Remove the Attach the wall position it against the wall adhesive cover. bracket to the handle. where it will be stored. Stand the unit close and Firmly press the handheld and wall upright against the wall.
-
Page 9: Using Your Machine
Using your machine IMPORTANT: Always test on an inconspicuous area of flooring first before using detergent. Don’t over fill the clean twin tanks or exceed the maximum amount required. Don’t use the steamer without water in the water tank. Always top up with water in good time. - Page 10 Using your machine IMPORTANT: Never use the steam floor steamer without a microfibre cleaning pad attached to the floorhead. Never leave the floor steamer in one spot for an extended period of time or with a damp or wet microfibre pad attached as this may damage the floor surface.
- Page 11 Using your machine For more concentrated steam use the steam boost. After cleaning, switch off and unplug the steamer. For best results use max steam + detergent setting. Allow the steamer to cool down. Hold the corner Press the steam boost button on the floorhead of the microfibre pad down with your foot and lift to activate.
-
Page 12: Refreshing Carpets
Using your machine IMPORTANT: When using on carpets, always make sure the microfibre cleaning pad covers the floorhead entirely before using the carpet glider. Only use the carpet glider when refreshing carpets. Never leave the floor steamer in one spot for extended period of time or with a damp or wet pad attached as this may damage the floor surface. - Page 13 Using your machine When releasing the carpet After refreshing carpets, glider, ensure the steam switch off and unplug trigger is fully released the steamer. Allow the first. To release the carpet steamer to cool down. glider, place your foot on Hold the corner of the the clip and press down.
- Page 14 Using your machine To produce steam squeeze The Steam Reach wand can be used at different To improve your the trigger in short bursts. heights for hard to reach places. comfort, use the Don’t hold the trigger additional handgrip continuously to prevent on the handheld over wetting.
- Page 15 Using your machine Press the button To produce steam To re-attach the handheld To improve your on the control panel squeeze the trigger to the reach wand, grip comfort, use the to select preferred in short bursts. the top of the steam wand, additional handgrip setting steam/detergent.
- Page 16 Using your machine Using the accessory tools Concentration nozzle Brushes Squeegee tool Window/shower tool Concentrated steam flow to lift grime. Hard-wearing for use on hard Clean your windows and mirrors Use on any sealed surface in the sealed surfaces. Always test quickly and easily.
-
Page 17: Taking Care Of Your Machine
Taking care of your machine CAUTION: Switch off the steamer and unplug from the mains. Allow the steamer to fully cool down before performing any maintenance or troubleshooting checks. Don’t leave water or detergent in the tanks between uses, as this can effect the steamer performance, the water/detergent twin tanks need to be emptied and rinsed after each use. -
Page 18: Replacing The Hard Water Filter
Taking care of your machine CAUTION: Switch off the steamer and unplug from the mains. Allow the steamer to fully cool down before performing any maintenance or troubleshooting checks. Cleaning the Nano Head Press the steam wand Pull to remove Remove any dirt /debris release pedal and pull the nano head... - Page 19 Let’s talk technical CAUTION: Switch off and unplug steamer, allow to fully cool down before performing maintenance or troubleshooting checks. Clearing blockages from the handheld Place the handheld on a firm surface and hold securely. Grip the large end of the de-scaling pin, insert the pin into the nozzle and push the de-scaling pin through.
-
Page 20: Accessories
Accessories Don’t forget your accessories! Order at: www.vax.co.uk/spares-and-solutions 2x Mircrofibre Cleaning Pads (Type 1) 1-1-131448-00 Microfibre cleaning pads, ideal to remove dirt and grime. These cleaning pads attach to the base of the steam mop, so it’s quick and easy to fit and remove. - Page 21 3x hard water filters to prevent the build-up of lime scale deposits in hard water areas. Steam Detergent Pet 1-9-132813-00 Vax Pet Steam Detergent cuts through grease and grime, neutralises pet odours, and leaves your floors smelling of Apple Blossom. Steam Detergent Spring Fresh...
-
Page 22: What To Do If It Goes Wrong
What to do if it goes wrong Problem Solution • Check the ‘This pack contains’ panel on the box to make sure the part is included with your machine. There is an accessory missing? • Check the On/Off button has been switched to on. The red light should illuminate when on. -
Page 23: Getting In Touch
Getting in touch Registration required. Terms and conditions apply, see vax.co.uk for details. † * Calls are charged at the UK local rate. Please make a note of the serial number and model number of the product before calling. - Page 24 Waste electrical products should not be disposed of with household waste. Please recycle where facilities exist. Check with your Local Authority or retailer for recycling advice. © 2015 All rights reserved. VAX®, VAX Lozenge, are trade marks or registered trade marks of Techtronic Floor Care Technology Ltd.
Need help?
Do you have a question about the S85-SF-R and is the answer not in the manual?
Questions and answers