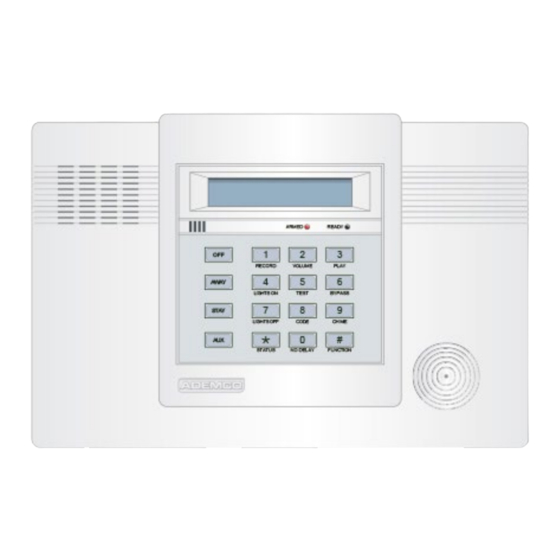
ADEMCO Lynx User Manual
Hide thumbs
Also See for Lynx:
- Installation instructions manual (44 pages) ,
- User manual (40 pages) ,
- System manual (14 pages)
Table of Contents
Advertisement
Quick Links
Advertisement
Table of Contents

Summary of Contents for ADEMCO Lynx
- Page 1 Previous Menu AWAY STAY ® N8890V1 10/98...
- Page 2 LYNX SUMMARY OF CONNECTIONS DIAGRAM .................. 16 Refer to the Installation Instructions for detailed information on programming the LYNX system, including full descriptions of all data fields. TO ENTER PROGRAMMING MODE: 1. Power up, then depress [ ] and [#] both at once, within 50 seconds of powering up.
-
Page 3: Data Fields
DATA FIELDS Field Function Programmed Values ] = Table 1 Default Values SYSTEM SETUP ( 20– INSTALLER CODE [4112] Enter 4 digits, 0–9 † QUICK ARM ENABLE 0 = no; 1 = yes KEYPAD BACKLIGHT TIMEOUT 0 = none (backlighting always on); 1 = backlight off after 10secs †... - Page 4 Field Function Programmed Values ] = Table 1 Default Value † EXIT DELAY [70] 00-99 = exit delay time (in seconds). UL installations = 60 seconds max. † [30] ENTRY DELAY 1 (zone type 01) 00-99 = entry delay time (in seconds); UL installations = 45 seconds max.
- Page 5 Dial; if Cent. Sta. IS on a WATS line: 2 = Pulse Dial ; 3 = Tone REPORT FORMATfor PRIM./SEC. [7, 0] Primary Secondary 0 = 3+1, 4+1 ADEMCO L/S STANDARD 6 or undefined = 4+2 ADEMCO EXPRESS 1 = 3+1, 4+1 RADIONICS STANDARD 7 = ADEMCO CONTACT ID REPORTING 2 = 4+2 ADEMCO L/S STANDARD...
-
Page 6: Exit Error Report Code
A "0" ( not "#+10") in both boxes will disable the report. With Ademco Contact ID Reporting: Enter any digit (other than "0") in the first box, to enable zone to report (entries in the second boxes will be ignored). - Page 7 Field Function Programmed Values ] = Table 1 Default Value AUX FUNCTION/ 1-BUTTON PAGING 0 = Aux key performs defined function (macro); 1 = Aux key sends message (999-9999) to pager If 1, you must also select an option 6-9 in field *49. PAGER CHARACTERS Up to 16 digits can be entered that will appear in front of the 7-digit pager message sent by the control (either upon system event or upon...
-
Page 8: Zone Programming Procedure
INITIALIZES DOWNLOAD ID, SUBSCRIBER ACCOUNT No. FOR INITIAL DOWNLOAD: No entry required. SELECT 1 OF 5 DEFAULT OPTION SETUPS. Enter 1-5 to select from default tables 1-5. Enter 0 to abort. EXITS PROGRAMMING MODE AND PREVENTS RE-ENTRY by: Installer Code + 8+ 0 + 0. If 98 is used to exit programming mode, you must press "... - Page 9 VOICE DESCRIPTOR 0 = Skip to next zone (A) 1 = Enter descriptor mode (existing zone descriptor will be announced, then descriptor 1 will be repeated) DESCRIPTOR 1 Enter [#] + 2-digit vocabulary index † number ( vv ) of first descriptor word for this zone. To change the entered index number, press [#] + desired index number.
-
Page 10: Zone List Programming
*81 ZONE LISTS Use this mode to define zone lists for Powerline Carrier Devices and/or for the chime by zone feature. Press *81 while in programming mode. NOTE: Entry of a number other than one specified will give unpredictable results. ZONE LIST PROGRAMMING 0 = Exit mode, upon which this prompt blinks. -
Page 11: Assign Zone Voice Descriptors
*84 ASSIGN ZONE VOICE DESCRIPTORS Use this mode to assign voice descriptors for each zone. These are the descriptors that are announced when the system annouces any event involving a zone number. Press *84 while in programming mode. NOTE: Entry of a number other than one specified will give unpredictable results. -
Page 12: Zone Programming Worksheet
56 ZONE PROGRAMMING WORKSHEET Fill in the required data on this worksheet, then follow the programming procedure in the Installation Instructions. See explanation of headings on next page (defaults shown are for Table 1) ZONES ON CONTROL: Zone Zone Zone Alarm rpt code Description No. -
Page 13: Explanation Of Zone Assignment Table Headings
Button Zones Zone No. Zone Alarm Report Input Loop Transmitter Vocabulary (A 01) Type (zt) Code in hex (rc) Type (I) No. (l) Serial Number Index [21] [01 00] [22] [01 00] [23] [00 00] [23] [00 00] [21] [01 00] [22] [01 00] [23]... -
Page 14: Output Devices
POWERLINE CARRIER DEVICES WORKSHEET FOR * 80, and * 81. Applicable only if Powerline Carrier Devices are to be used, or chime-by-zone feature is used. 80 OUTPUT DEVICES Fill in the required data on the worksheet on below and follow the programming procedure in the Installation Instructions as you enter the data during the displays and prompts that appear in sequence. - Page 15 ZONE LISTS FOR OUTPUT DEVICES Fill in the required data on the worksheet below and follow the procedure in the installation manual as you enter the data during the displays and prompts that appear in sequence. Note: Record desired zone numbers below. More or fewer boxes than shown may be needed, since any list may include any or all of system's zone numbers.
- Page 16 LYNX SUMMARY OF CONNECTIONS 165 Eileen W ay, Syosset, New York 11791 Copyright © 1998 PITTWAY CORPORATION N8890V1 10/98...


Need help?
Do you have a question about the Lynx and is the answer not in the manual?
Questions and answers