Advertisement
Jura Impressa Xs9 OT Classic
Operating & cleaning instructions
9 Hall St
Shop 93,1-5 Harwood Street
Hawthorn East VIC 3123
Pyrmont NSW 2009
ph: 03 9946 4160
ph: 02 9034 6580
fax: 03 9822 6269
fax: 02 9034 6586
My Coffee Shop Pty Ltd
ACN 102 850 037
clientservices@mycoffeeshop.com.au
1300 365 487
www.mycoffeeshop.com.au
Advertisement
Table of Contents

Related Manuals for Jura Impressa Xs9 OT Classic


Summary of Contents for Jura Impressa Xs9 OT Classic
- Page 1 Jura Impressa Xs9 OT Classic Operating & cleaning instructions 9 Hall St Shop 93,1-5 Harwood Street Hawthorn East VIC 3123 Pyrmont NSW 2009 ph: 03 9946 4160 ph: 02 9034 6580 fax: 03 9822 6269 fax: 02 9034 6586 My Coffee Shop Pty Ltd ACN 102 850 037 clientservices@mycoffeeshop.com.au...
-
Page 2: Control Elements
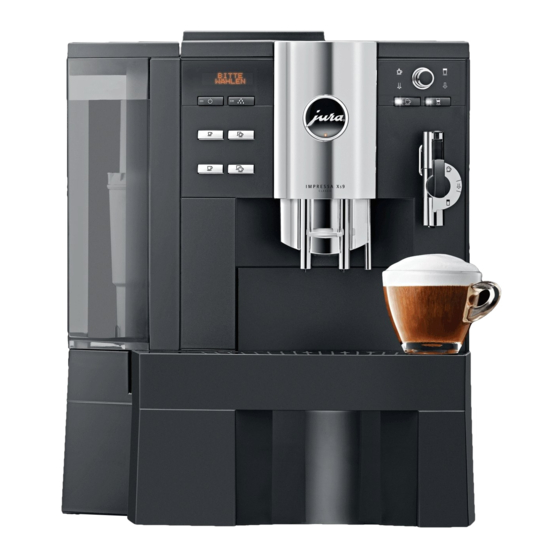
Control elements Control elements Figure: IMPRESSA X 95 One Touch Bean container cover Fineness of grind switch Bean container with aroma preservation Cup tray cover Cover of filler funnel for pre-ground coffee Water tank with handle Filler funnel for pre-ground coffee Power switch and power cable Connector System ©... -
Page 3: Rotary Switch
Control elements Front left Front right Display ö Selector switch Rotary Switch cover Professional Cappuccino Frother Easy Cappuccino Frother f Rotary switch On/off button Hot water portion symbol Maintenance button Hot water symbol 1 Espresso button Cappuccino button 2 Espressi button Milk portion symbol 1 Coffee button Milk symbol... -
Page 4: Flat White
Operating Instructions – Jura Xs9 OT Cappuccino 1. Place your cup / mug under the milk / coffee spout on the right. Turn the milk selector to the foam milk position – See diagram below. 3. Press the cappuccino key. Your cappuccino will now be poured Flat white 1. - Page 5 These short instructions do not replace the ‘IMPRESSA Xs9 Classic Instructions for Use’. Make sure you read and observe the CLEANER FOR CAPPU. safety information and warnings first in order to avoid hazards. JURA Elektroapparate AG, Kaffeeweltstraße 10, CH-4626 Niederbuchsiten, www.jura.com...
- Page 6 2. Separate the automatic milk frother into 4 parts. (Fig 3) 3. Soak the parts in 250ml of warm water (not hot) and 15ml of Jura cappuccino cleaner for 15 – 20 min (max). 4. Remove the parts from the solution and rinse them under cold tap water.
- Page 7 PRESS RINSE These short instructions do not replace the ‘IMPRESSA Xs9 Classic Instructions for Use’. Make sure you read and observe the safety information and warnings first in order to avoid hazards. JURA Elektroapparate AG, Kaffeeweltstraße 10, CH-4626 Niederbuchsiten, www.jura.com...
- Page 8 These short instructions do not replace PRESS RINSE PRESS RINSE the ‘IMPRESSA Xs9 Classic Instructions for Use’. Make sure you read and observe the safety information and warnings first in order to avoid hazards. JURA Elektroapparate AG, Kaffeeweltstraße 10, CH-4626 Niederbuchsiten, www.jura.com...
- Page 9 COFFEE READY DECALCS HEATING UP MACHINE RINSING EMPTY TRAY...
-
Page 10: 6 Display Messages
6 Display messages 6 Display messages Message Cause/Result Action The water tank is empty. T Fill the water tank (see FILL WATER TANK You cannot prepare any coffee Chapter 1, ‘Preparing and using products, hot water or milk for the first time – Filling the products. -
Page 11: Change Filter
6 Display messages Message Cause/Result Action After 250 preparations the T Clean the machine (see COFFEE READY IMPRESSA will prompt you Chapter 5, ‘Maintenance – Clean- CLEAN NOW to clean it. ing the machine’). The IMPRESSA is prompting T Descale the machine (see COFFEE READY you to descale it. -
Page 12: Trouble Shooting
5. Separate the auto frother into 4 parts. (Fig 5) 6. Soak the parts in 250ml of warm water and 15ml of Jura cappuccino cleaner for 15 – 20 min. 7. Remove the parts from the solution and rinse them under tap water. - Page 13 Trouble shooting: Steam No steam Low steam Steam coming from the wrong location Solution: 1. Unplug the machine for 10 seconds, plug the machine back in, turn it on and test the milk function. If the problem has not been resolved go to step 2. 2.
Need help?
Do you have a question about the Impressa Xs9 OT Classic and is the answer not in the manual?
Questions and answers