Advertisement
Quick Links
Download this manual
See also:
Building Instructions
Bauanleitung
D
Notice de construction
F
Building instructions
GB
Instruzioni di montaggio
I
Instrucciones de montaje 35 ... 34
E
Ersatzteile / / / / / Replacement parts 24
©
Copyright by MULTIPLEX 2006
Baukasten / kit
# 21 4215
3 ... 8
9 ... 14
15 ... 28
29 ... 34
1
Advertisement

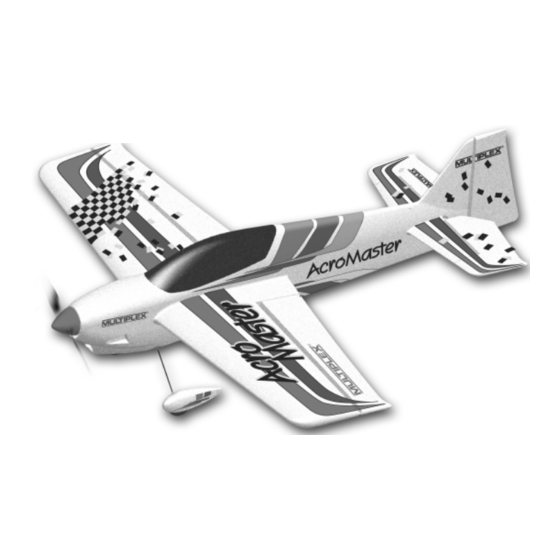
Summary of Contents for Multiplex Acro Master
-
Page 1: Building Instructions
3 ... 8 Notice de construction 9 ... 14 Building instructions 15 ... 28 Instruzioni di montaggio 29 ... 34 Instrucciones de montaje 35 ... 34 Ersatzteile / / / / / Replacement parts 24 © Copyright by MULTIPLEX 2006... - Page 2 Sicherheitshinweise Prüfen Sie vor jedem Start den festen Sitz des Motors und der Luftschraube - insbesondere nach dem Transport, härteren Landungen sowie Abstürzen. Prüfen Sie ebenfalls vor jedem Start den festen Sitz und die richtige Position der Tragflächen auf dem Rumpf. Akku erst einstecken, wenn Ihr Sender eingeschaltet ist und Sie sicher sind, daß...
- Page 3 Examine your kit carefully! MULTIPLEX model kits are subject to constant quality checks throughout the production process, and we hope that you are satisfied with the contents of your kit. However, we would ask you to check all the parts before you start construction (using the Parts List as a guide), as we cannot exchange components which you have already worked on.
- Page 4 the large control surface travels required for 3-D aerobatics. Important note However, they are also useful for ”normal” aerobatics, as This model is not made of styrofoam™, and it is the holes are the correct size for the pre-formed snake inner not possible to glue the material using white glue rods.
- Page 5 position. Wipe off excess glue at the pivot line. fuselage. Press it into place ”dry”, so that the locating lugs Allow the glued hinge joints to set hard, then assemble push their way into the foam, then simply glue it in place the tailplane and elevators again, but pushing the hinges with cyano.
- Page 6 check that they fit correctly. Place the canopy 5 on the position. Wipe off excess adhesive immediately. Fig. 39 fuselage and press down lightly to position the latch tongues correctly. Carefully open the canopy, bend the latch tongues 20. Aileron pushrods 33 slightly to one side, and apply cyano to the joint surfaces.
- Page 7 If not, adjust the downthrust to correct All of us in the MULTIPLEX team hope you have many hours the fault. of pleasure building and flying your new model.
- Page 8 Part No. Description Material Dimensions R.H. aileron Moulded Elapor foam Ready made Tailplane Moulded Elapor foam Ready made L.H. elevator Moulded Elapor foam Ready made R.H. elevator Moulded Elapor foam Ready made Moulded Elapor foam Ready made Rudder Moulded Elapor foam Ready made L.H.
- Page 9 Abb. 01 54, 55 56, 57 52, 53 Abb. 02...
- Page 10 Abb. 03 Abb. 04 Abb. 05 Abb. 06 Abb. 07 Abb. 08 Abb. 09 Abb. 10...
- Page 11 Abb. 11 Abb. 12 46, 47 Abb. 13 Abb. 14 12 mm 64,5 mm 12 mm 64,5 mm 12 mm Abb. 15 15 mm Abb. 16 ca. 30° 12 mm 64,5 mm 12 mm 64,5 mm 12 mm 71 mm Abb.
- Page 12 Abb. 20 Abb. 19 Abb. 21 Abb. 22 Abb. 23 Abb. 24 Abb. 26 M3 x 3 mm M3 x 5 mm Abb. 25...
- Page 13 Abb. 27 Abb. 28 10 mm Abb. 29 Abb. 30 Voreinstellung Preset Abb. 31 Abb. 32 Abb. 33 Abb. 34...
- Page 14 Abb. 35 Abb. 36 Abb. 37 Abb. 38 35 34 36 37 Abb. 40 Abb. 39 oder Abb. 41 Abb. 42...
- Page 15 110-120 mm Abb. 43 Abb. 44 Abb. 45...
- Page 16 Ersatzteile (bitte bei Ihrem Fachhändler bestellen) Replacement parts (please order from your model shop) Pièces de rechanges (S.V.P. à ne commander que chez votre revendeur) Parti di ricambio (da ordinare presso il rivenditore) Repuestos (por favor, diríjase a su distribuidor) # 22 4203 # 22 4207 Leitwerkssatz...


Need help?
Do you have a question about the Acro Master and is the answer not in the manual?
Questions and answers