Table of Contents
Advertisement
Quick Links
Advertisement
Table of Contents

Related Manuals for Zanussi ZBA32050SA


Summary of Contents for Zanussi ZBA32050SA
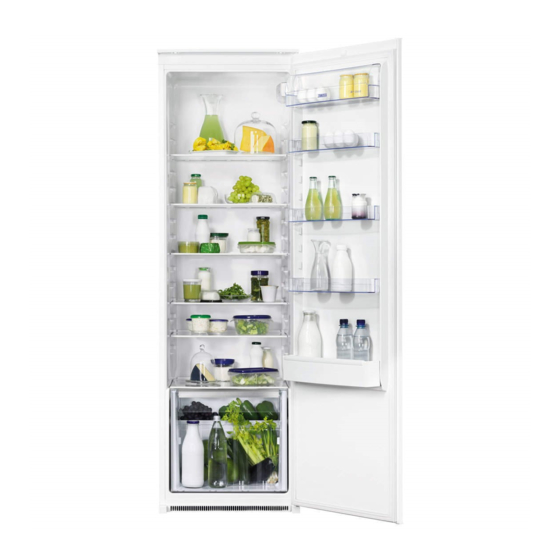
- Page 1 User manual Refrigerator ZBA32050SA...
-
Page 2: Table Of Contents
• If this appliance featuring magnetic door nents of the refrigerant circuit become dam- seals is to replace an older appliance having aged. a spring lock (latch) on the door or lid, be www.zanussi.com... - Page 3 • Do not put hot pot on the plastic parts in the ing of the appliance should be carried out by appliance. a qualified electrician or competent person. • Do not store flammable gas and liquid in the appliance, because they may explode. www.zanussi.com...
-
Page 4: Control Panel
QuickChill button again. Temperature regulation The QuickChill indicator will light off. To operate the appliance, proceed as follows: Important! • touch the temperature regulator button until This function stops automatically after 52 hours. the LED corresponding to the required tem- www.zanussi.com... -
Page 5: First Use
Bananas, potatoes, onions and garlic, if not • position food so that air can circulate freely packed, must not be kept in the refrigerator. around it www.zanussi.com... -
Page 6: Care And Cleaning
Warning! Before troubleshooting, Important! There are some sounds during disconnect the mains plug from the mains normal use (compressor, refrigerant circulation). socket. Only a qualified electrician or competent person must do the troubleshooting that is not in this manual. www.zanussi.com... - Page 7 The appliance is equipped with a longlife LED interior light. 3. If necessary, replace the defective door Only service is allowed to replace the lighting gaskets. Contact the Service Center. device. Contact your Service Center. Closing the door 1. Clean the door gaskets. www.zanussi.com...
-
Page 8: Installation
4. Check that no cut, or stray strands of wire is present and the cord clamp E is secure over the outer sheath. 5. Make sure the electricity supply voltage is the same as that indicated on the appliance rating plate. www.zanussi.com... - Page 9 On the opposite side: 1. Tighten the lower pin. 2. Install the spacer. 3. Install the door. 4. Tighten the upper pin. Ventilation requirements The airflow behind the appliance must be suffi- cient. min. 5 cm 200 cm min. 200 cm www.zanussi.com...
- Page 10 Push the appliance in the direction of the arrow (1) until the upper gap cover stops against the kitchen furniture. Push the appliance in the direction of the arrow (2) against the cupboard on the opposite side of the hinge. www.zanussi.com...
- Page 11 Open the door. Put the lower hinge cover in po- sition. 44mm Attach the appliance to the niche with 4 screws. Remove the correct part from the hinge cover (E). Make sure to remove the part DX, in the case of right hinge, SX in opposite case. www.zanussi.com...
- Page 12 Install the vent grille (B). Attach the hinge covers (E) to the hinge. Disconnect the parts (Ha), (Hb), (Hc) and (Hd). Install the part (Ha) on the inner side of the kitch- en furniture. ~50 mm ~50 mm 21 mm www.zanussi.com...
- Page 13 Remove the small squares and drill holes with ø 2 mm at 8 mm from the outer edge of the door. Place the small square on the guide again and fix it with the screws supplied. www.zanussi.com...
-
Page 14: Noises
Do a final check to make sure that: • The sealing strip is attached tightly to the cabinet. • All screws are tightened. • The door opens and closes correctly. Noises There are some sounds during normal running (compressor, refrigerant circulation). www.zanussi.com... - Page 15 HISSS! BRRR SSSRRR! SSSRRR! HISSS! HISSS! BLUBB! CRACK! CRACK! BLUBB! www.zanussi.com...
-
Page 16: Technical Data
Height 1780 mm Width 560 mm Depth 550 mm Voltage 230-240 V Frequency 50 Hz The technical information are situated in the rat- ing plate on the internal left side of the appli- ance and in the energy label. www.zanussi.com... - Page 17 www.zanussi.com...
- Page 18 www.zanussi.com...
- Page 19 www.zanussi.com...
- Page 20 www.zanussi.com/shop...