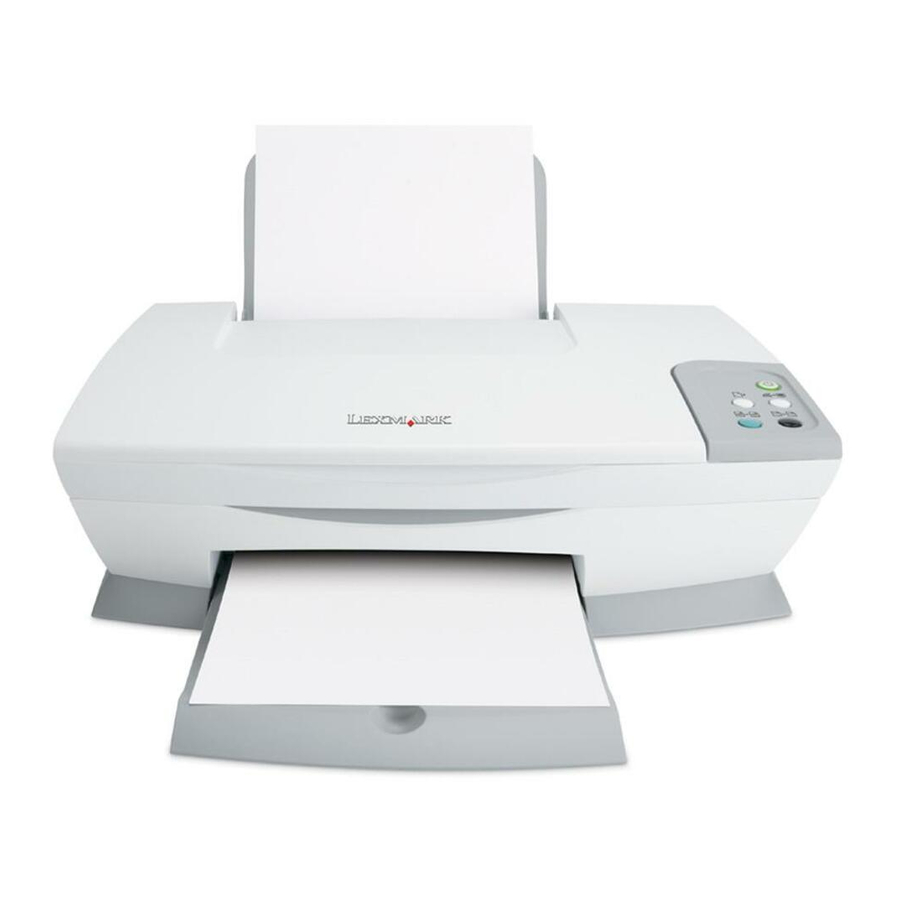
Lexmark 1200 Series User Manual
Lexmark user's guide all-in-one 1200 series
Hide thumbs
Also See for 1200 Series:
- User manual (208 pages) ,
- Install manual (2 pages) ,
- Setup manual (2 pages)
Table of Contents
Advertisement
Advertisement
Table of Contents
Troubleshooting

Related Manuals for Lexmark 1200 Series


Summary of Contents for Lexmark 1200 Series
- Page 1 1200 Series All-In-One User’s Guide...
- Page 2 • Refer service or repairs, other than those described in the operating instructions, to a professional service person. • This product is designed, tested, and approved to meet strict global safety standards with the use of specific Lexmark components. The safety features of some parts may...
-
Page 3: Table Of Contents
Understanding the parts of the All-In-One ... 4 Using the control panel ... 5 Understanding the software ... 5 Using the Lexmark All-In-One Center ... 5 Using Print Properties ... 7 Using the Lexmark Solution Center ... 8 Using the Lexmark Photo Editor ... 9 Using the All-In-One ... -
Page 4: Finding More Information
Setup sheet Instructions on how to set up the hardware and software and information on setup troubleshooting • Software for the All-In-One, including: – Lexmark All-In-One Center – Lexmark Photo Editor – Print Properties – Lexmark Solution Center • Drivers for the All-In-One •... -
Page 5: Using The Control Panel
• The Lexmark Photo Editor (editing graphics) Using the Lexmark All-In-One Center Use the Lexmark 1200 Series All-In-One Center software to scan, copy, and fax documents.There are three ways to open the All-In-One Center: • Click Start Programs One Center. -
Page 6: The All-In-One Main Page
Note: For more information about this page, click the Help button located in the upper right corner of the screen. Maintain/Troubleshoot page The Maintain/Troubleshoot page provides you with direct links to the Lexmark Solution Center. Choose from these topics: • Maintain or fix quality problems •... -
Page 7: Using Print Properties
Help button on the dialog box. The Options menu also provides you with direct links to different parts of the Lexmark Solution Center (see page 8), as well as software version information. -
Page 8: Using The Lexmark Solution Center
Using the Lexmark Solution Center The Lexmark 1200 Series Solution Center is a valuable information resource. To open the Lexmark Solution Center, click Start Series Lexmark 1200 Series Solution Center. The Printer Status tab appears. The Lexmark Solution Center consists of six tabs: Printer Status, How To, Troubleshooting, Maintenance, Contact Information, and Advanced. -
Page 9: Using The Lexmark Photo Editor
Using the Lexmark Photo Editor Use the Lexmark Photo Editor software to edit graphics. To open the Lexmark Photo Editor, click Start Programs Lexmark 1200 Series Photo Editor. The Lexmark Photo Editor displays. Use the touch-up tools to edit your graphic. - Page 10 Squeeze and slide the paper guide to the left edge of the paper. Make sure the All-In-One is turned on. Click File Print. From Print dialog box, click Properties, Preferences, Options, or Setup (depending on the program). The Print Properties dialog box appears. If the printing task you want to perform is on the “I Want To”...
-
Page 11: Scanning
Close the top cover. Open the Lexmark All-In-One Center (see page 5). The All-In-One Main Page appears. Click Preview Now located in the upper right corner of the All-In-One Main Page. -
Page 12: Copying
Close the top cover. Open the Lexmark All-In-One Center (see page 5). The All-In-One Main Page appears. Click See More Copy Settings to review and change the copy settings. -
Page 13: Creating Fun Projects
Lift the scanner unit and push the scanner support back while lowering the scanner unit until it is completely closed. Lexmark’s All-In-One warranty does not cover repair of failures or damage caused by a refilled cartridge. We do not recommend use of refilled cartridges. -
Page 14: Troubleshooting
Did you install the printer software correctly? For help, refer to the setup documentation. Is the Lexmark 1200 Series set as the default printer? To check, click Start Settings Printers. If the Lexmark 1200 Series is not set as the default printer, you need to remove and then reinstall the software. -
Page 15: Printing Troubleshooting
For Windows 2000 or Windows XP, select the Hardware tab, and then click the Device Manager button. Look for the Other Devices category. If there are any Lexmark devices shown here, highlight them and, then press the Delete key. Note: The Other Devices category appears only when unknown devices are present. -
Page 16: Scanning, Copying, And Faxing Troubleshooting
Lower the scanning resolution. Scanning resolution is much different than printing resolution and is generally set much lower. To change the scanning resolution: Open the Lexmark All-In-One Center. For help, see page 5. From the Scan section, click See More Scan Settings. Click Display Advanced Scan Settings. -
Page 17: Notices
To assure compliance with FCC regulations on electromagnetic interference for a Class B computing device, use a properly shielded and grounded cable such as Lexmark part number 1021294. Use of a substitute cable not properly shielded and grounded may result in a violation of FCC regulations. - Page 18 The following measurements were made in accordance with ISO 7779 and reported in conformance with ISO 9296: 1-meter average sound pressure, dBA Printing Scanning Copying Idling Values are subject to change. See www.lexmark.com for current values. ENERGY STAR Waste from Electrical and Electronic Equipment (WEEE) directive...
-
Page 19: Index
Index Advanced tab 8 All-In-One Center, see Lexmark All-In-One Center All-In-One Main Page Copy section 6 Creative Tasks section 6 Preview section 6 Scan section 6 All-In-One status 8 banner printing 7 banner paper 9 banners printing 7 black and white, printing in 7... - Page 20 parts of your All-In-One 4 photo paper 9 photos printing 7 scanning 11 poor quality printing 15 posters printing 7 Preview Now button 11 Preview section Preview Now button 11 Print/Copy preview 6 Scan preview 6 print cartridges viewing ink levels of 8 Print Layout tab 7 Print Properties 7 I Want To menu 7...
- Page 21 www.lexmark.com...
Need help?
Do you have a question about the 1200 Series and is the answer not in the manual?
Questions and answers