Table of Contents
Advertisement
Quick Links
SoundRanger MICRO
Model RPA-20 (40SFRPA20)
Portable Public Address System
User Guide
Introduction
Used with a radio microphone (e.g. the SoundRanger RMH-203 / 40SFXMH*), the
SoundRanger MICRO is a compact, easy to use way for you to talk to any audience
anywhere.
It is amazingly compact and easily portable, with a surprisingly big sound for its size.
The sound quality is crisp and clear; speech intelligibility is excellent.
The MICRO can be hand carried, slung over your shoulder using the built-in shoulder
strap, placed on any flat surface or fitted onto a suitable stand (e.g. the SoundRanger
SS-M04 / MX180040).
Quick Start
To get the best from the system you really ought to read the instructions, but, if you can't
wait, this is what you do:
1. Position the MICRO anywhere suitable, preferably at head height or higher.
2. Turn up the volume control on the side panel to about half-way.
3. Switch the microphone on (for use with the headset or lapel microphone, see page 5).
4. Talk directly into the microphone and adjust the volume control to suit.
Yes, it's as simple as that.
If you need any advice or assistance, please
contact Connevans Limited Ltd on 01737 247571
Advertisement
Table of Contents

Summary of Contents for SoundRanger Micro RPA-20
- Page 1 Introduction Used with a radio microphone (e.g. the SoundRanger RMH-203 / 40SFXMH*), the SoundRanger MICRO is a compact, easy to use way for you to talk to any audience anywhere. It is amazingly compact and easily portable, with a surprisingly big sound for its size.
-
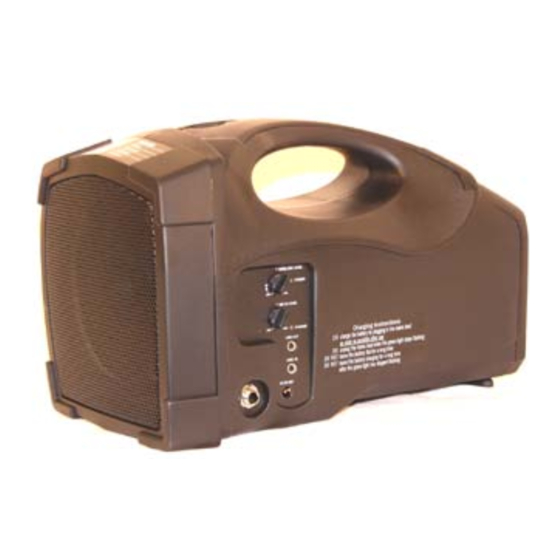
Page 2: Control Panel
Control Panel Control Function On/Off Switch and Controls the volume of the radio-microphone Volume Control Volume Control Controls the volume of the cable microphone (socket 3) Input Socket Plug the cable microphone in here Power On LED Red shows power on Charging Status LED Shows state of charge of the battery: Red –Battery is low and needs charging... -
Page 3: Auxiliary Input
A replacement battery will cost about £37 - including postage & packing and VAT. Positioning: The MICRO should be placed on a suitable stand (e.g. the SoundRanger SS-M04 / MX180040) microphone stand). It is always best to keep the loudspeaker at the head height of your audience and in front of the microphone. - Page 4 RMH-203 Hand-Held Radio-Microphone (40SFXMH) 1) Windshield Grille Protects the cartridge and prevents breath noise 2) Anti-Roll Ring Prevents microphone from rolling when on a flat surface 3) Cartridge Converts the acoustic signals into electrical signals 4) Microphone Casing Houses and protects the transmitter and components 5) Battery Indicator Indicates the battery status.
- Page 5 RMT-103 Belt-Pack Transmitter (40SFXMT4) For use with the RMU-33 (40SFXM33HN) headset microphone or the RMU-50 lapel microphone (40SFXMUL4) 1) Input Socket Connect to a headset or lapel microphone GT- MT Switch Leave this set at MT 3) Volume Control Adjust to suit Belt Pack Casing To house and protect the transmitter and components...
Need help?
Do you have a question about the Micro RPA-20 and is the answer not in the manual?
Questions and answers