
Related Manuals for Cardio Zone Treadmill


Summary of Contents for Cardio Zone Treadmill
- Page 1 OWNER’S MANUAL Super Gym’s FitnessBlowout.com 2210 S. Sepulveda Blvd. Los Angeles, CA 90064 Phone: 800-FIT-4-LESS or 800-348-4537 Fax: 310-235-2008 For service, please visit http://www.fitnessblowout.com/service...
- Page 2 INDEX 1. OVERVIEW DRAWING................2 2. IMPORTANT SAFETY INSTRUCTIONS ..........3 3. GROUNDING INSTRUCTIONS ..............4 4. PRE-ASSEMBLY CHECK LIST ..............5 5. ASSEMBLY STEPS ..................6 6. CAUTION ....................8 7. MAINTENANCE ..................9 8. COMPUTER OPERATION INSTRUCTIONS .............
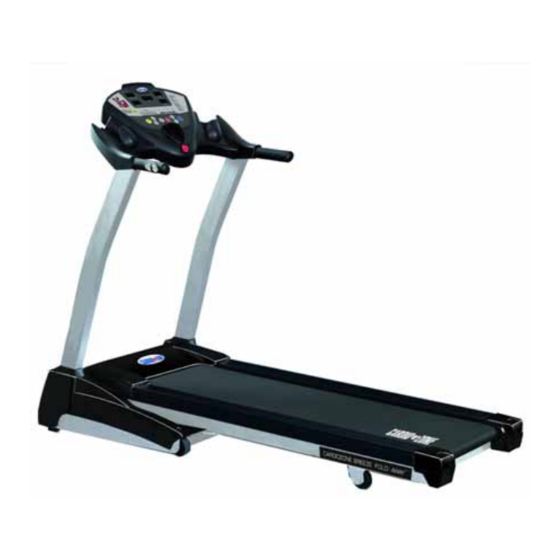
- Page 3 Computer Safety Key/Clip Circuit Breaker Power Cord Switch Power Frame Base...
- Page 4 When using this product, basic precautions should always be followed, including the following: Please read the instruction carefully before starting to use this product. Danger – To reduce the risk of electric shock Always unplug this product from the electrical outlet immediately after using and before cleaning.
- Page 5 The products must be grounded first. If malfunction or breakdown occurs, grounding will provide a path of least resistance for electric current to reduce the risk of electric shock. The product is equipped with a cord having an equipment-grounding conductor and a grounding plug.
- Page 6 Description Description ITEM ITEM Computer Console Allen Bolt M8xP1.25x15 Frame Washer Ø8xØ16x1.5t Left Upright Allen Bolt M8xP1.25x60 Right Upright Screw M5xP0.8x18 Cover SILICON Side Cover (L) Allen Wrench Side Cover (R) Allen Wrench Bottle Safety Key...
- Page 7 Frame and then secure with Allen Bolt (a), Washer (b) in the direction shown in the drawing. Ps.1. To avoid unexpected accident, always assemble the treadmill with one or two assistants, please do not assemble by oneself. Ps.2. When assemble the Upright, one person should hold the Upright to prevent the Upright from falling.
- Page 8 After connecting, tighten with Allen Bolt (c) according to right picture. Ps.1. To avoid unexpected accident, always assemble the treadmill with an assistant, do not assemble by oneself. Ps.2. When tighten the screws, make sure not to damage the control wires in the tube.
- Page 9 (Ps.1. To prevent from causing danger, be careful if the kids are around. If you want to move the treadmill, fold the treadmill at first, hold the rear adjust cap with your hands, then lean the treadmill and do not move the treadmill until the roller can be moved smoothly.)
- Page 10 1/4 circle clockwise; if the running belt is offset to the right, adjust 1/4 circle counterclockwise. After adjustment, start the treadmill again, if the running belt still off the center, repeat the adjusting procedure till the running belt is in the center position.
- Page 11 START/READY status, under this status, you can hold the handgrip pulse sensor to detect heart rate number directly Press to start the treadmill and MANUAL light is on. Its speed is 1.0 mph, at this time press to increase/decrease the speed (also you can press 2, 4, 6, 8) to select the speed you want quickly).Or you can press...
- Page 12 ** If the safety key is not placed in the recess, all the windows will display “-------”, which means the treadmill has not entered the Start/Ready status. MODE Function Keys...
- Page 13 P1 9 HOLE 3500m is the benchmark of this program. When you finish 3500m according to program, then the program is finished and the treadmill will stop. This mode imitates the landform of golf course. The difficulty is decided by change grade of upgrade and downgrade.
- Page 14 Refer to the below charts for the preset parameters of the PROGRAM...
Need help?
Do you have a question about the Treadmill and is the answer not in the manual?
Questions and answers