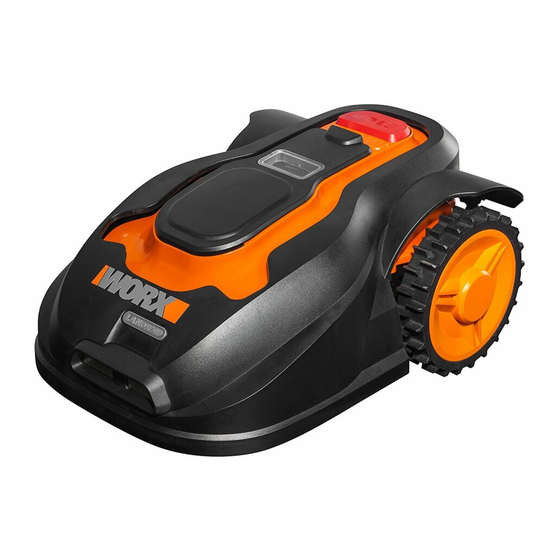
Worx Landroid Installation Manual
Unmanned mowing vehicle
Hide thumbs
Also See for Landroid:
- Installation manual (164 pages) ,
- Original instructions manual (144 pages) ,
- Instruction manual (72 pages)
Table of Contents
Advertisement
Available languages
Available languages
Advertisement
Table of Contents

Summary of Contents for Worx Landroid
- Page 1 InstallatIon GuIde...
- Page 2 Installation guide Installationsvejledning asennusopas Installasjonsguide Monteringshandbok...
- Page 3 From your shed Worried about your electricity bill? Let’s do the math: if you let your Landroid M work 12 hours a day, 3 days a ® week, 25 weeks a year, your Landroid ®...
- Page 4 M has the ability to safely climb slopes up to 35% ® ® If it’s covered with gravel, you should not allow the Landroid ® or fall into the water. These areas should be avoided. (20°), so just avoid anything steeper than this.
- Page 5 M needs to know where to mow. This is why you have to mark its working area with a boundary wire ® that will form an invisible fence. This wire will also guide your Landroid M to its charging base.
- Page 6 We recommend that you first mow the lawn where the wire is to be laid using a normal lawn mower or a and the boundary. However, in grass trimmer. This ensures that the wire is laid as close to the ground as possible so the Landroid ®...
- Page 7 Connect the IN-wire to the red clamp of the charging base and the OUT-wire to the black clamp. Then close the cover. turn on and test the installation This is the exciting part where you can turn your Landroid M on for the first time. ® Place your Landroid M inside the ®...
- Page 8 Programming Press and hold down the Having finished the installation, it is now time to program the Landroid M when you want it to go to work by using the keypad ® Power ON/OFF key until display shown below. Please refer to the Programming and Troubleshooting Guide included in the packaging.
-
Page 9: Winter Storage
Once it’s taken outside its territory, it will not be possible to re-start it by anyone who does not know the PIN code. This also means that you will not be able to start your Landroid ®... - Page 10 M er let. Afhængig af størrelsen af din have, tager hele processeen kun et kort stykke dc transformer ® tid. Hvis du ligesom os hader at spilde din kostbare tid med at slå græs. Vil Landroid M vise sig at være din bedste ®...
- Page 11 10cm* afstand imellem grænsekablet og ® plænen. den helt fra området. Du vil nok helst ikke have, at din Landroid M køre over din Din Landroid M er i stand til at køre op ad bakker op til 20°, så du ®...
- Page 12 Din Landroid M skal vide hvor den skal slå græsset. Det er derfor du skal afmærke dens arbejdsområde ved ® brug af grænsekablet, som laver et form for usynligt hegn. Dette kabel leder også din Landroid M til dens ®...
- Page 13 Vi anbefaler, at du først slår græsset der hvor kablet skal trækkes med en normal græsslåmaskine eller mellem kablet og grænsen. Men græstrimmer. Det sikrer, at kablet ligger så tæt på jorden som muligt, så din Landroid ® M ikke kører over på...
- Page 14 OUT-kablet til den sorte klemme. Luk herefter låget. opstart og afprøvning Nu kommer den spændende del, hvor du for første gang kan tænde for din Landroid ® Stil din Landroid M inde i arbejdsområdet, et par meter ®...
- Page 15 Programmering Hold tænd/sluk-knappen Nu du har afsluttet instrallationen, er det nu tid til at programmere Landroid M, når du ønsker at den skal begynde at arbejde, ® nede, ved at bruge tastaturskærmen vist herunder. Referer venligst til Programmerings- og Fejlfindingsguiden, der følger med i indtil din Landroid ®...
- Page 16 Hver klinge vil holde i op til 4 måneder, hvis din landroid slår græsset hver dag. Når klingerne er døve og nedslidte, skal de skiftes med de nye klinger, som følger med din Landroid ®...
- Page 17 M in asennus on helppoa. Puutarhasi koon mukaan koko toimenpide kestää vain hetken. Jos olet ® kiinnikkeet muuntaja yhtään kuin me, et pidä ajatuksesta käyttää kallisarvoista aikaasi nurmikon leikkaamiseen. Landroid ® M tulee osoittautumaan parhaaksi investoinniksesi, joka poistaa tarpeen leikata nurmikko a enää koskaan.


Need help?
Do you have a question about the Landroid and is the answer not in the manual?
Questions and answers