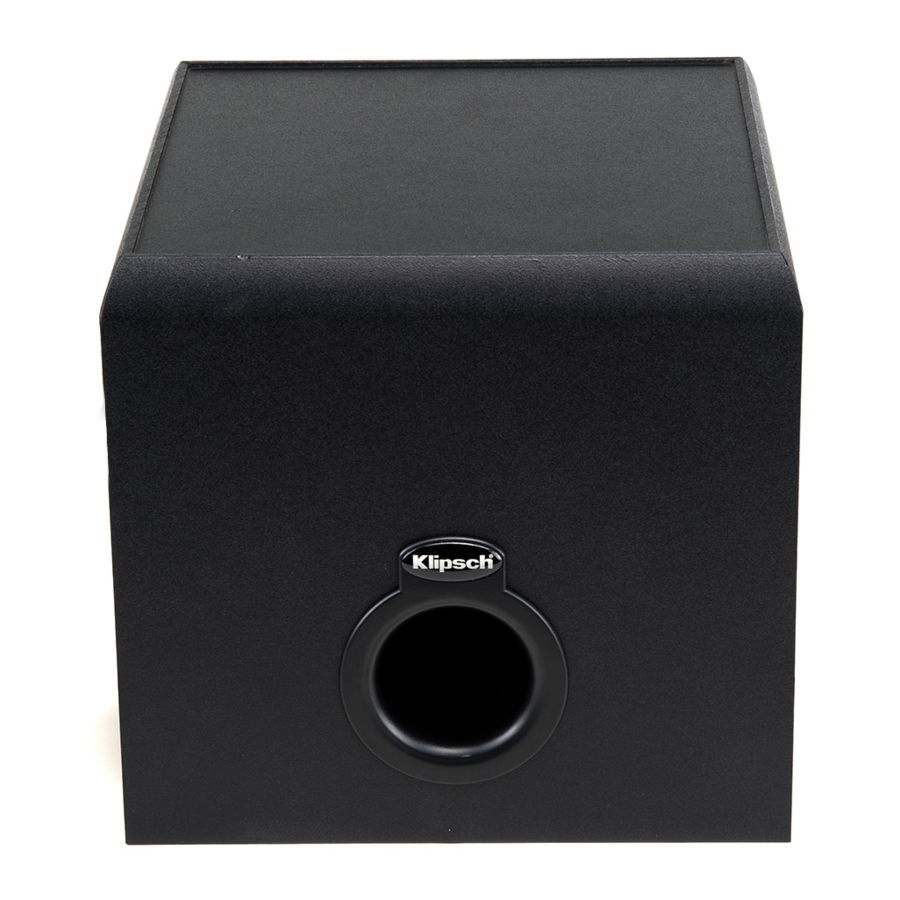
Klipsch Promedia 2.1 Owner's Manual
Personal computer audio system
Hide thumbs
Also See for Promedia 2.1:
- User manual ,
- Owner's manual (9 pages) ,
- Owner's manual (8 pages)
Table of Contents
Advertisement
Available languages
Available languages
Advertisement
Table of Contents

Summary of Contents for Klipsch Promedia 2.1
- Page 1 PROMEDIA 2. 1 P E R S O N A L AUDIO SYSTEM C O M P U T E R...
-
Page 2: Placement
1. Plug the ProMedia 2. 1 control pod input cable into the soundcard output jack on the rear of the PC. Since the Klipsch ProMedia 2. 1 has its own internal amplifier, it was designed to hook into the line out connector. - Page 3 (1) year from the date of purchase. During the warranty period, KLIPSCH will repair or replace (at KLIPSCH's option) this product or any defective parts. Proof of pur- chase in the form of a bill of sale or receipted invoice, which is evidence that this product is within the war- ranty period, must be presented or included to obtain warranty service.
- Page 4 1. Brancher le câble d’entrée du module de commande du système ProMedia 2. 1 sur la prise de sortie de la carte son à l’arrière de l’ordinateur. Le système Klipsch ProMedia 2. 1 possédant son propre amplificateur interne, il est conçu pour se brancher au connecteur de sortie ligne «Line Out».
- Page 5 G A R A N T I E ( É t a t s - Un i s e t C a n a d a s e u l e m e n t ) KLIPSCH, LLC (« KLIPSCH » dans ce qui suit) garantit cet article contre tout défaut de fabrication ou de matériau (sous réserve des conditions énoncées ci-dessous) pour une période d’un (1) an à...
- Page 6 1. Das Eingangskabel der ProMedia 2. 1 Reglereinheit in die Soundkarten-Ausgangsbuchse an der Rückseite des PCs einstecken. Der Klipsch ProMedia 2. 1 verfügt über einen eigenen internen Verstärker und wurde so konzipiert, dass er an den Line-Out-Anschluss angeschlossen wird. Der Anschluss an die Lautsprecher Level Ausgangsbuchse kann minderwertige Soundqualität zur Folge haben.
- Page 7 Der Nachweis des Garatieanspruchs ist durch eine(n) ordnungsgemäße(n) Rechnung bzw. Kaufbeleg zu erbringen . Dem Käufer steht zunächst nur das Recht der Nachbesserung zu. Klipsch Europe bv kann, statt nachzubessern, Ersatzerzeugnisse liefern. Ausgetauschte Produkte oder Teile davon gehen in das Eigentum von Klipsch Europe bv über.
- Page 8 1. Inserire il cavo di ingresso della console di controllo ProMedia 2. 1 nella presa di uscita della scheda audio sul retro del PC. Poiché l’unità Klipsch ProMedia 2. 1 dispone di un proprio amplificatore interno, è stata concepita per agganciarsi al connettore di uscita di linea. La connessione alla presa di livello dell’altoparlante può...
- Page 9 ACC E S S O R I Tutti gli accessori sono disponibili all’indirizzo www.klipsch.com. Piedistalli per gli altoparlanti RB-1 Piedistallo con base telescopica per satelliti ProMedia. Base in metallo gettato, con tubo vuoto (per celare il filo).
- Page 10 PC. Como tiene su propio amplificador interno, la ProMedia 2. 1 de Klipsch está diseñada para conectarse al conector de salida de línea. Conectarla al enchufe de salida de altavoz podría producir sonido deficiente.
- Page 11 ACC E S O R I O S Todos los accesorios se encuentran en www.klipsch.com. Soportes de altavoz RB-1 Soporte de piso telescópico para satélites ProMedia. Base de metal fundido, tubos huecos (que permiten disimular el cable en el interior).
- Page 12 230 V...
- Page 14 D UA L P RO M E D I A 2 .1 S E T U P I N ST R U C T I O N S STEP 1: Connect miniplugs to 4 channel PC soundcard from the control satellite preamps; refer to owner’s manual regarding soundcards. STEP 2: Connect the DIN plugs to the subwoofers from the control satellite preamps.
- Page 15 If yes, what products? Product Name(s): When do you hope to purchase additional loudspeakers? 6 mos. – 1 yr. How likely are you to consider Klipsch products for your upcoming purchases? If doubtful, why? Don’t carry product I’m looking for Too expensive...
- Page 16 • Make sure you return your warranty card so that we may keep you up-to-date on new Klipsch products and promotions. As always, if you have any questions, contact your local authorized Klipsch dealer. For your records: Model: 2. 1 System...


Need help?
Do you have a question about the Promedia 2.1 and is the answer not in the manual?
Questions and answers