
Related Manuals for inXtron External Storage Enclosure for 3.5” IDE Hard Drives


Summary of Contents for inXtron External Storage Enclosure for 3.5” IDE Hard Drives
-
Page 1: User Manual
Pleiades - NDAS External Storage Enclosure for 3.5” IDE Hard Drives User Manual v1.2... -
Page 2: Table Of Contents
Table of Contents CHAPTER 1 - INTRODUCTION - 1 - CHAPTER 4 - NDAS SETUP - 8 - - 1 - - 8 - RIVER INSTALLATION ON A - 8 - NDAS - 1 - LEIADES RIVER INSTALLATION ON A - 8 - - 1 - EGISTERING A NEW DEVICE ON A... -
Page 3: Chapter 1 - Introduction
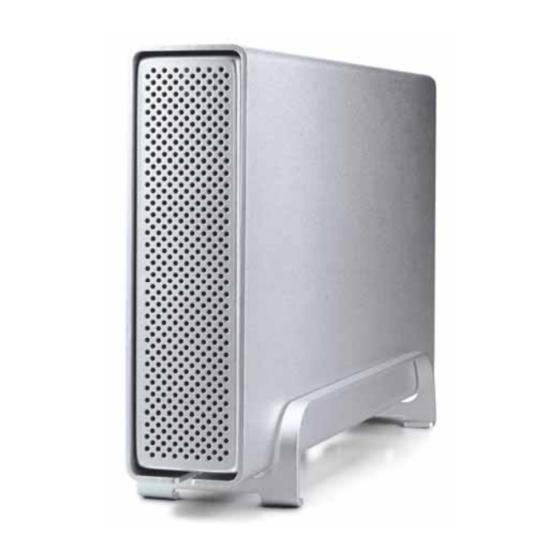
Plug and Play device. Extending your storage space has not only just become easier but faster too. Pleiades NDAS also features passive cooling and high-speed USB 2.0 connection. Product Dimensions: 23.0cm x 14.0 cm x 5.0 cm... -
Page 4: System Requirements
System Requirements PC Requirements • Minimum Intel Processor II 350MHz, 64MB RAM • USB 1.1 equipped PC; WinME, Win2000, WinXP • USB 2.0 equipped PC; WinME, Win2000, WinXP • 100 Mbps or 10/100Mbps Fast Ethernet card, or a USB-to- Ethernet converter equipped PC; Win98SE, WinME, Win2000, WinXP Mac Requirements •... -
Page 5: Chapter 2 - Installing The Hdd
Chapter 2 - Installing the HDD Preparing the Enclosure Remove the 4 screws on the bottom, slide the case off the Your unit may come body, remove the screws for the top cover and open up the with a pre-installed case. -
Page 6: Hard Drive Assembly
Hard Drive Assembly Connect the ATA cable and the power line to your hard drive. Install the hard drive and fasten the screws. Align the top cover with the body and fasten the screws, before sliding it back into The HDD jumper the casing. -
Page 7: Chapter 3 - System Set Up
Chapter 3 - System Set Up In NDAS mode, the ‘Pleiades NDAS’ is directly attached to a 100MB/s full duplex Ethernet switch. Each user on the network can use the NDAS disk as if it were a local drive. The ‘Pleiades NDAS’... -
Page 8: Installation On Apc Using
If the system • Make sure the Ethernet cable is disconnected. doesn’t recognize • Connect the Pleiades NDAS via USB 2.0 and turn it on. the drive, turn on • Let Windows search for and install the driver automatically. the power before •... -
Page 9: Unplug Procedure
• Turn on your computer and start Mac OS. If the system • Make sure the Ethernet cable is disconnected. doesn’t recognize • Connect the Pleiades NDAS and turn it on. the drive, turn on • No driver installation required. the power before •... -
Page 10: Chapter 4 - Ndas Setup
Chapter 4 - NDAS Setup Driver installation on a PC • Insert the driver CD and select your Operating System. Without the Write • If installation does not start automatically, browse and Key, the NDAS disk double-click on the ‘NDASSetup’ file. can only be •... - Page 11 Registering a new device on a Mac • Locate the ‘NDAS Utility’ found inside your Applications folder under Utilities and open it. • Under Management, select ‘Register a New Device’. Without the Write • Enter a name for your NDAS disk or use the default name. Key, the NDAS disk •...
-
Page 12: Mounting And Using Your
Mounting and using your NDAS disk Mounting the NDAS disk on a PC • Click on the NDAS Device Management icon on the taskbar. Read & Write mode • Select your new NDAS device, which should now be listed. will be disabled if •... - Page 13 Using and sharing the NDAS disk on the network Now that you have successfully installed the NDAS disk, you If the disk is can use it like any other hard drive on your system. It will connected directly behave very similarly to a standard USB disk in comparison. to the computer using USB, full You may drag and drop files into the NDAS disk, you can...
-
Page 14: Ndas Devicem
NDAS Device Management on a PC Click on the NDAS Device Management icon located on the taskbar. All registered NDAS devices will be displayed on the menu. If you want to use suspend or hibernation mode with a connected NDAS device, enable it first under Options and Advanced. -
Page 15: Device Status Modes
Device Status Modes Color Icon Disk Icon Mode / Meaning Read Only [Mounted (RO)] To uninstall the Green Users can only read from disk entire Device Read & Write [Mounted (RW)] Blue Management tool, Users can read and write to disk Connected first eject and White... - Page 16 Configuration: Selection to Mount and Unmount the device using either Read Only or Read & Write mode. To uninstall the NDAS Utility, first + Sign: eject all devices Register a New Device. and remove them, then insert the Management: driver CD, open the Both the above can be done using the Management menu on corresponding top of your screen.
-
Page 17: Driver Upgrade
Driver Upgrade It is recommended that all users use the same driver revision. Before upgrading the driver, please follow these guidelines: • If possible, first backup all your data. • Disable all NDAS devices. • Uninstall the present driver. • Install the new driver. •... -
Page 18: Chapter 5 - Formatting The Hdd
Chapter 5 - Formatting the HDD Be aware that this will destroy all your existing data on the drive! DO NOT format the drive when PC running Win98SE or WinME other computers MS-DOS command “fdisk” (press Enter to confirm) have the NDAS •... -
Page 19: Pc Running Win 2000 Or
PC running Win2000 or WinXP For Win2000 and Disk Management Program • Right click on “My Computer” and choose “Manage” WinXP, we • Select “Disk Management” recommend using • Choose the drive you want to format and right click on it for the NTFS file format. -
Page 20: Mac Os
Mac OS Mac OS9.2 does not support creating multiple partitions on an If native Mac file external drive. To do that, you would need to purchase system is used, the additional 3 party software, connect the drive to the internal drive will only be IDE bus or upgrade to OS X. -
Page 21: Chapter 6 - Appendix
Device Management. Close all windows that may be accessing the NDAS device. About this Manual This manual covers all versions of the Pleiades NDAS. Images, firmware and descriptions may therefore slightly vary between this manual and the actual product you have. When you upgrade the driver, be sure to check if there is a new manual available for download.
Need help?
Do you have a question about the External Storage Enclosure for 3.5” IDE Hard Drives and is the answer not in the manual?
Questions and answers