Table of Contents
Advertisement
Use & Care Manual
Inset Electric Fires
These instructions are for your safety. Please read through them thoroughly
before use and retain for future reference. Failure to follow them could cause
injur y and/or property damage.
Note : This manual applies for a number of different products. Please make
sure you follow the appropriate product guide lines.
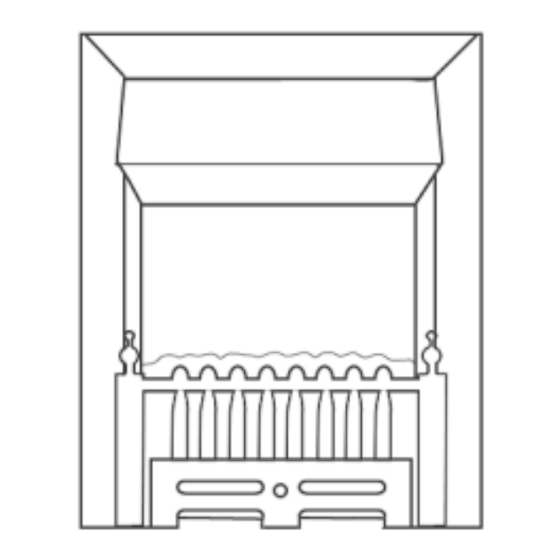
FIRE IDENTIFICATION
Flame Effect
Pebble Glow
Traditional
(Inset)
(Inset)
(Inset)
INTRODUCTION
Thank you for choosing this Electric Fire. The fire is designed to meet the most
stringent quality, performance, and safety requirements. This guide aims to improve
your understanding and appreciation of your new fire by providing simple and
informative assembly
instructions.
Customer telephone helpline: 08448 809301
Helpline email address: helpline@adamsurrounds.co.uk
CO9039
V3_151110
- 1 -
Advertisement
Table of Contents

Subscribe to Our Youtube Channel
Related Manuals for Adam Flame Effect


Summary of Contents for Adam Flame Effect
-
Page 1: Fire Identification
Failure to follow them could cause injur y and/or property damage. Note : This manual applies for a number of different products. Please make sure you follow the appropriate product guide lines. FIRE IDENTIFICATION Flame Effect Pebble Glow Traditional (Inset) (Inset) -
Page 2: Table Of Contents
Safety Cut-Out System Cautions Installation Fire Preparations (Pebble Glow Fires Only) Operating the Fire Changing the Bulb – Pebble Glow Fire Changing the Bulb – Flame Effect Fire Changing the Bulb – Traditional Fire Plug Replacement Appliance Data Certifications HANDLING... -
Page 3: Parts Supplied
PARTS SUPPLIED Please identify the parts listed below and ensure you have ALL the correct parts before installing the unit. Description Illustration Electric Fire (See Page 1‘) NOTE: The trim often comes unassembled as an extra part Trim Neoprene Strips Pebble Set (ONLY FOR PEBBLE GLOW FIRES) -
Page 4: Electrical Specification
ELECTRICAL SPECIFICATIONS Important Electrical Safety The fire must not be located under an electrical socket; the socket must always be accessible in order to disconnect the heater from the electrical supply for maintenance and cleaning. Never cut off the plug and hard wire into a fixed fused spur. -
Page 5: Safety Cut-Out System
SAFETY CUT-OUT SYSTEM PLEASE DO NOT OBSTRUCT THE AIR VENTS OF THE ELECTRIC FIRE. This appliance has a ‘self resetting’ safety cut out system. To prevent overheating, ensure the air inlets and outlets are not obstructed. If the safety cut-out operates, switch off the electric fire and allow to fully cool down. -
Page 6: Installation
INSTALLATION This fire is inset and must be fixed to a surround (which must be fixed to a wall). Please ensure the floor and wall is flat before installation. Stick one side of the Neoprene Strip (x3) to the back of the electric fire (as shown right). -
Page 7: Fire Preparations (Pebble Glow Fires Only)
PREPARING THE ELECTRIC FIRE Pebble Glow Fires Traditional Fires Randomly place the pebbles Assemble the fret pieces in the open fuel bed of the and put in place. fire OPERATING THE ELECTRIC FIRE The appliance is controlled using 4 switches, located under the hood of the fire. Use the following sequence to operate. -
Page 8: Changing The Bulb - Pebble Glow Fire
CHANGING THE BULB Pebble Glow Fires Please ensure that the electric fire is switched off at the mains and unplugged before attempting to change the bulb. Remove all pebbles before attempting to change the bulb. 1) Remove the magnetized trim. 2) Unscrew the fret. -
Page 9: Changing The Bulb - Flame Effect Fire
CHANGING THE BULB Flame Effect Fires Please ensure that the electric fire is switched off at the mains and unplugged before attempting to change the bulb. 2) Unscrew the fret. 1) Remove the magnetized trim. 4) Unscrew the old bulb and replace 3) Unscrew the coal bed. -
Page 10: Changing The Bulb - Traditional Fire
CHANGING THE BULB Traditional Fires Please ensure that the electric fire is switched off at the mains and unplugged before attempting to change the bulb. 1) Remove the fret and ash pan 2) Unscrew the coal bed. cover. 3) Unscrew the old bulb and replace with a 25W BC bulb (MAX). -
Page 11: Plug Replacement
Important - any cut off plug should be disposed of safely to prevent hazard. There is a danger of electric shock if a cut off plug is inserted into a socket outlet. APPLIANCE DATA Flame Effect Pebble Glow Supply Voltage: AC 220-240V, 50Hz... -
Page 12: Certifications
(PBB) and polybrominated diphenyl ether (PBDE) flame retardants. Adam Fires and Fireplaces is part of the Fired Up Corporation LTD Customer telephone helpline: 08448 809301 Helpline email address: helpline@adamsurrounds.co.uk...
Need help?
Do you have a question about the Flame Effect and is the answer not in the manual?
Questions and answers
My electric fire has led light for the flames which isn't working,the heat works but not the flame,this is an Adams fire
The flame effect on the Adam electric fire may not be working while the heat functions due to a burned-out light bulb. The manual advises disconnecting the fire from the electrical supply before replacing the light bulbs.
This answer is automatically generated