Kicker ZX2500.1 Owner's Manual
Zx.1 series subwoofer amplifier class-d mono channel
Hide thumbs
Also See for ZX2500.1:
- Owner's manual (28 pages) ,
- Owner's manual (4 pages) ,
- Owner's manual (11 pages)
Table of Contents
Advertisement
Available languages
Available languages
©2006 Stillwater Designs
ZX
SUBWOOFERAMPLIFIER
CLASS-DMONOCHANNEL
ZX1000.1, ZX1500.1, ZX2500.1
English Version
Versión Español
Amplificador del la Serie ZX.1
Manual del Propietario
Deutsche Version
Monoverstärker der ZX.1-Serie
Benutzerhandbuch
Version Française
Amplificateur de série ZX.1
Manuel d'utilisation
Advertisement
Table of Contents

Related Manuals for Kicker ZX2500.1


Summary of Contents for Kicker ZX2500.1
- Page 1 ©2006 Stillwater Designs SUBWOOFERAMPLIFIER CLASS-DMONOCHANNEL ZX1000.1, ZX1500.1, ZX2500.1 English Version Versión Español Amplificador del la Serie ZX.1 Manual del Propietario Deutsche Version Monoverstärker der ZX.1-Serie Benutzerhandbuch Version Française Amplificateur de série ZX.1 Manuel d'utilisation...
-
Page 2: Installation
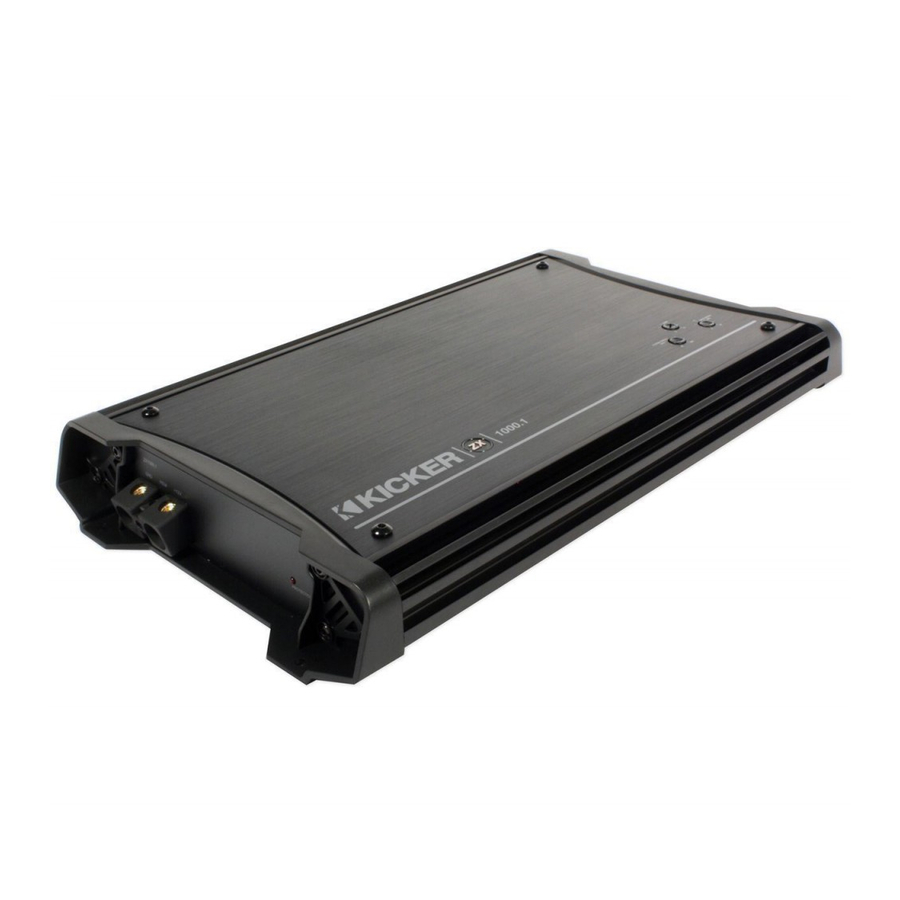
. . . as easy as 1, 2, 3 1. Mounting Choose a structurally sound location to mount your Kicker amplifier. The controls on the top of the amplifier need to be accessible for adjustment. Make sure there are no items behind the area where the screws will be driven. -
Page 3: Troubleshooting
Operation Your Kicker ZX.1 series amplifier has three rotary controls on top and one switch on the end-panel. Before turning on the system for the first time, turn the three rotary controls on the top of the amplifier to the full counter-clockwise position. -
Page 4: Instalación
Instalación tan fácil como 1, 2 y 3 1. Montaje Escoja una ubicación estructuralmente sólida para instalar su amplificador Kicker. Los controles en la parte superior del amplificador tienen que ser accesibles para ajuste. Asegúrese de que no haya ningún artículo detrás del área donde los tornillos serán atornillados. -
Page 5: Operación
Operación Su amplificador Kicker de la serie ZX.1 tiene tres controles giratorios en la parte superior y un interruptor en el tablero final. Antes de encender el sistema por primera vez, mueva los tres controles giratorios en la parte superior del amplificador hacia la posición totalmente en sentido contrario a las agujas del reloj. - Page 6 Erdungskabel zuletzt entfernt werden. Gehen Sie in umgekehrter Reihenfolge zur Installation vor. Bezüglich der Kabel richten Sie sich nach den Empfehlungen aus dem Schaubild. 3. Einstellungen Die folgende Abbildung zeigt die geläufigste Einstellung für Ihren Kicker ZX Serie Verstärker.
-
Page 7: Leistung
0 bis +18dB Förderung @ 40Hz Falls Sie mehr Fragen zur Installation oder zum Betrieb Ihres neuen KICKER Produkts haben, wenden Sie sich bitte an Ihren KICKER Händler, wo Sie das Gerät gekauft haben. Für weitere Installationshinweise schauen Sie auf der KICKER Homepage www.kicker.com unter Support nach. -
Page 8: Montage
Installation . . . aussi simple que 1, 2, 3 1. Montage Choisissez un emplacement suffisamment solide pour le montage de votre amplificateur Kicker. Les réglages sur le dessus de l'amplificateur devront être accessibles pour pouvoir effectuer la correction. Il faut s'assurer qu'il n'y a pas de choses derrière l'emplacement, où... -
Page 9: Opération
été hors phase. Si vous avez d'autres questions relatives à l'installation et à l'utilisation de votre nouvel produit KICKER, contactez le revendeur agrée KICKER, dont vous l'avez acheté. Pour en savoir davantage, cliquez l'onglet SUPPORT dans la page d'accueil Kicker, www.kicker.com Choisissez l'onglet SUPPORT TECHNIQUE, choisissez le sujet de votre intérêt et vous pouvez télécharger ou lire les informations... - Page 10 ElectronicsLimitedWarranty Kicker warrants this product to be free from defects in material and workmanship under normal use for a period of THREE (3) MONTHS from date of original purchase with receipt. When purchased from an Authorized KICKER Dealer it is warranted for TWO (2) YEARS from date of original purchase with receipt. In all cases you must have the original receipt.
Need help?
Do you have a question about the ZX2500.1 and is the answer not in the manual?
Questions and answers