
Related Manuals for Keys Fitness DCV560HR


Summary of Contents for Keys Fitness DCV560HR
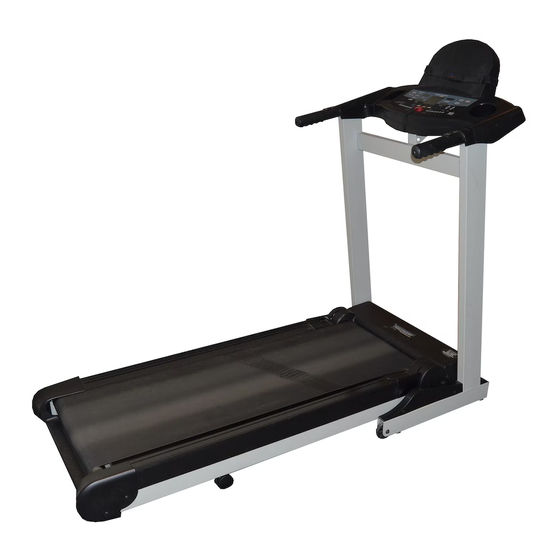
- Page 1 DISCOVERY 415/560HR TREADMILL OWNER’S MANUAL Keys Fitness Treadmills Manufactured in the USA by: KEYS Fitness Products, LP P.O. Box 551239 Dallas, Texas 75239 PART# 15-0111...
-
Page 2: Table Of Contents
Table of Contents Information Table of Contents Specification Sheet Important Safety Information Before You Start Warm Up Exercises Assembly, Moving Instructions Power Requirements Console Functions and Descriptions Program and Operating Instructions Program Descriptions and Profiles Belt Adjustments and Tension Maintenance Instructions Change to MPH or Km/H Troubleshooting Guide Parts and Diagrams... -
Page 3: Specification Sheet
Speed Range Belt Size Front Hand Rails Side Hand Rails Foot Print Foot Print Folded Warranty Motor Warranty Parts Warranty Labor Warranty Frame DCV415 DCV560HR 1.75hp 2.0hp 5 Window LCD 5 Window LCD Push button Push Button 2.5” 2.5” 0-10mph 0-10mph 20”... -
Page 4: Important Safety Information
Never insert any object or body parts into any opening. For safety and to prevent damage to your treadmill, no more than one person should use the treadmill at a time. Always unplug the treadmill before cleaning and/or servicing. Service to your treadmill should only be performed by an authorized service representative, unless authorized and/or instructed by the manufacturer. -
Page 5: Before You Start
Before You Start Thank you for purchasing a KEYS treadmill! The DCV415 and DCV560HR were designed to meet your needs for cardiovascular exercise. Before you start, please read the Owner’s Manual and become familiar with the operation of your new treadmill. -
Page 6: Warm Up Exercises
Warm Up Exercises EXERCISE GUIDELINES ! Before beginning this or any exercise program, you should consult your physician. This is espe- WARNING cially important for individuals over the age of 35 or individuals with pre-existing health problems. Warming up prepares the body for the exercise by increasing circulation, supplying more oxygen to the mus- cles and raising body temperature. -
Page 7: Assembly, Moving Instructions
TREADMILL. With the treadmill in the folded locked position (safety latch is engaged), grasp the handrails and place one foot on the base as shown in the photo below. Next, with a firm grasp on handrails, place one foot on the center of the base crossbar and carefully tilt the treadmill back until it rolls freely on the wheels. -
Page 8: Power Requirements
This treadmill can be seriously damaged by sudden voltage changes in your home’s electrical power. Voltage spikes, surges, and noise interference can result from weather conditions or from other appliances being turned on or off. To reduce the possibility of treadmill damage, always use a surge protector (not included) with your treadmill. -
Page 9: Console Functions And Descriptions 10
There is a 4 second countdown built in as a safety feature to let you know the treadmill belt is about to start moving. Use the START/STOP button also to stop your treadmill after your workout. The belt will gradually come to a stop after pressing the button. - Page 10 Console Functions and Descriptions DCV560HR PROGRAM BUTTONS - These buttons are used to access each of the three programs: Fat Burn, Cardio, and Warm Up. Each program has one preset program, and two additional custom programs in the P1 and P2 mode.
-
Page 11: Time Window
PULSE ( DCV560HR Model Only): Indicates current heart rate HEART “ ” (DCV560HR Model only): Indicates control panel is receiving a signal from heart rate transmitter. Heart will blink on and off if receiving signal from Heart Rate Transmitter chest strap. -
Page 12: Program And Operating Instructions
To end your workout, press START/STOP button. Belt will gradually slow to zero. To pause your workout, press PAUSE. To re-start after pausing: Press the PAUSE button. WARNING: The treadmill belt will resume at the speed the treadmill was moving before pausing. -
Page 13: Program Mode
Press POWER button. There will be an eight (8) second delay after pressing the POWER button before data can be entered. The TIME window will flash. There are three (3) pre-set programs on the DCV415 and DCV560HR. Programs include Fat Burn, Cardio, and Warm Up programs. The DCV560HR also includes a Heart Rate Interactive program (see the program profiles later in this manual). -
Page 14: Program And Operating Instructions 12,13
Press POWER button. There will be an eight (8) second delay after pressing the POWER button before data can be entered. The TIME window will flash. The “Heart” shape on the treadmill will be flashing if the Heart Rate Transmitter is transmitting. Adjust the strap on the chest until the console is picking up a signal. -
Page 15: Program Descriptions And Profiles
Program Profiles SPEED INCLINE 1 2 3 4 5 6 7 8 9 10 The Fat Burn Program is designed to vary the treadmill elevation, while maintaining a constant walking belt speed. SPEED INCLINE 1 2 3 4 5 6 7 8 9... -
Page 16: Belt Adjustments And Tension
WALKING BELT IS SHIFTING TO THE LEFT (Diagram 1) First, turn treadmill on to run at 1 mph. Using the hex key provided, turn the left rear roller adjustment bolt ¼ turn in the clockwise direction. -
Page 17: Maintenance Instructions
CLEANING Routine cleaning of your Keys Fitness treadmill will extend the life of your treadmill. WARNING! To prevent electrical shock, be sure the power to the treadmill is OFF and the unit unplugged from the wall electrical outlet before attempting any cleaning or maintenance. -
Page 18: Change To Mph Or Km/H
1) Turn power OFF on the console. (Do not unplug treadmill) Attach the magnet safety key to the console. 2) Activate the calibration mode switch by inserting the eraser end of a pencil into the opening in the backside of the console (see diagram below). -
Page 19: Troubleshooting Guide
(Refer to “Power Requirements” on page 8) 3) Check the circuit breaker located on the front of the treadmill. If the switch protrudes, it has tripped. Wait five minutes and then press the switch back in. -
Page 20: Parts And Diagrams
Please review the following drawing below to familiarize yourself with the listed parts. This manual covers several treadmills, so the one pictured below may not be identical to your particular model. DCV560HR 05-0041-Extrusion side board deluxe/left 05-0041-Extrusion side board deluxe/right... -
Page 21: Parts List
INST MANUAL NEW FOLD PAGE 21 *06-0068 SUPPORT-PC BOAD=HRC *07-0020 RECEIVER DISCRETE-LED HRC *07-0041 STRAP-CHEST-NO LOG AL HR UNITS *13-0017 HARNESS-TELCO-HRD *14-0171 STICKER MOTOR HP 2.0 *14-0331 CONSOLE ASSEMBLY DCV560HR *24-0176 FRONT ROLLER ASSEMBLY *24-0182 CONSOLE ASSEMBLY DCV560HR *25-0092 INST PACKER DCV560HR... -
Page 22: Warranty Registration (Mail In Form)
This Limited Warranty applies in the United States and Canada only to products manufactured or distributed by Keys Fitness Products, LP (“Keys”) under the Keys brand name. The warranty period to the original purchaser of the DCV415 and DCV560HR treadmills are (lifetime) on the frame and one (1) year labor. In addition, the DCV415 and DCV560HR includes ten (10) years on the motor and two (2) year parts warranty.
Need help?
Do you have a question about the DCV560HR and is the answer not in the manual?
Questions and answers