Advertisement
Table of Contents
- 1 Definitions: Safety Guidelines
- 2 Safety Instructions for Power Tools
- 3 Laser Information
- 4 Work Area Safety
- 5 Personal Safety
- 6 Electrical Safety
- 7 Operating Tips
- 8 Low Battery Indication
- 9 Using the Laser
- 10 Maintenance
- 11 Field Calibration Check
- 12 Troubleshooting
- 13 Specifications
- Download this manual
Advertisement
Table of Contents

Summary of Contents for DeWalt DW089-XE
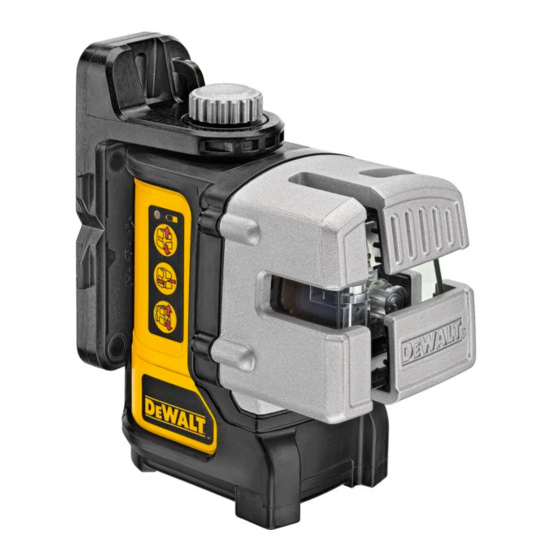
- Page 1 INSTRUCTION MANUAL DW089-XE 3 BEAM LINE LASER...
-
Page 3: Definitions: Safety Guidelines
WARNING! Laser radiation exposure. Do not disassemble or modify the laser Definitions: Safety Guidelines level. There are no user serviceable parts inside. Serious eye injury could result. The definitions below describe the level of severity for each signal WARNING: Hazardous radiation. Use of controls or adjustments or performance word. -
Page 4: Laser Information
• The label on your tool may include the following symbols. The DW089-XE 3 Beam Line Laser is a Class 2 laser product and complies with V ........volts 21 CFR 1040.10 and 1040.11 except for deviations pursuant to laser notice No. 50, mW ....... -
Page 5: Personal Safety
ELECTRICAL SAFETY • Dress properly. Do not wear loose clothing or jewelry. Keep your hair, clothing and gloves away from moving parts. Loose clothes, jewelry or long hair can be • Use battery operated tool only with the specifically designed batteries. Use of caught in moving parts. -
Page 6: Low Battery Indication
See Field Calibration Check. LOW BATTERY INDICATION The DW089-XE laser is equipped with a red indicator light (B), as shown in Figure 2. (–) The red indicator light is located to the left of the on/off buttons (C, D, E). -
Page 7: Maintenance
AVERAGE The fine adjustment knob (H) on the top of the DW089-XE is for lining up the vertical longer between flashes to make it easier beams. Place the DW089-XE on a flat surface and turn the knob to the right to move to do angled work. -
Page 8: Field Calibration Check
Cleaning 1. Attach the laser to a wall using its pivot bracket, with the laser facing straight ahead toward the opposing wall (0 degree position). Exterior plastic parts may be cleaned with a damp cloth. Although these parts are 2. Turn on the laser’s horizontal beam and mark the beam position on the opposing solvent resistant, NEVER use solvents. - Page 9 6. Adjust the height of the laser so that the center of the beam is aligned with the Distance Allowable Distance nearest mark (D). Between Walls Between Marks 7. Mark the center of the beam (E) directly above or below the farthest mark (C). 8.
- Page 10 CHECKING ACCURACY – VERTICAL BEAMS (FIG. 8) 5. Measure the distance between the two ceiling marks (G, H). If the measurement is greater than the values shown below, the laser must be serviced at an Checking the vertical (plumb) calibration of the laser can be most accurately done authorized service center.
- Page 11 Checking 90º accuracy requires an open floor area at least 10 m x 5 m (33' x 18'). Refer to Figure 9 for the position of the DW089-XE at each step and for the location of the marks made at each step. Always mark the center of the beams’ thickness.
-
Page 12: Troubleshooting
THE LASER BEAMS FLASH Flashing laser beams: tilt range exceeded The DW089-XE is designed to self-level up to an average of 4° in all directions Power source 4 AA (1.5V) size batteries (6V DC) when positioned as shown in Figure 3. If the laser is tilted so much that the internal mechanism cannot level itself, it will flash the laser beams –... - Page 13 USING THE LASER WITH ACCESSORIES (FIG. 2, INSET) The laser is equipped with a 1/4" x 20 female thread (I) on the bottom of the unit. This thread is to accommodate current or future D WALT accessories. Only use D WALT accessories specified for use with this product.
- Page 16 1800 444 224 (Aust) or 0800 339 258 (NZ) www.dewalt.com.au • www.dewalt.com.nz (SEP11) Part No. N135410 DW089-XE Copyright © 2011 D WALT The following are trademarks for one or more D WALT power tools: the yellow and black color scheme; the “D” shaped air intake grill; the array of pyramids on the handgrip;...


Need help?
Do you have a question about the DW089-XE and is the answer not in the manual?
Questions and answers