Table of Contents
Advertisement
Quick Links
AUDIOBYTE
___________________________________________________________________________________
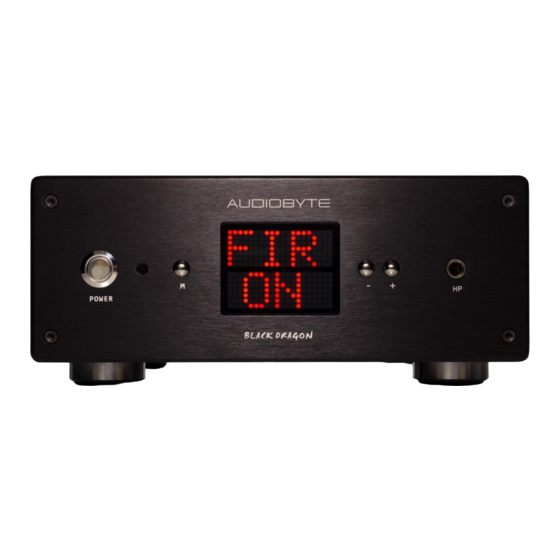
AUDIOBYTE BLACK DRAGON - user manual
Thank you for buying the Audiobyte Black Dragon DAC/digital audio preamplifier. You
have now one of the finest devices of it's kind available on the market.
The Black Dragon was designed to give you countless hours of musical enjoyment.
The package you received should contain:
Audiobyte Black Dragon digital preamplifier, black anodized
-
Power supply cord
-
Infrared remote control
-
Safety Precautions:
1) This device is meant for indoor use only.
2) Protect device from excessive heat, humidity and liquid filled objects, such as vases.
3) Clean only with dry cloth.
4) Do not remove product covering. This may cause an electric shock even if the device is not
plugged in.
5) Use earth grouded outlet if applicable.
6) Before plugging any cables in the device, make sure it is turned off.
7) Do not move the device while operational.
Digital Preamplifier
BLACK DRAGON
Advertisement
Table of Contents

Summary of Contents for AUDIOBYTE BLACK DRAGON
- Page 1 Thank you for buying the Audiobyte Black Dragon DAC/digital audio preamplifier. You have now one of the finest devices of it’s kind available on the market. The Black Dragon was designed to give you countless hours of musical enjoyment. The package you received should contain:...
-
Page 2: Product Description
AUDIOBYTE Digital Preamplifier BLACK DRAGON __________________________________________________________________________________ 8) Lightning or static electricity can affect normal operation of the apparatus. Make sure that it is unplugged during a thunderstorm. If the device is affected by one of these conditions and stops behaving as it should, a power reset usually resumes it’s normal operation. -
Page 3: Back View
1) Connect the Black Dragon to the mains. 2) Connect the necessary inputs and outputs. 3) Make sure you power up the Black Dragon before the power amplifier you are using and shut it down after the power amplifier. In respect to signal purity path, the dac does not have muting relays in the signal path. - Page 4 AUDIOBYTE Digital Preamplifier BLACK DRAGON __________________________________________________________________________________ The input can be : USB, RCA, XLR, OPT and I2S. Sample rate can vary from 44 to 384k for PCM signal. DSD type of signal is indicated with D64 (for DSD 2.8 Mhz) or D2X (for DSD 5.6 Mhz).
-
Page 5: Volume Control
AUDIOBYTE Digital Preamplifier BLACK DRAGON __________________________________________________________________________________ When no signal is detected on the selected input, three horizontal lines will indicate the lack of the input signal. VOLUME CONTROL To use the preamplifier section of the dac, you can directly press “+” or “-“ keys on the unit (keys 5,6) and volume value will show up on screen for a couple of seconds. -
Page 6: Firmware Update
The Black Dragon is a software-defined processor; this means it’s internal digital hardware architecture is mostly defined by a piece of software. The update file for Black Dragon consists of a special wav file supplied by Audiobyte. To properly use it, a bitperfect playback setup is required. We recommend Foobar2000 in Kernel Streaming or Wasapi mode. -
Page 7: Remote Control
A long press on the central key will exit the menu. The “DISP” key can be used to toggle the display on/off. USB CONFIGURATION The BLACK DRAGON is up-to-date with all available resolution formats. For the computer playback side, please consider the following informations. Recommended software players:... - Page 8 Do not connect the USB cable to the computer before driver installation. If you have already connected the dac to the PC, click Cancel on the screen that has showed up and remove the USB cable. 1. Go to product’s page on www.audiobyte.net 2. Download the compatible drivers. 3. Unpack zip archive.
- Page 9 AUDIOBYTE Digital Preamplifier BLACK DRAGON __________________________________________________________________________________ 7. Wait for the driver to be copied and then click Finish: 8. Connect the dac to the PC. In the dialog below, select “No, not this time” and then click “Next”.
- Page 10 AUDIOBYTE Digital Preamplifier BLACK DRAGON __________________________________________________________________________________ 9. In the new window select “Install the software automatically” and click “Next”. 10. Click the “Continue Anyway” button.
- Page 11 BLACK DRAGON __________________________________________________________________________________ 11. Wait for the files to be copied and click “Finish”. Select Audiobyte Kernel Streaming as output device in your music player or Windows(Control Panel->Sounds and Audio Devices->Audio->Sound playback). To adjust device volume, open Start->Programs->Accessories->Entertainment->Volume Control, enter Options->Properties, select Audiobyte Kernel Streaming as Mixer device, select all volume controls and click OK.
-
Page 12: Warranty Coverage
AUDIOBYTE Digital Preamplifier BLACK DRAGON __________________________________________________________________________________ ROCKNA LIMITED WARRANTY THREE (3) YEARS This Limited Warranty applies only to the new WARRANTY COVERAGE: ROCKNA warranty obligation is limited to the products manufactured by or for Rockna that can terms set forth below. - Page 13 AUDIOBYTE Digital Preamplifier BLACK DRAGON ___________________________________________________________________________________ • A product that requires modification or adaptation to enable it to operate in any country other than the country for which it was designed, manufactured, approved and/orauthorized, or repair of products damaged by these modifications.
- Page 14 AUDIOBYTE Digital Preamplifier BLACK DRAGON ___________________________________________________________________________________ Document version and performed modifications: Version Date Description 1.00 17-07-2014 Initial release...
Need help?
Do you have a question about the BLACK DRAGON and is the answer not in the manual?
Questions and answers