
Related Manuals for Safety Vision SV-CLCD56B1


Summary of Contents for Safety Vision SV-CLCD56B1
- Page 1 COLLISION AVOIDANCE CAMERA SYSTEMS Corporate Headquarters 6100 W. Sam Houston Pkwy. N. Houston, TX 77041-5113 Toll Free: 800.880.8855 Main: 713.896.6600 Fax: 713.896.6640 www.safetyvision.com 05/08...
- Page 2 Any changes or modifications in construction of this device which are not expressly approved by the party responsible for the compliance could void This material is confidential and the property of Safety Vision. It is shared with the user’s authority to operate the equipment.
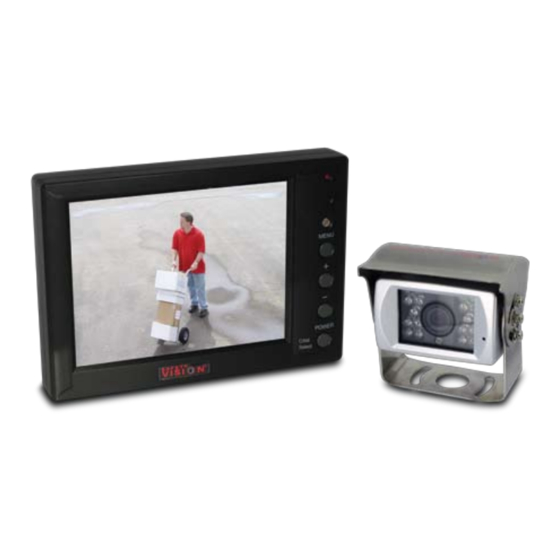
- Page 3 LCd56B1 system Features The SV-CLCD56B1 is unique to other Rear Vision Systems in that it has seperate green and yellow wires for video and audio triggers, Monitor respectively. • 5.6-inch TFT LCD screen • Wide field of view •...
- Page 4 Contents Return the SV-CLCD56B1 for service when: SV-CLCD56B1 System Features ................... 4 Monitor Controls ........................5 • Previous troubleshooting flowcharts do not solve the problem. • After comfirming the Color, Contrast, and Brightness controls are properly Tools Required for Troubleshooting ..................
- Page 5 troubleshooting: the power Led is not on Monitor Controls The monitor’s Power LED is not on. Check the fuse located on the red wire. See picture below. Check for 12V at the end of the red wire. Confirm black wire is connected to a good ground on the chassis. If there is voltage on the red wire and the black wire is connected properly, return the unit for service.
- Page 6 6) poWer ButtoN tools required for troubleshooting Press once while in Stand By Mode to turn monitor on. When on, press once to cycle through CA1, CA2, and AUX inputs. Press and hold to return monitor to • DVM (Digital Voltmeter, set to DC) Stand By Mode.
Need help?
Do you have a question about the SV-CLCD56B1 and is the answer not in the manual?
Questions and answers