
Related Manuals for Kenmore 790.75603


Summary of Contents for Kenmore 790.75603
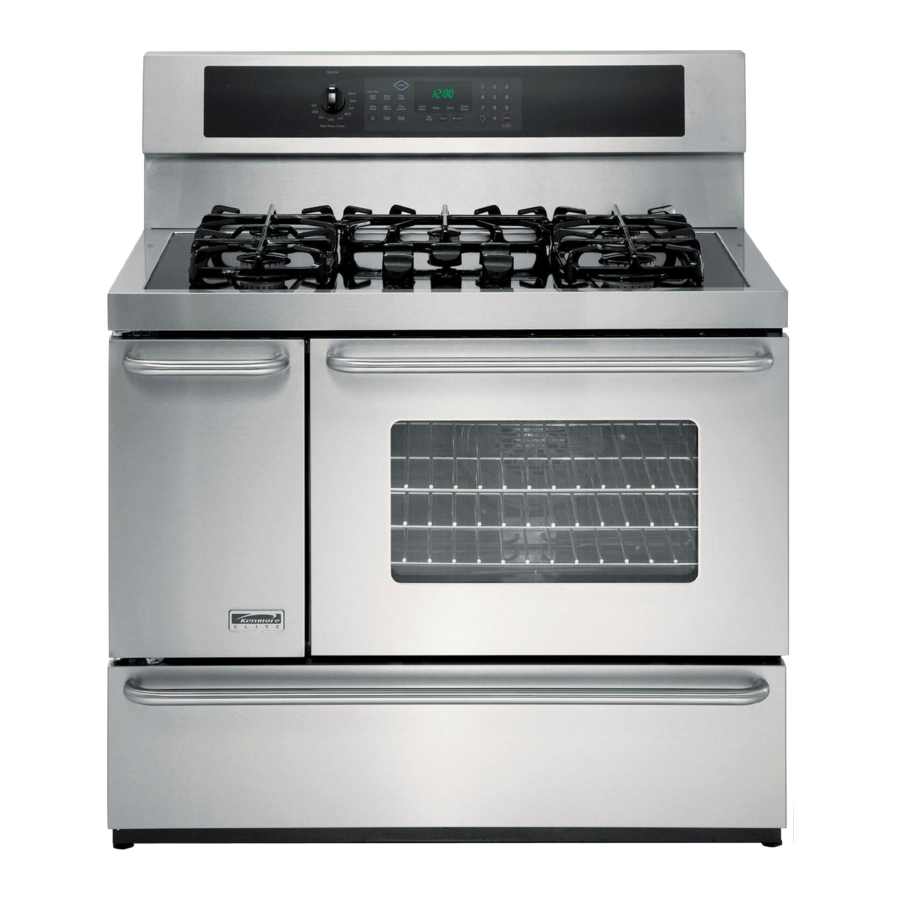
- Page 1 Dual Fuel Range Estufa de dual fuel Model/Modelo 790.75603 Sears Roebuck and Co., Hoffman www.sears.com ® Estates, IL 60179 U.S.A. P/N 318200767 Rev.A (0801)
-
Page 2: Table Of Contents
Table of Contents Kenmore Elite Warranty ... IMPORTANT SAFETY INSTRUCTIONS ... Serial Plate Location ... Product Record ... Range Features ... Conversion to Liquefied Petroleum Gas (or L.P, Gas),,, 7 Surface Cooking ... Before Setting Surface Controls ... Setting Surface Controls ... -
Page 3: Important Safety Instructions
Do not allow children to climb or play around the range. The weight of a child on an open door may cause the range to tip, resulting in serious burns or other injury. - Page 4 Any other use of to burst and result in protective liners or aluminum foil may result in a risk of electric shock or fire or short circuit. range if it • Glazed cooking glass/ceramic, utensils are suitable for rangetop service without breaking due to the sudden change in temperature.
-
Page 5: Serial Plate Location
INSTRUCTIONS YOUR OVEN • Use care when opening oven door--Stand of the range when opening the door of a hot oven. Let hot air or steam escape before you remove or replace food in the oven. • Keep ovens vents unobstructed, own vent located on the top, near each side and towards the back of the cooktop. -
Page 6: Range Features
Range features Stand Adjustable Oven Racks Grill Grid Side Broil Pan Oven Door Drawer Cast Iron Grates Side Oven Vent Standard Burner (9500 BTU) Power (12000 BTU) Electronic Oven Controls Side Oven Thermostat Cooktop Surface Burner Control Knobs Broil Element... -
Page 7: Conversion To Liquefied Petroleum Gas (Or L.p, Gas)
Only a qualified service agent should perform the L. P. conversion. Contact the local gas provider for conversion. The L. P. Conversion Kit is supplied with this range and is located on the main back of the range. The kit contains installation instructions which must be read before and followed carefully when installing the kit. - Page 8 Surface Cooking Specialty Pans & Trivets DO NOT use a wok if it is equipped with a metal ring that extends beyond the burner unit. Because this ring traps heat, the cooktop surface could be damaged. Canning Tips & Information Canning can generate large amounts of steam.
-
Page 9: Surface Cooking
Allow the wok stand to cool before removing. Do not set hot wok stand on surfaces that cannot withstand high heat such as countertops. The Wok Stand provided with your range is designed to allow only round-bottomed woks up to 14 inches in diameter (35.5 cm). -
Page 10: Before Setting Surface Controls
Before Setting Surface Controls Locations of the Gas Surface The STANDARD sized burners are used for most surface cooking needs. These burners are located at the left and right rear positions on the cooktop. The SIMMER burner is used to simmering delicate aliments as chocolate, sauces, etc. -
Page 11: Setting Surface Controls
Do not place plastic items such as salt and pepper shakers, spoon holders or plastic wrappings on top of the range when it is in use, These items could melt or ignite. Potholders, towels or wood spoons could catch fire if placed too close to a flame. -
Page 12: Before Setting Oven Controls
Before Setting the Oven Controls Oven Vent(s) and Racks Oven Vent Locations Each oven has its own vent located on the top, near each side and towards the back of the cooktop. When an oven is on, warm air is released through the vent;... -
Page 13: Setting Side Oven Control
Setting Side Oven Control Left Oven Temperature Control Knob Broil • 250 . 300" Broil Stop Position Side Oven Bake Arrange oven racks while the oven is still cool. Turn the Temperature Control Knob to the desired oven temperature. When the oven is first turned on, the oven indicator light above the Temperature Control Knob will glow. -
Page 14: Control Pad Features
Control Pad Features READ THE INSTRUCTIONS CAREFULLY familiar with the various features and functions and function follow later in this Use & Care DELAY START-- Use with FLEX CLEAN PAD-- BAKE, CONV BAKE, select the Self- PREHEA T, SLOW COOK COOK TIME and CLEAN to Cleaning feature,... -
Page 15: Setting The Oven Controls
The clock has been preset at the factory for the 12 hour operation. range is first plugged in, or when the power supply to the range has been interrupted, the timer in the display will flash with "PF" (power failure, See Figure 1). - Page 16 Setting Oven Controls Setting Continuous Bake or 12 Hour Energy Saving The TIMER _ and FLEX CLEAN _ control has a factory preset built-in 12 Hour Energy Saving feature that will shut off the oven if the oven control is left on for more than 11 hours and 59 minutes.
- Page 17 To tell if your range is set for normal or silent operation press and hold @. "--:--" will appear and "DELAY" will flash in the display (Figure 3). After 7 seconds "SP" (Speaker) will appear in the display (Figure 4).
- Page 18 Setting Oven Controls Consumer Defined Control Features Setting Temperature Display -- Fahrenheit The BROIL Broiij:and FLEX CLEAN @ oven control can be programmed to display temperatures factory to display in Fahrenheit. INSTRUCTIONS To change display from Fahrenheit Celsius to Fahrenheit To tell if the display is set for Fahrenheit or Celsius press ;...
- Page 19 Setting Oven Controls Setting Preheat The PREHEAT _ pad controls the Preheat feature. The Preheat feature will bring the oven up to temperature and then indicate when to place the food in the oven. Use this feature when recipes call for preheating. Preheating is not necessary when roasting or cooking casseroles.
- Page 20 Setting Oven Controls Setting Bake The BAKE "Bake _ pad controls normal baking. If preheating is necessary, refer to the @ instructions. The oven can be programmed to bake at any temperature from 170 ° F to 550 ° F (the sample shown below is for 350°F).
- Page 21 Oven too hot. the center. • Incorrect pan size. • Pan not centered in oven. Cakes not level. • Range not level. • Pan too close to oven wall or rack overcrowded. • Pan warped. • Oven too cool. Foods not done when cooking •...
- Page 22 Setting Oven Controls Setting Convection Bake The CONVECTION BAKE '_'_. pad controls the Convection Bake feature. Use the Convection Bake feature when cooking speed is desired. The oven can be programmed for Convection baking at any temperature C) to 550 ° F (288 ° C). Convection baking uses a fan to circulate the oven's heat evenly and continuously within the oven (See Figure 1 ).
- Page 23 Setting Oven Controls Setting Convection Roast This method of cooking enables you to obtain the best results when roasting. The oven can be programmed to convection roast at any temperature adjusted for convection roasting when using the convection mode. Times may be reduced by as much as 30% when using the convection feature.
- Page 24 Setting Oven Controls Setting the Slow Cook Feature The _ SLOW COOK pad is used to activate this feature. The Slow Cook feature may be used to cook foods slowly, at lower oven temperatures and provides cooking results much the same way as a Slow Cooker or Crock-Pot. The Slow Cook feature is ideal for roasting beef, pork &...
- Page 25 Setting Oven Controls Setting Timed Bake, Timed Convection The BAKE 'Bak_ or CONVECT ON BAKE <h control the Timed Bake feature. The automatic timer of the Timed Bake feature will turn the oven OFF after cooking for the desired amount of time you selected. INSTRUCTIONS To program the oven to begin baking automatically...
- Page 26 Setting Oven Controls Setting Delayed Timed Bake or Delayed Timed Convection The BAKE B_k_ or CONVECT ON BAKE _, Delayed Time Bake feature. The automatic timer of the Delayed Time Bake will turn the oven on and off at the time you select in advance.
- Page 27 Setting Oven Controls Setting the Food Categories The CAKES _ BREADS items. These pads have been designed to give optimum cook performance for the foods selected in each category. The CAKES pad provides a preheat with a gentle cycling of heat giving cakes more volume and allowing delicate foods to cook more evenly.
- Page 28 Setting Oven Controls Setting the Warm & Hold The Warm & Hold _ pad turns ON the Warm & Hold feature and will maintain an oven temperature of 170°F (77°C). The Warm & Hold feature will keep oven baked foods warm for serving up to 3 hours after cooking has finished. After 3 hours the Warm &...
- Page 29 Setting Oven Controls Broil Stop Position Main Oven Broiling Information Broiling is a method of cooking tender cuts of meat by direct heat from the broil element of the oven. Meats are placed on the broiling rack and the rack is placed under the broiling element.
- Page 30 Searing Grill using Broil for 10 minutes. Cook times should be reduced 1-2 minutes per side when cooking with the Searing Grill. Place Searing Grill on top of Broiler Pan and insert for meats and steaks (See Figure 6). Electric Range Broiling Table Recommendations Food Rack...
- Page 31 Setting Oven Controls To Set the Sabbath Feature (for use on the Jewish Sabbath & Holidays) Tined Oven The @ COOK TIME and _ DELAY START pads are used to set the Sabbath feature. The Sabbath feature only be used with the :_Bakepad. The oven temperature (oven temperature adjustment should be used only during Jewish Holidays), however the display will not visibly show or provide any audible tones indicating whether the change occurred correctly.
- Page 32 Setting Oven Controls To Set the Sabbath Feature (for use on the Jewish Sabbath Should you experience a power failure or interruption, the oven will shut off. When power is returned the oven will not turn back on automatically. You should remove the food when the power failure occurs, because you may only start the oven once during the Sabbath/Jewish oven may be used with all normal functions.
-
Page 33: Self=Cleaning
Self-Cleaning During the Self- Cleaning cycle, the outside of the range can become very hot to the touch. DO NOT leave small children unattended near the appliance. r!_.lv-'_lll|e]#| The health of some birds is extremely sensitive to the fumes given off during the Self- Cleaning cycle of any range. - Page 34 Self-Cleaning What to Expect during Cleaning While the oven is in operation, the oven heats to temperatures much higher than those used in normal cooking. Sounds of metal expansion and contraction are normal. Odor is also normal as the food soil is being removed. Smoke may appear through the oven vent.
- Page 35 Self-Cleaning To Start the delayed Self-Clean The FLEX CLEAN _, DELAY START @ operation. The automatic timer will turn the oven on and off at the time you select in advance. Be sure to review TO START THE SELF-CLEAN CYCLE for recommended INSTRUCTIONS To set the control for the Self-Cleaning start at a delayed...
-
Page 36: Adjusting The Oven Temperature
Self-Cleaning INSTRUCTIONS Stopping or Interrupting a Self-Cleaning If it becomes necessary to stop or interrupt a self-cleaning cycle due to excessive smoke or fire in the oven: 1. Press @. Once the oven has cooled down for approximately and the "DOOR LOCKED" icon is no longer displayed, the oven door can then be opened (Figure 1). -
Page 37: Porcelain Enamel Oven Cleaning
Avoid bending the bulb and capillary tube. 3. DO NOT spray any cleaner on the oven door trim or gasket, handles or any ,, ... exterior surfaces of the range, wood or painted surfaces. The cleaner can damage these surfaces. - Page 38 Ceramic Glass Cooktop Cleaning & Maintenance Prior to using your cooktop for the first time, apply the recommended to the ceramic surface. Clean and buff with a non abrasive make cleaning easier when soiled from cooking. The special cooktop cleaning cream leaves a protective finish on the glass to help prevent scratches and abrasions.
-
Page 39: Ceramic Glass Cooktop Cleaning & Maintenance
Ceramic Glass Cooktop Cleaning & Maintenance Special Caution for Aluminum Foil and Aluminum Cooking Utensils • Aluminum foil Use of aluminum foil will damage the cooktop. Do not use under any circumstances. • Aluminum utensils Since the melting point of aluminum is much lower than that of other metals, care must be taken when aluminum pots or pans are used. -
Page 40: General Cleaning & Maintenance
Various Parts of Your Range Before cleaning any part of the range, be sure all controls are turned OFF and the range is COOL. REMOVE SPILLOVERS AND HEAVY SOILING AS SOON AS POSSIBLE. REGULAR CLEANING NOW WILL REDUCE THE EXTENT OF MAJOR CLEANING LATER. - Page 41 Pull the bearing glides to the front of the range (see figure 2). Align the drawer glides with the slots on the bearing glides. Push the drawer into the range until the glides levers "click" (approx. 2 in.). Pull the drawer open again to seat it into position.
-
Page 42: Before You Call
Poor installation. To level range, refer to Leveling Guide, in the Installation Instructions. When range is level, cooktop may appear out of alignment if countertop is not level. Weak, unstable floor. Be sure floor is level and can adequately support range. Contact a carpenter to correct sagging or sloping floor. - Page 43 Metalmarks. Sliding or scraping of metal utensils on cooktop surface. Do not slide metal utensils on cooktep surface. Use a ceramic-glass cooktop cleaning cream to remove the marks. See "Ceramic Glass Cooktop Cleaning and Maintenance" section under General Cleaning. Brown streaks or specks. Boilovers are cooked onto surface.
-
Page 44: Protection Agreements
Master Protection Agreements Congratulations on making a smart pumhase. Your new Kenmore®product is designed and manufactured for years of dependable operation. But like all products, it may require preventive maintenance or repair from time to time.That's when having a Master Protection Agreement can save you money and aggravation. -
Page 45: Notes
Notes... -
Page 46: Sears Service
For expert troubleshooting For repair - in your lawn and garden equipment, no matter For the replacement owner's manuals For Sears professional and items like garage door openers 1-800-4-MY-HOME ® Call anytime, www.sears.corn For repair of carry-in and electronics, S_;rs 1-800-488 1222 (U.S.A.) www.sears.com...