Table of Contents
Advertisement
Read and understand this manual before use. Keep this manual for future reference.
Lea y entienda este manual antes de usar. Guarde este manual para futura referencia.
Veuillez lire attentivement et comprendre ce manuel d'utilisation avant d'utiliser l'aspirateur de
détritus secs et de liquides. Conserver ce manuel pour référence ultérieure.
Distributed By / Distribuido Por
Cleva North America Inc.,
601 Regent Park Court
Greenville, SC 29607
Aspirateur De Détritus Secs Et De Liquides
Operator's Manual
Manual Del Usuario
Manuel d'utilisation
1.5 Gal / 5.7 L
Model No. • Modelo • Modèle n˚
AA155
FOR YOUR SAFETY:
PARA SU SEGURIDAD:
POUR VOTRE SÉCURITÉ:
Aspiradoras Mojado/Seco
ARMOR ALL and the ARMOR ALL logo are registered
trademarks of The Armor All/STP Products Company
and are used under license by Cleva North America Inc.
All Rights Reserved.
ARMOR ALL et le logo de ARMOR ALL sont des
marques déposées de Armor All/STP Products Company
et utilisés sous licence par Cleva North America Inc.
Tous droits réservés.
Wet / Dry Vacuums
EN
P 2
ES
P 13
FR
P 24
Advertisement
Table of Contents

Related Manuals for ArmorAll AA155


Summary of Contents for ArmorAll AA155
- Page 1 Cleva North America Inc. All Rights Reserved. Distributed By / Distribuido Por ARMOR ALL et le logo de ARMOR ALL sont des Cleva North America Inc., marques déposées de Armor All/STP Products Company 601 Regent Park Court et utilisés sous licence par Cleva North America Inc.
-
Page 2: Table Of Contents
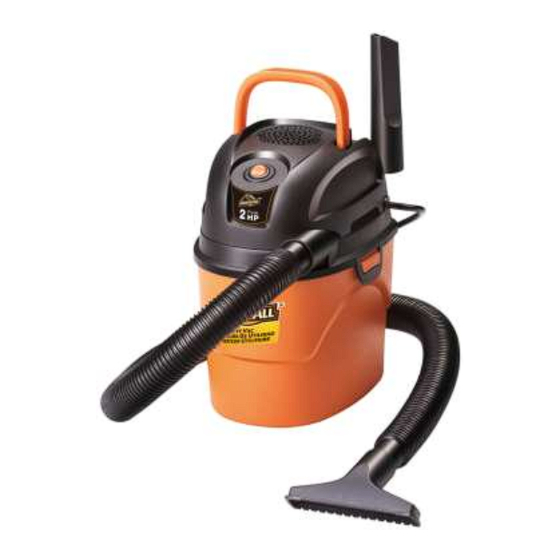
Troubleshooting………………………………………………………………………………………… Exploded View and Parts List…………………………………………………………………………. Thank you for purchasing this Armor All™ wet/dry vacuum cleaner. Feel confident that with our wet/dry vac you are obtaining a high quality product engineered for optimal performance. This vacuum is capable of picking up liquids and dry materials. -
Page 3: Safety Instructions And Warnings
SAFETY INSTRUCTIONS & WARNINGS IMPORTANT SAFETY INSTRUCTIONS READ AND UNDERSTAND ALL INSTRUCTIONS BEFORE USING THIS VACUUM. Read and understand this owner’s manual and all labels on the Wet/Dry Vacuum cleaner before operating. Safety is a combination of common sense, staying alert and knowing how your vacuum works. Use this Wet/Dry Vac only as described in this manual. -
Page 4: Double Insulation Instructions
DOUBLE INSULATION INSTRUCTIONS This Wet/Dry Vac is double-insulated, eliminating the need for a separate grounding system. Use only identical replacements parts. Read the instructions for Servicing Double-Insulated Wet/Dry Vacs before servicing. Use this Wet/Dry Vac as described in this manual. Observe the following warnings that appear on the motor housing of your Wet/Dry Vac. -
Page 5: Unpacking And Checking Carton Contents
UNPACKING AND CHECKING CARTON CONTENTS Remove entire contents of carton. Check each item against the carton contents list. Key Description……………………QTY Vac Assembly ....Hose ......Crevice Tool . -
Page 6: General Assembly Instructions
GENERAL ASSEMBLY INSTRUCTIONS Estimated Assembly Time: 25 minutes Tools Required for Assembly: Drill, Screwdriver Helpful Tools: Level WARNING: DO NOT PLUG IN POWER CORD TO POWER OUTLET, MAKE SURE PLUG IS DISCONNECTED BEFORE ASSEMBLING THE WET/DRY VAC. UNPACKING YOUR WET/DRY VACUUM & GENERAL ASSEMBLY 1. -
Page 7: Dry Vacuuming Operation
Do not screw the rack to drywall only. Secure the screws to a stud. Do not hang from or sit on the vacuum when on mounting rack. Do not use the vacuum while it is mounted on the wall mounting support. ... -
Page 8: Liquid Vacuuming Operation
DO NOT USE THE REUSABLE CLOTH FILTER FOR LIQUID VACUUMING. LIQUID VACUUM OPERATION LIQUID VACUUMING BE SURE TO READ, UNDERSTAND, AND APPLY INFORMATION, ENTITLED ‘SAFETY WARNING: INSTRUCTIONS & WARNINGS’. DO NOT VACUUM IN AREAS WITH FLAMMABLE GASES, VAPORS, OR EXPLOSIVE DUSTS IN THE AIR. FLAMMABLE GASES OR VAPORS INCLUDE BUT ARE NOT LIMITED TO;... -
Page 9: Maintenance
MAINTENANCE & FILTER CLEANING 1. Verify that the power cord is disconnected from the outlet. (fig.1) 2. Disconnect the hose from the vacuum. (fig.2) 3. Undo the latches and remove the power head from the container. (fig.3 & 4) 4. Clear all dirt or debris from the container and hose. (fig.5) For filter changing and maintenance see instructions on page 10. -
Page 10: Installing & Cleaning Reusable Cloth Filter
INSTALLING & CLEANING REUSABLE CLOTH FILTER Installing Reusable Cloth Filter 1. Verify that the power cord is disconnected from the outlet. (fig.1) 2. Remove power head and place in upside down position. 3. Slide reusable cloth filter down over the filter cage making sure the whole cage is covered. (fig.2 & 3) 4. -
Page 11: Troubleshooting
TROUBLESHOOTING WARNING: TO REDUCE THE RISK OF ELECTRIC SHOCK-UNPLUG BEFORE TROUBLESHOOTING. Symptom Possible Causes Corrective Action 1) Check power supply – cord, Vacuum will not operate 1) No power supply. breakers, fuses. 2) Faulty power cord. 2) Unplug and check the power cord. -
Page 12: Exploded View And Parts List
EXPLODED VIEW AND PARTS LIST...
Need help?
Do you have a question about the AA155 and is the answer not in the manual?
Questions and answers