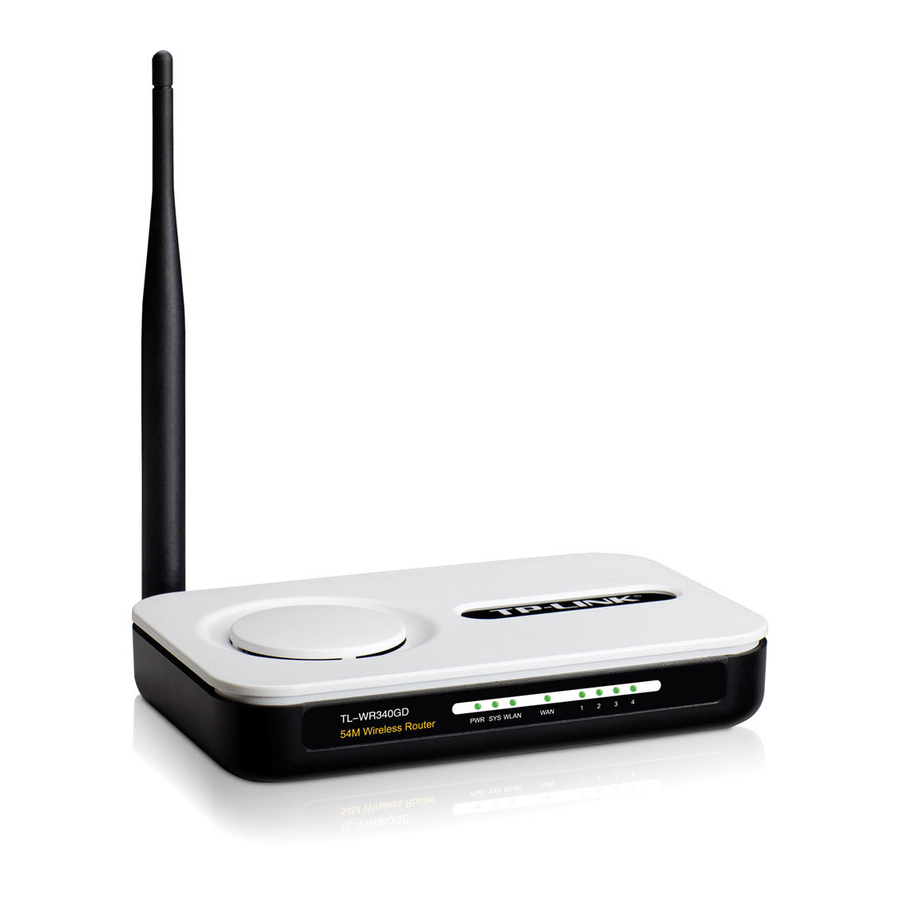
TP-Link TL-WR340G Quick Installation Manual
54mbps wireless router
Hide thumbs
Also See for TL-WR340G:
- Installation manual (72 pages) ,
- User manual (86 pages) ,
- Manual (80 pages)
Advertisement
Quick Links
Quick Installation Guide
54Mbps Wireless Router
TL-WR340G/TL-WR340GD
MODEL NO.
2
Connecting by Easy Setup Assistant
The Easy Setup Assistant is not supported in Linux or Mac OS. If you are runing Linux /Mac or without CD-ROM, please refer to Appendix 1.
1
Insert the TP-LINK Resource CD into the CD-ROM drive.
Here we take TL-WR340G for example. Select TL-WR340G
2
and click Easy Setup Assistant.
7106503567
Package Contents
TL-WR340G/TL-WR340GD
Power Adapter
54Mbps Wireless Router
MODEL NO.
TL-WR340G/TL-WR340GD
Ethernet Cable
Resource CD
QIG
System Requirement
· Windows 7 · Windows Vista · Windows XP · Windows 2000
3
After con rming the hardware connection and the status
of LEDs, click Next to continue.
After the connectivity has been checked successfully, please
4
click Next to continue.
1
Hardware Connection
Wireless Router
RJ45
POWER
4
3
2
1
WAN
3
2
Cable
Step 1.
Connect the WAN port on your Router to the Modem's LAN port with an Ethernet cable.
Step 2.
Connect your computer to any Port labeled 1~4 on the Router with an Ethernet cable.
Step 3.
Plug the provided Power Adapter into the Power jack on the back of the Router and the other end to a standard
electrical Wall socket, and power on the Modem.
5
Select the connection type your ISP provides and click Next.
Here we take connection type PPPoE for example.
Enter the User Name and Password provided by your
6
ISP and then click Next.
Cable/DSL Modem
LAN
LINE
RESET
1
Cable
Line
7
Create a unique or easy-to-remember name for your
wireless network. You can also keep the default setting.
Click Next to continue.
You are recommended to select Most Security
8
(WPA2-PSK) to secure your wireless network. Enter
a key of 8~63 characters and click Next.
Internet
(Turn over)
Advertisement

Summary of Contents for TP-Link TL-WR340G
-
Page 1: Hardware Connection
The Easy Setup Assistant is not supported in Linux or Mac OS. If you are runing Linux /Mac or without CD-ROM, please refer to Appendix 1. Insert the TP-LINK Resource CD into the CD-ROM drive. After con rming the hardware connection and the status Select the connection type your ISP provides and click Next. -
Page 2: Technical Support
7days a week instructions in the previous steps of the QIG. Turkey Tel: +44 (0) 845 147 0017 Make sure that you are connected to the TP-LINK Router E-mail: support.uk@tp-link.com Tel: 444 19 25 Turkish Service E-mail: support.tr@tp-link.com with the computer that was originally connected to your...


Need help?
Do you have a question about the TL-WR340G and is the answer not in the manual?
Questions and answers