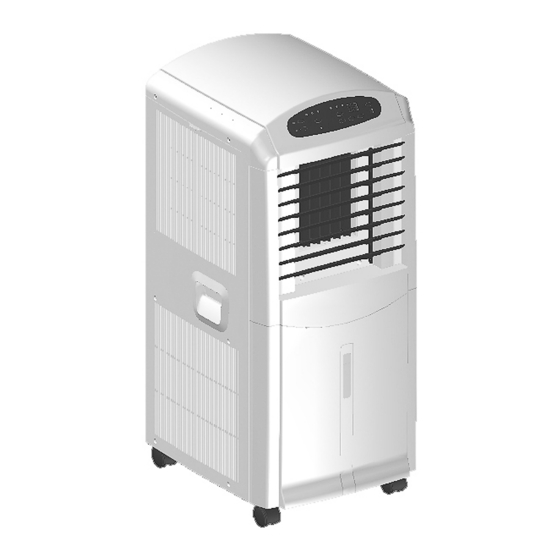
Summary of Contents for AUX AM-12A4
- Page 1 INSTRUCTION MANUAL PORTABLE AIR CONDITIONER 12,000BTU Model No: AM-12A4/R1 FOR FUTURE REFERENCE...
-
Page 2: Table Of Contents
CONTENTS Introduction ..............1 Safety Precaution ............2 Technical Specifications..........4 Parts Description ............5 Accessories..............6 Operation...............7 Installation ..............9 Maintenance ..............11 Troubleshooting ............12 WEEE Warning .............14... -
Page 3: Introduction
Brief Introduction This mobile air conditioner is a new generation air conditioner which is ideal for use in the bedroom, study, lobby, office, meeting room, ware- house, attic, sports hall and other entertainment rooms. Its flexibility enables easy adjustment to a desirable room temperature and humidity. The built-in filter can remove floating dust and purify air to create a healthy working environment. -
Page 4: Safety Precaution
Safety Precaution Your safety and the safety of others is very important. We have provided many important safety warnings in this manual and on your appliance. Always read and follow all safety warnings. This symbol indicates the possibility of death ! WARNING or serious injury. - Page 5 It could cause dust to accumulate on the heat exchanger. Do not put pets or plants where it will be exposed to direct air flow. This could injure the pets or plants. Do not use for special purpose. Do not use this air conditioner to preserve precision devices, food, pets, Plants and art objects.
-
Page 6: Technical Specifications
Technical Specifications Model AM-12A4/R1 Cooling capacity (Btu/h) 12000 Air flow (m /h) Rated current (A) 1200 Rated input (W) Power supply 1PH 220V-240V~/50Hz Refrigerant R410a Weight (kg) Noise dB(A) Dimension(mm) Suitable room area (m ) 14-20 Note: The above cooling capacity are calculated at ambient temperature DB 30 , WB 25.4... -
Page 7: Parts Description
Parts Description Top panel Airflow direction vane Control panel (horizontal ) Airflow direction vane (vertical ) Right panel Air outlet Handle recess Water tank Front panel Castors Remote controller FRONT VIEW Rear panel Air inlet Air filter (inside) Exhaust air outlet Cord hanger Left panel Power cord... -
Page 8: Accessories
Accessories Quantity Parts Parts name Duct Adaptor A (for permanent mounting use) Cover (cover the hole when not in use) Adaptor B(for temporary mounting use) Wall plug Screw Alkaline batteries Remote controller Control Panel Timer indicator Mode indicator Fan speed indicator Digital display COOL HIGH... -
Page 9: Operation
Function Buttons SLEEP button Press this button to set the sleep state. TIMER ON/OFF button Press this button to initiate the auto-on or auto-off time sequence . MODE button Each time you push the button, a mode is selected in a sequence that goes from cool, dry and fan. -
Page 10: Circulation Operation Mode
Circulation operation mode 1) Press the MODE button in a sequence until the fan indicator lights up. 2) Press the FAN button to choose the fan speed (low-med-high) 3) Do not put the duct to the window. 4) Press the ON/OFF button to start the unit and press it again to stop. Timer operation 1) Press the TIMER ON or TIMER OFF button to initiate the auto-on or auto-off sequence. -
Page 11: Installation
Installation Guide of customer The customer should have a qualified power supply coincident with that printed on the tag of the air conditioner. Its voltage should be in the range of 90%-110% of its rated voltage. The customer must use a special circuit and efficient grounding socket to match the plug of the air conditioner. - Page 12 3) Put the end of duct to a nearby window. Permanent 1) Attach one end of the duct to the exhaust air outlet of the mobile air conditioner. According to the arrow direction, first fit the left side of the duct on the exhaust air Amplified view for I panel, then the right side duct.
-
Page 13: Maintenance
Window kit installation Your window kit has been designed to fit most standard vertical and horizontal window applications. However, it may be necessary for you to improvise or modify some aspects of the installation procedure for certain types of window. Please refer to fig. -
Page 14: Troubleshooting
2) Wipe the unit with a dry cloth . 3) If the unit is very dirty, wet the cloth with cold water . Cleaning drain tank Wash the tank using warm water and a neutral detergent. Rinse and then dry in a cool place. - Page 15 Not cooling Causes Solutions Mistakes in temperature setting. Set a proper temperature, see the methods of application. The air filter is blocked by dust. Clean the air filter. The air inlet or outlet of machine is Remove the obstruction. blocked. Unit recently turned on in hot room.


Need help?
Do you have a question about the AM-12A4 and is the answer not in the manual?
Questions and answers
I need a new hose for my Fujita mobile air conditioner
Would like to purchase a new hose for my fujita mobile air conditioner