Advertisement
Quick Links
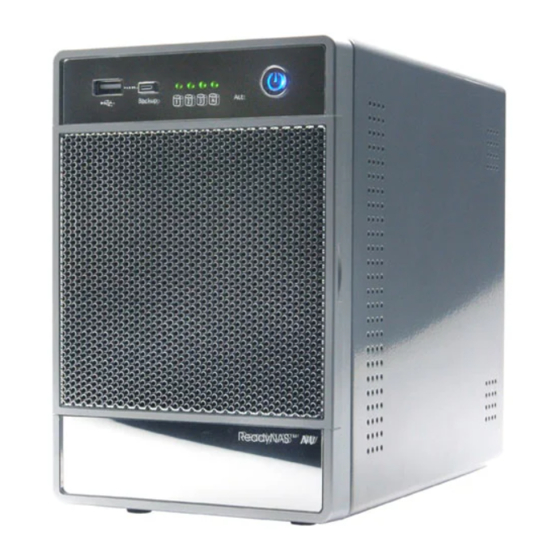
ReadyNAS
Getting Started Guide
1
Unpack and Check the Contents
Package Contents:
(1) ReadyNAS NV
(4) Hard Disk Trays
(1) Getting Started Guide
(1) Warranty Card
(1) Power Cable
(1) Ethernet Cable
(1) ReadyNAS Installation CD
(16) Screws for Hard Disk Installation*
*If you purchased a diskless ReadyNAS NV unit,
please read the optional disk installation instruction below
before connecting ReadyNAS to the network. Please only
use SATA disks from the ReadyNAS Device Compatibility List.
TM
NV
p1
Advertisement

Related Manuals for Infrant Technologies ReadyNAS NV

Summary of Contents for Infrant Technologies ReadyNAS NV
- Page 1 (1) Ethernet Cable (1) ReadyNAS Installation CD (16) Screws for Hard Disk Installation* *If you purchased a diskless ReadyNAS NV unit, please read the optional disk installation instruction below before connecting ReadyNAS to the network. Please only use SATA disks from the ReadyNAS Device Compatibility List.
- Page 2 About ReadyNAS NV USB Port (1) Programmable Backup Button Disk LEDs. Lights up green for disk online Activity LED. Blinking for disk access activities Power Button with Indication LED Backup SYS RST Disk Tray Door Disk Tray Door Access Unit Handle...
- Page 3 Install Hard Disks (continue ...) Please only use qualified SATA disks from the ReadyNAS Device Compatibility List. Backup Hard disk connectors on this end ReadyNAS SATA Hard Disk Drive Disk Tray Screws With the latch in the open position, slide the disk trays into Install hard disks into the trays.
- Page 4 Install RAIDar Installation CD Contents: RAIDar Utility for Windows, Mac, and Linux ReadyNAS Quick Setup Guide ReadyNAS Users Guide End User License Agreement Backup Software for Windows Client - GBM Pro Network Install RAIDar Utility for your Windows, Mac or Linux client. Start RAIDar. (Refer to the Quick Setup Guide in the CD-ROM for more detail.) Power on the ReadyNAS.
- Page 5 After completing setup, your ReadyNAS is ready for use. Refer to Quick Setup Guide Users Guide for details. RAID Configuration (Optional) Your ReadyNAS NV comes in one of the following three configurations: RAID Configuration Diskless system with X-RAID (Expandable Volume) Number RAID RAID RAID...
- Page 6 RAID Configuration (continue...) Factory Default Step-by-step Make sure the device is power off. Insert a paper clip to trigger the “System Reset” switch. SYS RST Depress the “System Reset” switch for 30 seconds while powering on the unit. As an indication, the 4 disk LEDs will light up for 2 sec. at the 5th and the 30th sec. As soon as the LEDs light at the 30th second, release the switch.
-
Page 7: Replacing A Failed Disk
The Disk Status LED corresponding to the failed disk will blink slowly. Disk #2 failed Remove the failed disk tray from the unit. from the unit. The ReadyNAS NV supports hotswap bays, so you do not need to power down the device. - Page 8 Backup Button ReadyNAS By default, the Backup Button copies the data on [backup] share on ReadyNAS NV to the USB disk directly connected to the Front USB Port. Please attach a USB hard drive to the Front USB Port before pressing the Backup Button.
Need help?
Do you have a question about the ReadyNAS NV and is the answer not in the manual?
Questions and answers