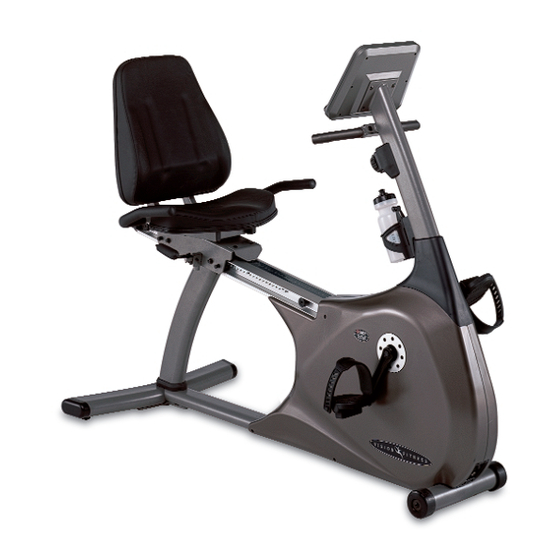
Vision Fitness R2100 Assembly Manual
Semi-recumbent fitness cycles
Hide thumbs
Also See for R2100:
- Assembly instructions manual (8 pages) ,
- Assembly manual (8 pages) ,
- Owner's manual (64 pages)
Advertisement
Quick Links
Advertisement

Related Manuals for Vision Fitness R2100


Summary of Contents for Vision Fitness R2100
- Page 1 A s s e m b l y G u i d e R 2 1 0 0 S E M I - R E C U M B E N T F I T N E S S C Y C L E S...
- Page 2 R 2 1 0 0 semi-recumbent fitness cycle To avoid possible damage to this Fitness Cycle, please follow these assembly steps in the correct order. Before proceeding though, find your new Fitness Cycle’s serial number, located on the front axle tube, and enter here: Refer to this number when calling for service, and also enter this serial number on your Warranty Card and in your own records.
- Page 3 TOOLS & PARTS INCLUDED Pedal Wrench Allen Wrench L-Shaped Wrench Screwdriver L-Shaped Wrench PARTS BOX Pedals, Qty: 2 Water Bottle & Cage, Qty: 1 Water Bottle Bracket, Qty: 1 Tension Control Knob, Qty: 1 Color-coded Hardware Bags Owner’s Guide Assembly Guide Warranty Card...
-
Page 4: Hardware Included
HARDWARE INCLUDED ORANGE BAG PINK BAG M8 x 65L Screw Quantity: 1 M8 x 15L Screws Quantity: 5 M8 Lockwashers M8 x 20L Screws Quantity: 3 Quantity: 2 BLUE BAG M8 x 20L Screws Quantity: 2 M6 x 55L Screws Quantity: 8 M5 x 22L Cap Screws Quantity: 2... - Page 5 ORANGE BAG STEP • Slide the rear foot in place and attach, using the 5 L-Shaped wrench, STEP two screws (M8 x 20L), two screws (M8 x 65L), and four lock washers (M8). • Slide the rubber sleeve to the proper position at the bottom of the joint.
- Page 6 PINK BAG STEP • Unfold the console mast and slide the mast into the console mast mounting bracket. Secure the console mast with the five screws (M8 x 15L) and lock washers and tighten with the L-Shaped wrench. Note: The screw facing the seat does not use a lock washer.
- Page 7 15 pedal wrench. STEP 500 South CP Avenue • P.O. Box 280 • Lake Mills. WI 53551 toll free 1.800.335.4348 • phone 1.920.648.4090 • fax 1.920.648.3373 www.visionfitness.com 2001 Vision Fitness. All Rights Reserved. 4.01 Part #Z21RB41-AG1806 AG18.06PRD REV2...
Need help?
Do you have a question about the R2100 and is the answer not in the manual?
Questions and answers