Table of Contents
Advertisement
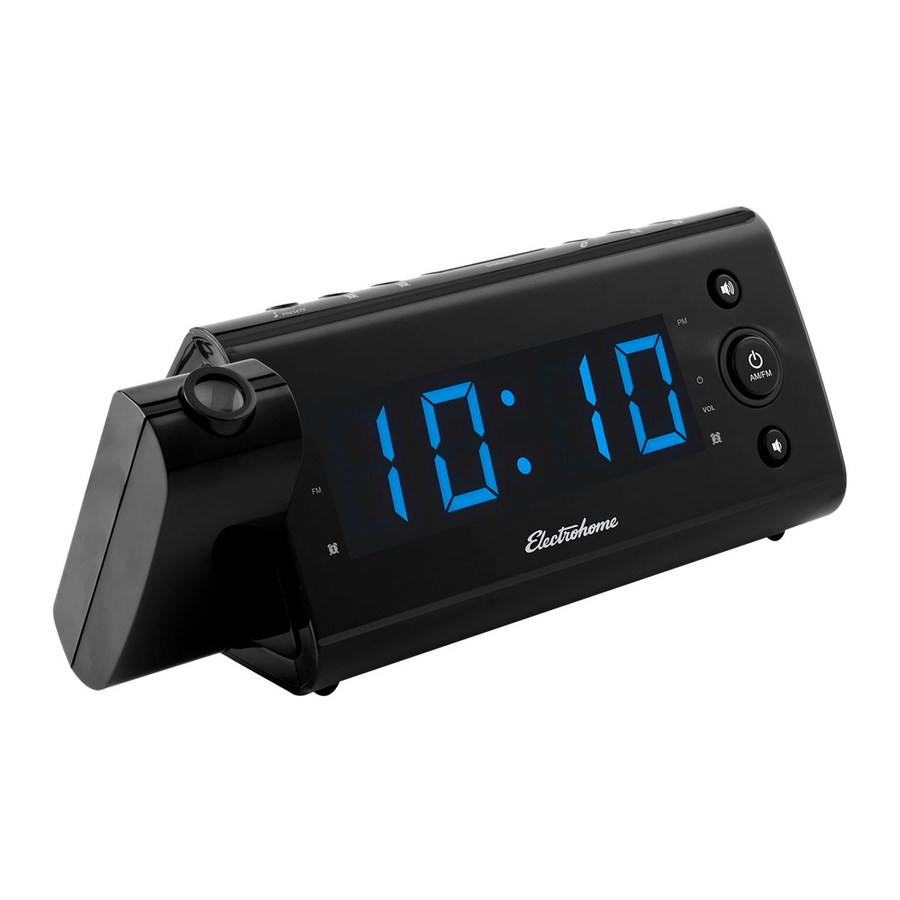
EAAC475 / EAAC475W
USER MANUAL
USB Charging Alarm Clock Radio
with Time Projection
Thank you for your purchase of this Electrohome product. Please read this instruction
manual carefully before using product to ensure proper use. Keep this manual in a safe
place for future reference.
www.electrohome.com
Advertisement
Table of Contents

Related Manuals for Electrohome EAAC475


Summary of Contents for Electrohome EAAC475
- Page 1 USB Charging Alarm Clock Radio with Time Projection Thank you for your purchase of this Electrohome product. Please read this instruction manual carefully before using product to ensure proper use. Keep this manual in a safe place for future reference.
-
Page 2: Need Help
Please contact an ELECTROHOME® customer support representative first regarding any additional information on product features, specifications or assistance with setup. The exclamation point within an equilateral triangle is intended to alert the user to the presence of important operating and maintenance (servicing) instructions in the literature accompanying the appliance. - Page 3 IMPORTANT SAFETY INFORMATION IMPORTANT SAFETY INFORMATION 26. Unwind and straighten the power cord before use. Clean only with a dry cloth. 27. Damage Requiring Service Do not block any ventilation openings. Install in accordance with the manufacturer’s Unplug the power cord and refer servicing to qualified service professional under the instructions.
-
Page 4: Table Of Contents
This product contains a coin/button cell battery. If the coin/button cell battery is swallowed, it can Specifications ........................21 cause severe internal burns in just 2 hours and can lead to death. Electrohome Warranty ....................22 Keep new and used batteries away from children. If the battery compartment does not close securely, Notes ..........................23 stop using the product and keep it away from children. -
Page 5: What's Included
WHAT’S INCLUDED PRODUCT INFORMATION • USB Charging Alarm Clock Radio • Instructional Manual FRONT BUTTONS • Quick Start Guide • 1 x 3V, CR2032 Flat Lithium battery When set to ON, LED screen shows TIME, YEAR, MONTH/DAY & current temperature PRODUCT INFORMATION Increases volume FRONT - LED SCREEN... - Page 6 PRODUCT INFORMATION PRODUCT INFORMATION TOP BUTTONS BOTTOM AM / FM DIMMER/GRADATEUR Set Radio Presets / Nap function AM / FM Toggle between AM & FM Radio band / Set ALARM 1 Set ALARM 2 TIME ZONE/ Set TIME ZONE / SNOOZE / SLEEP / LED Brightness SNOOZE/SLEEP DIMMER Battery compartment for 1 x 3V, CR2032 Flat Lithium battery...
-
Page 7: Operating Instructions
OPERATING INSTRUCTIONS OPERATING INSTRUCTIONS CONNECTING POWER INSTALLING THE BATTERY The USB Charging Alarm Clock Radio is equipped with an "AUTO TIME SET" feature. Using a small Phillips Head screwdriver, remove the screw from the battery panel When power is connected, the clock display will flash '2' which is TIME ZONE 2 on the bottom of the unit. -
Page 8: Setting The Date & Time
OPERATING INSTRUCTIONS OPERATING INSTRUCTIONS To REACTIVATE DST/Summer Time, press and hold the DST/°C °F button for 3 SETTING ALARM 1 & ALARM 2 seconds while the radio is OFF. To set ALARM 1, press the button once to view current alarm setting then press and 'ON' will appear in the display to show that the Automatic DST/Summer Time hold the button and alarm time will flash. -
Page 9: Alarm Duration
OPERATING INSTRUCTIONS OPERATING INSTRUCTIONS ALARM DURATION To set ALARM 2, press the button once to view current alarm setting then press and The BUZZER alarm or RADIO alarm will sound for 30 minutes if no key is pressed, then it will stop hold the button and alarm time will flash. -
Page 10: Cycle Display
OPERATING INSTRUCTIONS OPERATING INSTRUCTIONS CYCLE DISPLAY Press the SET/NAP button again to set the preset. Repeat steps 2 through 4 to set more presets. The CYCLE DISPLAY function displays the TIME, YEAR, MONTH/DAY & CURRENT To recall a preset station, press the SET/NAP button once to view current preset; TEMPERATURE on the front LED panel in sequence. -
Page 11: Troubleshooting
TROUBLESHOOTING SPECIFICATIONS Please consult the Troubleshooting chart below before communicating with Display Size 1.2" ELECTROHOME Customer Support. Display Colour Automatic Time Set SYMPTOM POSSIBLE CAUSE POSSIBLE SOLUTION Battery Back-up for Time GENERAL PLL Digital Radio Tuner Power does not come on... -
Page 12: Electrohome Warranty
ELECTROHOME product or the loss of information. - Page 15 - 28 - - 29 -...
- Page 16 - 30 - - 31 -...
- Page 17 - 32 - - 33 -...
- Page 18 - 34 - - 35 -...
- Page 19 - 36 - - 37 -...
- Page 20 - 38 - - 39 -...
- Page 21 - 40 - - 41 -...
- Page 22 - 42 - - 43 -...
- Page 23 - 44 - - 45 -...
Need help?
Do you have a question about the EAAC475 and is the answer not in the manual?
Questions and answers