Table of Contents
Advertisement
Advertisement
Table of Contents

Related Manuals for Pulsar FORWARD DFA75


Summary of Contents for Pulsar FORWARD DFA75
- Page 2 Laser aperture v.1112...
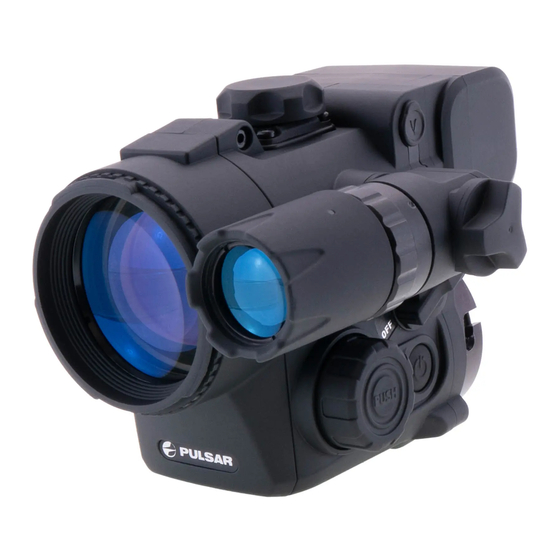
- Page 3 For improvement purposes, design of this product is subject to change. Close-up distance, m Digital Night Vision Attachment Forward DFA75 – is a universal device CCD array characteristics able to convert your daylight optical sight into a night vision device. The...
- Page 4 Lens cap Lens focus knob. Video output Place for attachable laser IR Illuminator. Encoder Knob for power control of the laser Illuminator On/Off button Battery compartment “Power” jack connection to external power supply. Mounting adapter (bought separately) Clamp Adapter’s lock Wireless remote control: “ON”...
- Page 5 • Before use make sure that you have installed the attachment according to the instructions of the section 8 “Operation”. • Store with the lens cap on in the carrying case. Reticle movement directions • Switch off the unit after use. Reticle's X and Y coordinates •...
- Page 6 • External power supply (AC/DC) is to be connected to “Power” (9) jack Adapter name Insert's inner diameter, mm located on right side of the device. 56 mm Cover Ring Adapter (#79123) 65 / 62 / 60 • Please note that the central pin of the power supply that you 50 mm Cover Ring Adapter (#79122) 58.7 / 57 / 56 connect to the “power”...
- Page 7 The attachment is adjusted at the factory so that after mounting it on a duly The menu of the attachment includes items as follows: zeroed daylight sight, you will not need to adjust the aiming point. Sum Light™ mode However you can check the aiming point, to do this: install the rifle on a bench Contrast mode rest, take aim at the target, mount the attachment and fulfill checking Clock...
- Page 8 If the RC does not work, replace the battery. To do this, unscrew the The attachment can be used with the Pulsar 10x32 (bought separately) screws on the rear panel of the RC, remove the cover, pull out the old which allows the attachment to be converted into a 10 power night vision battery and insert a new CR2032 battery.
- Page 9 “GUIDELINES FOR OPERATION”. Peculiarities of CCD array Sony CCD arrays employed in Pulsar digital night vision devices, feature high quality. However certain pixels (or groups of pixels) with increased luminosity (lighter or darker) are allowed. These defects can be seen when conducting observation not only in the nighttime but in the day time too, especially if Sum Light™...
Need help?
Do you have a question about the FORWARD DFA75 and is the answer not in the manual?
Questions and answers