Table of Contents
Advertisement
Advertisement
Table of Contents

Summary of Contents for Zavio F1100
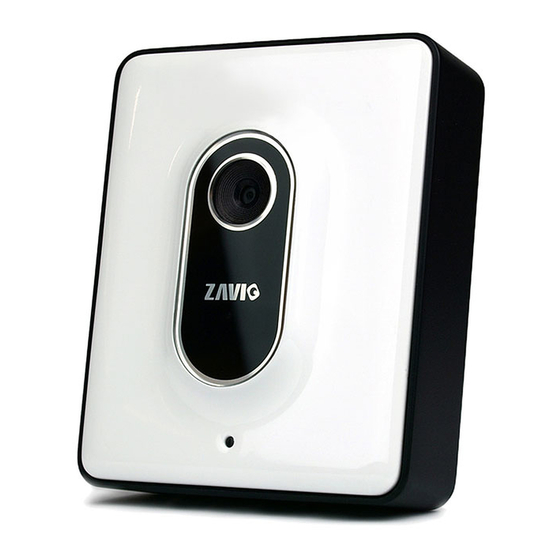
- Page 2 Zavio F1100 / F1105 Quick Installation Guide Please follow the installation steps below to set up F1100 / F1105 IP Camera. Check the package contents against the list below. See P.1 Physical overview. See P.1 Install the hardware and connect all cables. See P.2 Use the software CD to install Intelligent IP Installer.
- Page 3 Install the hardware and connect all cables a. Wall mounting and Ceiling mounting 1. Use the 3 supplied screws to fix the base plate to a flat surface. 2. Loosen the lock ring to adjust the desired angle of the camera. 3.
- Page 4 2. Click the Intelligent IP Installer Icon on your desktop. The main page will show up listing all active camera and video server devices. Select the relevant IP camera from the list and click Link to IE. 3. Enter your Username and Password to login to the IP Camera.
- Page 5 7. Live video displays in the centre of your web browser. Mac OS using Safari Browser 2. Click Bonjour function and select the camera 1. Select Safari icon you wish to access. 3. Enter name and password to login to the IP 4.
- Page 6 Lighting environment setting The default setting of lighting environment is Auto. However, you may also select 50 or 60 Hz upon the lighting environment of your country. Go to “Basic setup→ Video”, choose the environment setting you wish. Change the Web Interface into your preferred language The languages options are on the left side of the setting screen, please select one and the web interface will change into your preferred language.
- Page 7 3. Enter the password within the Active transmit key field if required. 4. Click “Save” to apply settings. The Wireless IP address appears in the IP address field. Note: The wireless private IP address can be found in Intelligent IP Installer. Wireless IP address Application of IP Camera...


Need help?
Do you have a question about the F1100 and is the answer not in the manual?
Questions and answers