Advertisement
Advertisement
Table of Contents

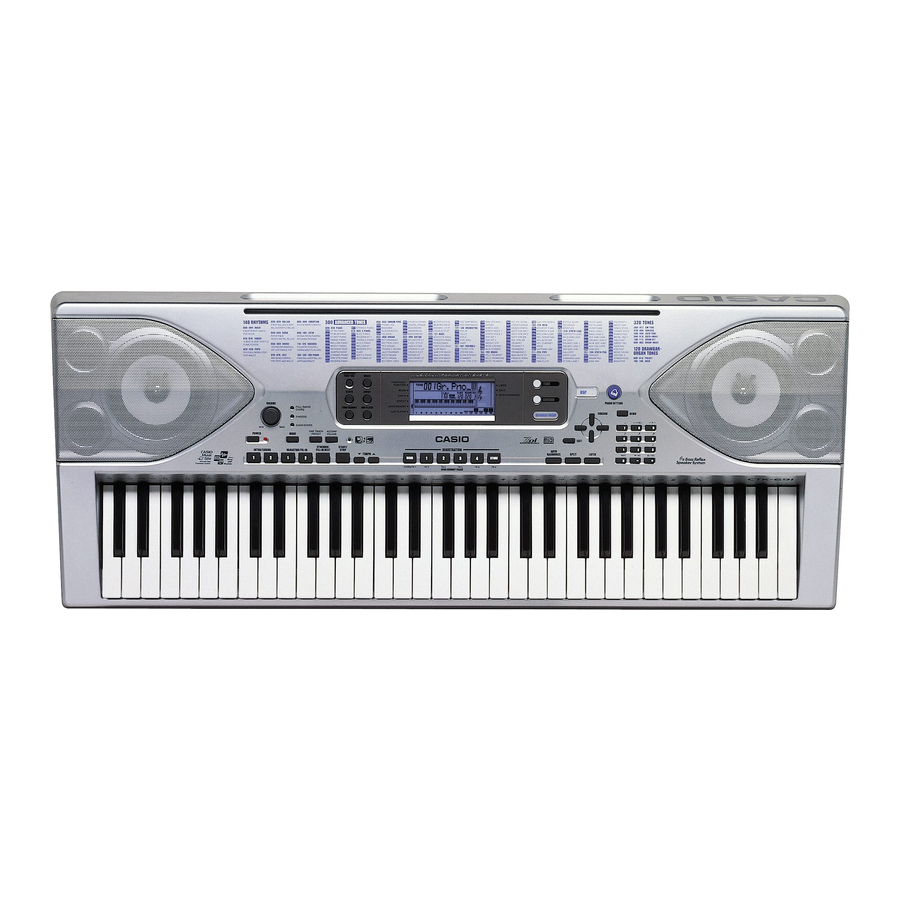
Summary of Contents for Casio CTK-691
- Page 1 CTK-691 JUN. 2003 CTK-691 ELECTRONIC KEYBOARD INDEX Ver.2 : Sep. 2006...
-
Page 2: Table Of Contents
CONTENTS Page Specifications ............................1 Block Diagram ............................3 Circuit Description ............................. 4 Printed Circuit Boards ..........................5 Disassembly .............................. 8 Diagnostic Program ..........................14 Schematic Diagrams ..........................17 Exploded View ............................22 Parts List ..............................23... -
Page 3: Specifications
Rhythm Patterns: 156 (internal, 16 user areas*) Tempo: Variable (226 steps, = 30 to 255) Chords: 3 fingering methods (CASIO CHORD, FINGERED, FULL RANGE CHORD) Rhythm Controller: START/STOP, INTRO/ENDING 1 and 2, VARIATION/FILL-IN 1 and 2, SYNCHRO/FILL-IN NEXT Accomp Volume:... - Page 4 Other Functions Transpose: 49 steps (–24 semitones to +24 semitones) Variable (A4 = approximately 440Hz ±100 cents) Tuning: LCD: Adjustable contrast SMF Player Flash memory storage for up to 200 files* • Supported Format: SMF0 Flash Memory Capacity: 2MB Shared Area: Approximately 1.5MB (waveform data, accompaniment data, SMF data) •...
-
Page 5: Block Diagram
BLOCK DIAGRAM — 3 —... -
Page 6: Circuit Description
CIRCUIT DESCRIPTION KEY MATRIX KC7- C2 (1) C#2(1) D2 (1) D#2 (1) E2 (1) F2 (1) F#2 (1) G2 (1) C2 (2) C#2 (2) D2 (2) D#2 (2) E2 (2) F2 (2) F#2 (2) G2 (2) G#2 (1) A2 (1) A#2 (1) B2 (1) C3 (1) -
Page 7: Printed Circuit Boards
PRINTED CIRCUIT BOARDS Main PCB M705-MA1M Top View Bottom View — 5 —... - Page 8 Sub PCB M705-MA2M Top View LCD PCB M705-LCD1M Top View — 6 —...
- Page 9 CONSOLE PCB M705-CN1M Top View CONSOLE PCB M705-CN2M CONSOLE PCB M705-CN3M CONSOLE PCB M705-CN4M Top View Top View Top View — 7 —...
-
Page 10: Disassembly
DISASSEMBLY 1. Remove the battery cover and then the battery. 2. Remove 27 screws and then the upper case. 3. Remove 5 screws, 4 speaker cords, 2 battery cords, 3 connectors (JC, JG, JH) and then the PCB ASS'Y (MA2M). Speaker cord (O) Screws Speaker cord (W) - Page 11 4. Remove 4 screws, 6 connectors (JA, JB, JC, JD, JE, JF) and then the PCB ASS'Y (MA1M). Connectors Screws Connectors Connectors Note: How to attach a HEAT-SINK Insert aTRANSISTOR into the PWB after attaching a HEAT- SINK to the TRANSISTOR. Be soldering sfter that.
- Page 12 6. Remove 3 screws, connector (JL), and then the PCB ASS'Y (CN3M). Screws Connector 7. Remove 2 screws, the volume knob, and then the PCB ASS'Y (CN2M). Screws Volume knob 8. Remove 22 screws and then the PCB ASSY (CN1M). —...
- Page 13 Note: Fix the LED (D301, D302, D303, D304, D305, D306, D307) to the PCB according to the height as shown in the figure below while paying attention to the polarity. Refer to the illustration on the PCB for the details of the polarity. D301 D302 D303 D306...
- Page 14 10.Remove 19 screws and then the PCB ASSY (KY1M, KY2M). 11.Remove the rubber keys. Projection Note: Pay attention to the positions of the rubber keys as one of them has a different length. Match the projections of the rubber keys with the holes of the lower case when reassembling. —...
- Page 15 12.Remove 21 screws and then the white keys. Note: Pay attention to the positions of the screw holes when reassembling. 13.Remove the black keys. — 13 —...
-
Page 16: Diagnostic Program
DIAGNOSTIC PROGRAM Initial Setup 1. Connect an AC adaptor. 2. Connect a Sustain pedal. 3. "Main" volume: MAX. NOTE: If there is no pedal or MIDI cable, pedal or MIDI check can be skipped. How to start diagnostic program 1. Press the “POWER” button while pressing the “Cursor key Up” and “Cursor key Down” buttons. 2. - Page 17 1 Press “TEMPO ” button. 3 LED CHK 2 LEDs illuminate in the following order. a . FULL RANGE b . FINGERED c . CASIO CHORD d . DATA ACCESS e . DRAWBAR ORGAN f . DSP 3 LED END 11.
- Page 18 = Rest of above characters turn on. A Press “REGISTRATION 4” button. B Each characters turn in order. There no lack of dots and characters 12. TUNE check (If no TUNING METER, this check can be skipped) 1 Connect the TUNING METER to the phone jack. 2 Press “8”...
-
Page 19: Schematic Diagrams
SCHEMATIC DIAGRAMS Main PCB M705-MA1M — 17 —... - Page 20 Sub PCB M705-MA2M — 18 —...
- Page 21 CONSOLE PCBs M705-CN1M/CN2M/CN3M/CN4M — 19 —...
- Page 22 Display PCB M705-LCD1M — 20 —...
- Page 23 Keyboard PCBs JCM618T-KY1M/KY2M — 21 —...
-
Page 24: Exploded View
EXPLODED VIEW — 22 —... -
Page 25: Parts List
PARTS LIST CTK-691 Notes: This parts list does not include the cosmetic parts, which parts are marked with item No. "R-X" in the exploded view. Contact our spare parts department if you need these parts for refurbish. Prices and specifications are subject to change with- out prior notice. - Page 26 P r i c e I t e m Code No. Part Name Specification Remark Code Main PCB 10123432 PCB ASSY/MA1M TK-RJM502974*001 10122996 IC TC74HCT08AF(EL) IC10 10054502 LSI UPD914AGM-3ED IC11 21056621 IC TC74LCX138FT(EL) IC13 20125987 LSI TC190C020AF-001 IC16 10122999 IC TC74LCX00FT(EL) IC2,12 10126397 LSI...
- Page 27 P r i c e I t e m Code No. Part Name Specification Remark Code LCD PCB 10123434 PCB ASSY/LCD1M TK-RJM502998*001 IC501 10006502 LSI ML9040-B02GA Keyboard PCBs 10053891 PCB ASSY/KY1M M140687*9 D501-564 23010101 DIODE 1S2473T-77-T 10053893 PCB ASSY/KY2M M140688*9 D565-622 23010101 DIODE 1S2473T-77-T...
- Page 28 Ver.1 : Dec. 2005 Replacement of the PARTS LIST (P25) Ver.2 : Sep. 2006 Replacement of the PARTS LIST (P25) CASIO COMPUTER CO.,LTD. Overseas Service Division 6-2, Hon-machi 1-Chome Shibuya-ku, Tokyo 151-8543, Japan...


Need help?
Do you have a question about the CTK-691 and is the answer not in the manual?
Questions and answers