Garmin GPSMAP 60CSx Quick Manual
Hide thumbs
Also See for GPSMAP 60CSx:
- Owner's manual (116 pages) ,
- Manual de l'utilisateur (116 pages) ,
- Quick start manual (2 pages)
Table of Contents
Advertisement
Quick Links
Download this manual
See also:
Owner's Manual
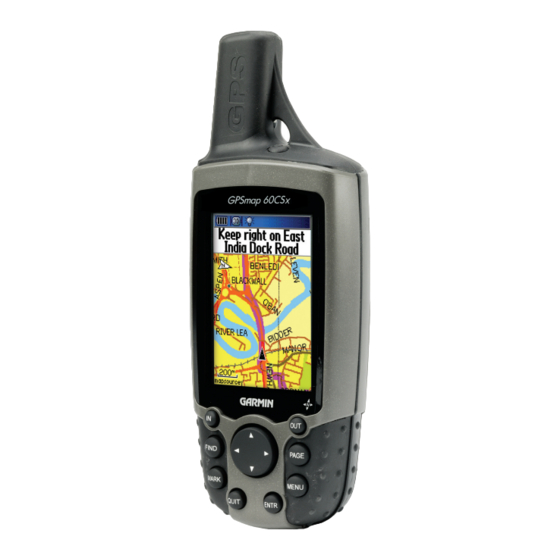
1. Turn on using the power button on the top of the unit (see picture). Hold if for a few
seconds.
2. Find satellites by placing the unit outside and waiting until it gets a fix. Can take a few
minutes at first. Note the accuracy distance drop. Let it go til it gets to about 3 to 5
metres.
3. Check co-ordinate system. Should say NZTM in the top window (left of the co-
ordinates). If it doesn't, see set co-ordinates below.
4. Page options. Use the Page button to toggle around the various page options (satellites
with coordinates, compass, map, etc), and just take a good look and get used to the info
on them. Walk around and see how their info changes. The little in/out buttons and the
up-down-left-right buttons let you zoom to desired location on the map (your location is
the black triangular arrow).
5. Mark 'Home'. For safety, always mark where your car is parked/ the trail head so you can
find your way back if you get lost. Press Mark (bottom left key), and if you press the
down arrow once it will jump you to the top of the page where you can re-name the
waypoint by pressing Enter and using up-down arrows to type in HOME (Enter after each
letter selected), followed by OK and Enter again. Page again to whatever screen you want
to look at.
6. Set up track log (make a cookie crumb trail of where you walk). Wait until you are at the
start of where you want to record your route. Use the Page button until you get to the
page with the little square icons and press Enter to select Tracks. Make sure the Track
Log is turned on – use the left-right button to select the On option. If it is already on, use
Quick Guide
to Garmin
GPSMAP
60CSx
Advertisement
Table of Contents

Related Manuals for Garmin GPSMAP 60CSx


Summary of Contents for Garmin GPSMAP 60CSx
-
Page 1: Quick Guide
Quick Guide to Garmin GPSMAP 60CSx 1. Turn on using the power button on the top of the unit (see picture). Hold if for a few seconds. 2. Find satellites by placing the unit outside and waiting until it gets a fix. Can take a few minutes at first. - Page 2 the up-down buttons to get to Save and use Enter button to say ‘yes’ and then Enter again on the OK window to save any existing tracks (in case someone else wants it). Then select Clear, press Enter, move to Yes, press Enter again. Then Page to get back to what ever page you wish to look at.
Need help?
Do you have a question about the GPSMAP 60CSx and is the answer not in the manual?
Questions and answers