Nostalgia Electrics Retro Series Instruction Manual
Nostalgia electrics rmo400 series microwave oven instruction manual
Hide thumbs
Also See for Retro Series:
- Instructions and recipes manual (32 pages) ,
- Instructions and recipes manual (37 pages)

Related Manuals for Nostalgia Electrics Retro Series


Summary of Contents for Nostalgia Electrics Retro Series
- Page 1 All products are trademarks of Nostalgia Products Group, LLC. Worldwide design & utility patented or patents pending. © 2011 Nostalgia Products Group, LLC. www.nostalgia electrics.com (rev. 06/09/11)
- Page 2 Retro Series™ Microwave Oven Instruction Manual...
-
Page 4: Table Of Contents
CONTENTS IMPORTANT PRECAUTIONS ....3 IMPORTANT SAFEGUARDS ....3 INTRODUCTION . -
Page 5: Important Precautions
IMPORTANT PRECAUTIONS NEVER immerse appliance in water. NEVER use near water. NEVER use an abrasive sponge or cloth on the appliance. NEVER leave appliance unattended while in use. NEVER place anything other than what is being cooked in the appliance. Unplug unit from outlet when not in use and during cleaning. - Page 6 NEVER put any metal objects, bowls or utensils in the microwave oven during cooking. Some products such as whole eggs and sealed containers for example, closed glass jars are able to explode and should not be heated in this oven. NEVER put anything living into the microwave oven for risk of severe injury or death.
-
Page 7: Introduction
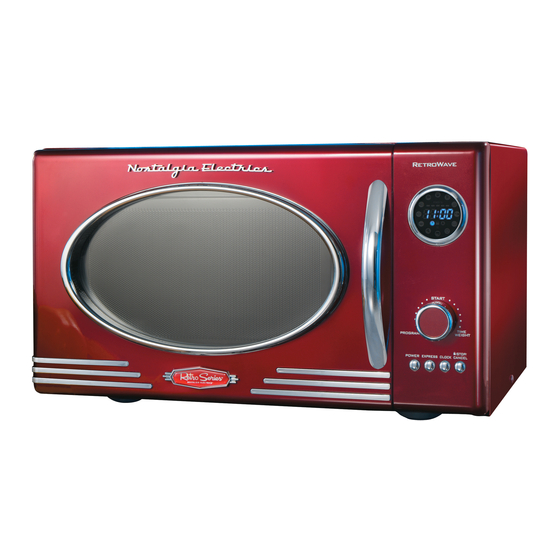
INTRODUCTION Thank you for purchasing the RETRO SERIES™ MICROWAVE OVEN from Nostalgia Electrics™! This microwave oven has the look and feel of a fabulous 1950s diner, but brings the fast-cooking appeal of a modern appliance. It's a fun and stylish addition to any kitchen! Features include: •... -
Page 8: Grounding The Unit
NOTE: If you have any questions about the grounding or electrical instructions, consult a qualified electrician or service person. Nostalgia Electrics™ cannot accept any liability for damage to the oven or personal injury resulting from failure to observe the correct electrical connection procedures. -
Page 9: Parts & Assembly
PARTS & ASSEMBLY Your RETRO SERIES™ MICROWAVE OVEN is fully assembled. Before using, remove all packing materials from inside the oven. Check the oven for any damage, such as misaligned or bent door, damaged door seals and sealing surfaces, broken or loose door hinges and latches and dents inside the oven or on the door. - Page 10 LED DISPLAY & PROGRAM SETTINGS PROGRAM SETTINGS • Beverage (BEV) • Popcorn (POP) • Frozen Entrée (FROZ) • Vegetables (VEG) • Potatoes (SPUD) • Rice (RICE) • Bread (BRED) • Pizza (PIZZ) • Dinner Plate (DISH) • Fish (FISH) • Chicken (CHIC) •...
-
Page 11: Program Settings
PROGRAM SETTINGS NOTE: 1 cup = 8 oz. 1 lb. = 16 oz. PROGRAM DISPLAY SETTINGS SIZE COOKING NOTES TIME Beverage 1 cup 1 min. 30 sec. Place beverage in uncovered, 2 cups 2 min. 40 sec. microwave safe Mode: Cook 3 cups 3 min. - Page 12 PROGRAM DISPLAY SETTINGS SIZE COOKING NOTES TIME Bread .1 lb. 30 sec. Place on plate or paper towel. .5 lb. 2 min. Mode: 1 lb. 3 min. 30 sec. Reheat 1.5 lbs. 5 min. 2 lbs. 7 min. Pizza 4 oz. 40 sec.
-
Page 13: How To Operate
HOW TO OPERATE CHOOSING A LOCATION You will use the oven frequently so plan its location for ease of use. Allow at least 2 inches on the sides, top and at the rear of the oven for air circulation. Do not place or install the oven in any area where heat and steam are generated;... - Page 14 The LED Display will then prompt you to select the weight or number of food items. Turn the PROGRAM DIAL again to select the weight or number of food items and press the PROGRAM DIAL to begin the cooking cycle. •...
-
Page 15: Cooking
COOKING During the cooking cycle, press and hold the POWER button to show the current cooking power. When you release the POWER button, it will return to show the remain cooking time. During cooking, the cooking time can be increased. Within 0-5 minutes of the cooking cycle, pressing the PROGRAM DIAL will add 10 seconds to the cooking cycle for each press. -
Page 16: Helpful Tips
press and hold the DELAY/CLOCK button. The time that you have selected will be displayed. When you release the DELAY/CLOCK button, the LED Display will go back to DELAY/CLOCK mode. When in delayed start mode: • If want to start cooking immediately, press the PROGRAM DIAL. •... -
Page 17: Cleaning & Maintenance
Plastic bags used for storing food or oven baking • Objects with metal twist ties or staples attached CLEANING & MAINTENANCE To prolong the life of your RETRO SERIES™ MICROWAVE OVEN, please follow these simple instructions for maintenance. Never place the microwave oven in a dishwasher. •... -
Page 18: Returns & Warranty
YOU FIRST TAKE IT OUT OF THE BOX, PLEASE RETURN IT TO THE PLACE OF PURCHASE IMMEDIATELY. RETRO SERIES™ MICROWAVE OVEN / RMO400 SERIES Should you have any questions, please contact us via email or at the customer service number listed below between the hours of 8:00 AM and 5:00 PM, Monday through Friday, Central Standard Time.
Need help?
Do you have a question about the Retro Series and is the answer not in the manual?
Questions and answers
how do i silence the mircowave?
Beeps every 1 minute, even unplugged
How do I set clock