
Related Manuals for Bose Solo 15


Summary of Contents for Bose Solo 15
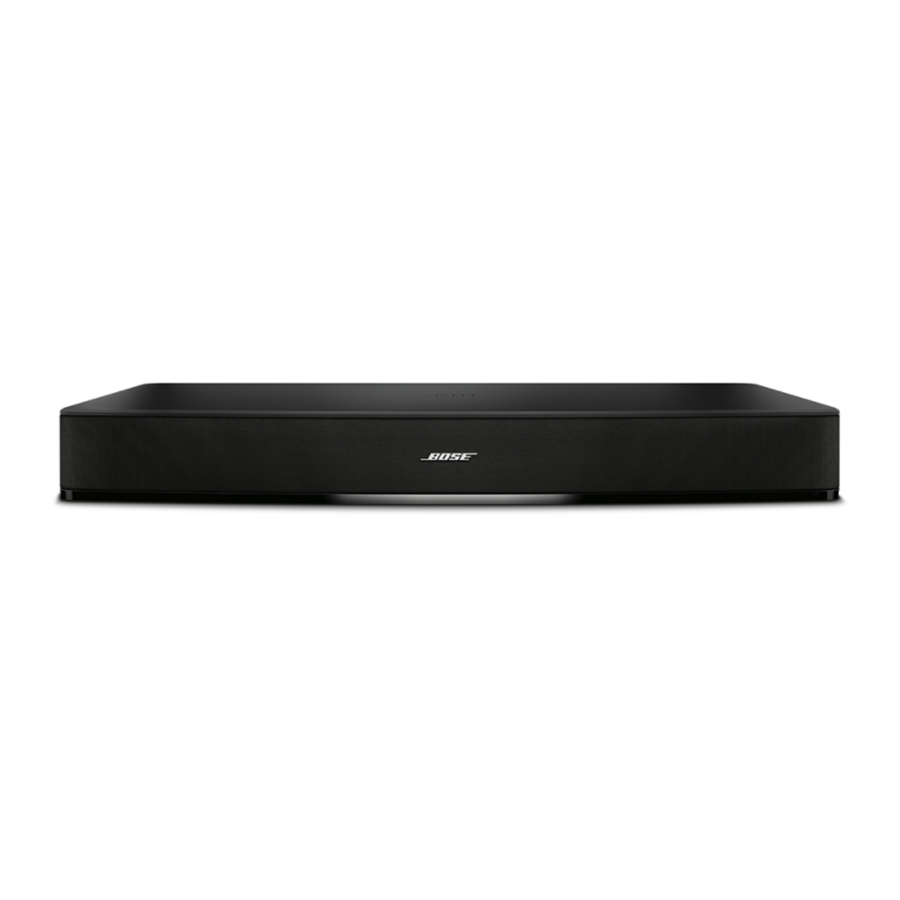
- Page 1 Solo 15/10 TV sound system Owner’s Guide | Guía del usuario | Notice d’utilisation...
-
Page 2: Safety Information
CR2032 or DL2032 3-volt lithium battery. Dispose of used batteries promptly. • Solo 15 remote: Do not dismantle, open or shred battery pack or cells. Do not expose batteries or a battery pack to heat or fire. Avoid storage in direct sunlight. Do not short-circuit battery. Do not store batteries carelessly in a box or drawer where they may short-circuit each other or be short-circuited by other metal objects. - Page 3 Please dispose of used batteries properly, following any local regulations. Do not incinerate. This product conforms to all applicable EU Directive requirements. The complete Declaration of Conformity can be found at www.Bose.com/compliance. 1. Read these instructions. 2. Keep these instructions.
- Page 4 Dolby Laboratories. Blu-ray Disc is a trademark owned by Blu-ray Disc Association (BDA). ™ ©2014 Bose Corporation. No part of this work may be reproduced, modified, distributed, or otherwise used without prior written permission. 4 - English...
-
Page 5: Table Of Contents
Operation Getting system information ................Controlling the volume ..................Using auto-wake ....................Using the Solo 15 universal remote ..............Programming the Solo 15 universal remote ..........Programming your remote to control your source ........ Customizing the power button ..............Resyncing your cable/satellite box and TV .......... - Page 6 Optional universal remote ................Using a third-party remote ................ Using dialog mode ..................Troubleshooting ....................Care and Maintenance Replacing the remote batteries ................ Solo 15 universal remote ................Solo 10 remote ....................Cleaning ......................... Customer service ....................Limited warranty ....................Technical information ..................
-
Page 7: Introduction
Europe only) If any part of the product appears to be damaged, do not attempt to use it. Contact your authorized Bose dealer immediately or call Bose Customer Service. Refer to the contact list enclosed in the carton for contact information. -
Page 8: System Setup Step 1: Placing The System
TV Audio OUT panel Placement guidelines: • The Bose Solo 15/10 system is designed to fit under TVs that weigh no more than ® 75 lbs (34 kg) and have bases no wider than 24" (61 cm), and no deeper than 12.25"... -
Page 9: Step 2: Choosing The Type Of Audio Cable To Use
System Setup Step 2: Choosing the type of audio cable to use On the back of your TV, locate the Audio Out connector panel and note which type of audio output connectors your TV has. Analog stereo Optical digital Coaxial digital audio audio audio... -
Page 10: Step 3: Connecting The Selected Audio Cable To Your Tv
System Setup Step 3: Connecting the selected audio cable to your TV On the back of your TV, locate the Audio OUT connector panel. Plug one end of the selected audio cable into the correct Audio OUT connector. Caution: If using the optical cable, make sure you remove the protective cap and hold the plug in the correct orientation for the Audio OUT connector on your TV. -
Page 11: Step 4: Connecting The Audio Cable To The Solo System
System Setup Step 4: Connecting the audio cable to the Solo system Plug the other end of the selected audio cable into the corresponding connector on the Solo system. Note: If using the optical cable, please read the Important Instructions on page 12. -
Page 12: Important Instructions For Optical Cable Connections
Remove the protective cap from both ends of the optical cable. Bose logo Remove caps Hold the optical cable plug with the Bose logo facing up, as shown. Align the plug with the Optical connector on the Solo system and insert the plug carefully. -
Page 13: Step 5: Connecting The Solo System To Power
A few moments after applying power, the system emits two tones indicating that it is ready to use. Power connector Tip: Bose recommends using a safety agency-approved surge protector on all electronic equipment. Voltage variations and spikes can damage electronic components in any system. English - 13... -
Page 14: Step 6: Placing Your Tv On The Solo System
System Setup Step 6: Placing your TV on the Solo system Place your TV on the Solo system, making sure the TV stand is centered on the top of the system. Refer to “Placement guidelines:” on page 8. Caution: Be sure to center the base of your TV on the top of this product. Cautions: •... -
Page 15: Step 7: Turning Off Your Tv Speakers
System Setup Step 7: Turning off your TV speakers To enjoy the full benefit of hearing TV audio through the Solo TV sound system, the internal speakers in your TV should be turned off. Note: Check your TV owner’s guide for help using the TV menus. Turn on your TV. -
Page 16: Step 8: Checking For Sound
Turn the bass control knob right to increase the bass, left to decrease the bass. Note: For optimal sound quality for dialog-only programming, such as news and talk shows, see “Using dialog mode” on page 25 (Solo 15) or page 26 (Solo 10). 16 - English... -
Page 17: Using Alternate Connections
See “Connecting multiple devices to the system” on page 19. Connecting a cable/satellite box to the system You can connect a cable/satellite box to the Solo 15/10 system. Only one cable is needed. Caution: If using an optical cable, refer to page 12 for important instructions. -
Page 18: Connecting A Tv Headphones Output To The System
Connecting a TV headphones output to the system If your TV only has a headphones connector, you need a dual RCA-to-3.5 mm stereo cable (not provided) to connect to the Solo 15/10 system. Insert the stereo plug into the TV headphones connector. -
Page 19: Connecting Multiple Devices To The System
Caution: If using an optical cable, refer to page 12 for important instructions. Audio OUT Audio OUT DVD player or game system Cable/satellite box Audio IN Solo 15/10 system English - 19... -
Page 20: Operation
Blinking amber (if dialog mode is enabled) Fast blinking green Volume is being adjusted Fast blinking amber (if dialog mode is enabled) Solid amber Dialog mode is enabled Solid red System error - call Bose Customer Service 20 - English... -
Page 21: Controlling The Volume
When the Solo 15/10 system is powered on but not playing audio, the system powers off after one hour. To wake the system, press on the remote. You can set the Solo 15/10 system to automatically wake whenever a sound signal is received. To enable auto-wake: Point the remote at the system. -
Page 22: Using The Solo 15 Universal Remote
Operation Using the Solo 15 universal remote Use the remote to control sources connected to your system, adjust the system volume, change channels, use playback functions, enable cable/satellite box functions and navigate the System menu. Source selection Powers on/off the... -
Page 23: Programming The Solo 15 Universal Remote
Operation Programming the Solo 15 universal remote You can program the universal remote to control your TV, DVD, Blu-ray Disc player, ™ cable/satellite box, game system or DVR. Programming your remote to control your source Power on your source. Locate the code for your source’s brand in the Universal Remote Device Codes book (provided). -
Page 24: Customizing The Power Button
You can switch from one source to another by pressing the appropriate source button on the remote. In addition to controlling the selected source, the remote always controls the basic speaker functions (on/off, volume, mute) of your Solo 15 system. -
Page 25: Controlling The Volume
Operation Controlling the volume On the remote: • Press + to increase the volume. • Press – to decrease the volume. • Press to mute or unmute the audio. Note: To confirm your TV speakers are powered off, refer to page 15. Function buttons The red, green, yellow and blue buttons on the remote control correspond with the color-coded function buttons on your cable/satellite box or teletext functions. -
Page 26: Using The Solo 10 Remote
The remote will control the Solo 10 system and can be programmed to control your TV as well as other sources (such as a cable/satellite box). Contact Bose Corporation or your local dealer for more information. Refer to the contact sheet in the carton. -
Page 27: Troubleshooting
Operation Troubleshooting Problem What to do TV base is too • Place the sound system in another location such as on an open shelf large to place on under the TV. the system • If possible, mount your TV on the wall above the sound system. No power •... - Page 28 • Check that the system status indicator on the sound system flashes when you press the remote volume or mute button. • For the Solo 15 system remote - Point the remote control at the device you want to control.
-
Page 29: Care And Maintenance
Care and Maintenance Replacing the remote batteries Solo 15 universal remote Replace both batteries when the remote control stops operating or its range seems reduced. Alkaline batteries are recommended. Slide open the battery compartment cover on the back of the remote. -
Page 30: Cleaning
• The speaker grille requires no special care, although you may carefully vacuum it with a brush attachment, if necessary. Customer service For additional help in solving problems, contact Bose Customer Service. Refer to the address sheet included with the Solo 15/10 TV sound system. In the U.S. only, call: 800-901-0472. - Page 31 ©2014 Bose Corporation, The Mountain, Framingham, MA 01701-9168 USA AM717641 Rév. 00...
Need help?
Do you have a question about the Solo 15 and is the answer not in the manual?
Questions and answers