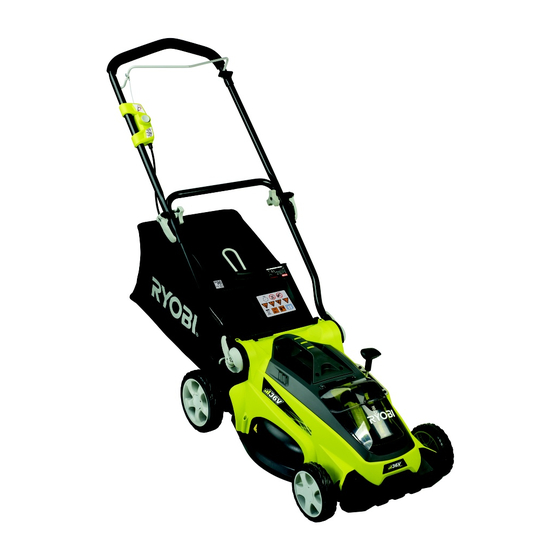
Summary of Contents for Ryobi RLM36
- Page 1 RLM36 / RLM36B 36V CORDLESS LAWN MOWER OPERATOR’S MANUAL Important! It is essential that you read the instructions in this manual before assembling, maintaining and operating this machine.
- Page 2 RLM36 / RLM36B Fig. 5 Fig. 4 Fig. 1 Fig. 6 Fig. 7 Fig. 8 Fig. 2 Fig. 3...
- Page 3 RLM36 / RLM36B Fig. 11 Fig. 9 Fig. 12 Fig. 13 Fig. 10...
- Page 4 Your product has been engineered and manufactured to gloves. Do not wear loose fitting clothing, shorts or Ryobi’s high standard for dependability, ease of operation, sandals. Always wear closed toe shoes. and operator safety. When properly cared for, it will give ■...
- Page 5 English (Original Instructions) which it was designed. ● Use the right appliance. Do not use the machine for any job except that for which it is intended. ■ Do not overload your mower. Mowing long thick grass ■ When not in use, mower should be stored in a well- may cause the motor speed to drop, or the power to ventilated, dry, locked up place-out of the reach of cut out.
- Page 6 English (Original Instructions) CAutION The cutting blade will continue to rotate for a few seconds after switching off. ■ The vibration level during actual use of the power tool can differ from the declared total value depending on the ways in which the tool is used.
- Page 7 English (Original Instructions) SyMBOL Some of the following symbols may be used on this product. Please study them and learn their meaning. Proper interpretation of these symbols will allow you to operate the product effectively and safely. Volts Amperes Hertz Watts Hours Precautions that involve your safety.
- Page 8 36. Blade obstruction (not included) 37. Wrench (not included) DESCRIPtION SPECIfICAtIONS 1. Power lever 2. Start button Lawn mower RLM36 RLM36B 3. Motor control cable Width of cut 400 mm 4. Upper handle 5. Lower handle Height of cut 20 mm -70 mm 6.
- Page 9 ■ Isolator key GRASSBOx ■ Grassbox The grassbox collects grass clippings and prevents them ■ Charger + power cable (For RLM36 only) from being discharged across your lawn as you mow. ■ Mulching plug hEIGht ADjuStMENt LEVER ■ Battery pack (For RLM36 only) ■...
- Page 10 English (Original Instructions) INStALLING thE MuLChING PLuG WARNING See figure 5. Do not attempt to modify this product or create ■ Lift and hold up the rear discharge door. accessories not recommended for use with this product. ■ Grasp the mulching plug by its handle and insert it at a Any such alteration or modification is misuse and could slight angle, as shown.
- Page 11 English (Original Instructions) ■ Do not tilt the lawn mower when starting the engine ■ For a healthy lawn, always cut off one-third or less of or switching on the motor, unless the lawn mower has the total length of the grass. to be tilted for starting.
- Page 12 5. Loosen the blade nut by turning it counterclockwise operate this product until all missing or damaged parts (as viewed from bottom of mower) using a 15 mm are replaced. Please call Ryobi customer service for wrench or socket (not provided). assistance. Avoid using solvents when cleaning plastic 6.
- Page 13 English (Original Instructions) To ensure smooth operation of wheels, the wheel assembly should be cleaned before storage. to replace a front wheel: 1. Remove the covers on the rear wheel. 2. Remove the opening pins and the washers. 3. Remove the wheel and replace with new wheel. 4.
- Page 14 English (Original Instructions) tROuBLEShOOtING Problem Possible cause Solution Adjust the height of the handle and Carriage bolts seated make sure the carriage bolts are properly. Handle is not in position. seated properly. Cam handle is not tightened. Tighten cam handle. Battery is low in charge.
- Page 15 Subject to the guarantee condition below, this Ryobi guarantee does not cover damage, malfunction or tool (hereinafter called “the product”) is guaranteed by failure resulting from misuse, neglect, abuse, or used TECHTRONIC INDUSTRIES AUSTRALIA for a purpose for which it was not designed or is not LIMITED (hereinafter called “the Company”) to be free...


Need help?
Do you have a question about the RLM36 and is the answer not in the manual?
Questions and answers