Table of Contents
Advertisement
Advertisement
Table of Contents

Related Manuals for Randall RM100


Summary of Contents for Randall RM100
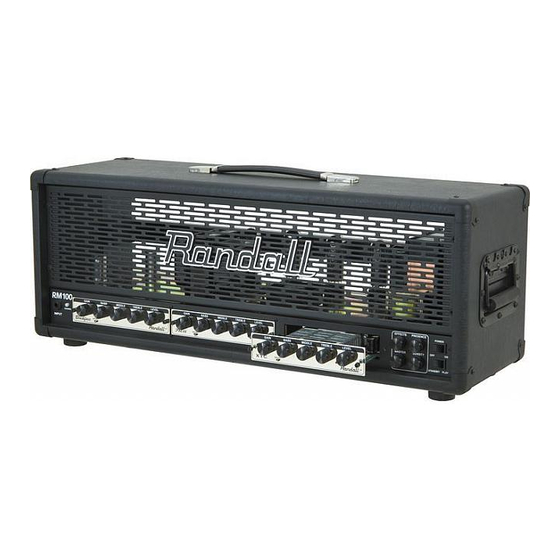
- Page 1 A M P L I F I E R S RM100 M O D U L A R T U B E H E A D O W N E R S M A N U A L...
- Page 2 Dear Randall Owner, Congratulations on the purchase of your new Randall Amplifier, and thank you for the support of our product line. Randall amps are made to strict quality and consistent performance standards, that will provide you with years of musical satisfaction. Please read the following manual, before operating your new Modular amplifier.
- Page 3 Replacing modules: When exchanging modules, simply turn both thumbscrews to the left until they fill loose.(Do not remove the screw completely). Remove the module pulling out on the thumbscrews. Slide in a new module, and push in on the center knobs until flush with the front panel. Tighten the thumbscrews, by turning to the right until snug.
- Page 4 This knob controls the amount of effects when used with the parallel effects loop on the back panel. Simply plug in your outboard effects unit into the parallel effects loop on the back panel, and adjust the level on RM100 front panel.
- Page 5 Input jack: 1/4” input for your guitar. Connect you guitar to this input jack. 2. Channel switch: Push and release button to switch between channels 1-2. Each module can be selected by either pushing this button or by the single footswitch (included) 3.
- Page 6 Rear panel special features and controls: MIDI in/thru: Connect the included 7-pin MIDI footswitch and cable to the MIDI in. The thru can be run to any external effects processor, which can then be used to program effects to your different module channels. Tube Bias Section: This amplifier includes a biasing section for changing or replacing your power tubes.
- Page 7 After selecting the correct voltage, connect the AC power cord the wall socket. 2- MIDI in/thru inputs The RM100 includes a 7-pin MIDI cable and 3-button footcontroller. Connect the MIDI cable to the footcontroller jack, and MIDI in on the rear panel of the head.
- Page 8 MTS Series EFFECTS LOOP Operations The MTS effects interface is the most versatile loop system you will find anywhere. There are two totally ndepenent loops, each optimized for specific functions and applications. 1) SERIES LOOP: Basically an insert patch point. When an external effect is patched into the send and return jacks, the path is interrupted and 100% of the signal is routed through the effect.
- Page 9 Parallel Loop- cont. This can even be derimental to your tone, because the dry output signal of many effects units is out of phase with the input. Consequently, as you turn up the effects return knob, you may actually be mixing the “Bad” out of phase signal back in with your awesome dry signal...
- Page 10 Please read the following instructions on how to use this cool feature……. The MTS Series of products from Randall takes the danger and mystery out of bias and puts it safely into the users hands.
- Page 11 You should always check the bias readings whenever you replace output tubes and re-adjust if needed. Since we’ve made it so simple, there is no reason to not do it. BIAS READINGS: 6L6/5881 28mV to 35mV EL34/6CA7 30mV to 38mV E34Ls 35mV to 45mV 6550...
Need help?
Do you have a question about the RM100 and is the answer not in the manual?
Questions and answers