Datamax APEX 3 User Manual
Portable receipt printer
Hide thumbs
Also See for APEX 3:
- Specifications (4 pages) ,
- Quick start manual (4 pages) ,
- User manual (27 pages)
Table of Contents
Advertisement
Advertisement
Table of Contents

Related Manuals for Datamax APEX 3


Summary of Contents for Datamax APEX 3
- Page 1 7A300020 Rev. A APEX 3 User Guide...
-
Page 3: Table Of Contents
Contents General Precautions ...................... 1 Safety ........................... 1 Getting Started ....................... 2 Unpacking the Printer..................2 Installing and Charging the Battery Cartridge ............. 3 1.2.1 Installing the Battery................3 1.2.2 Charging the Battery ................4 Reading the LED Status ................... 5 Attaching Belt Loop System ................ - Page 4 4.2.1 Important Notes on Charging Batteries ..........15 4.2.2 Important Notes on Replacing Batteries ..........16 Verifying Battery Charge State ............... 16 Battery and Safety Information ..............17 Recycling your Batteries ................17 Troubleshooting ................... 17 Printer Supplies.................... 18 Specifications......................19 Printer Specifications ..................
-
Page 5: General Precautions
Datamax-O’Neil is not responsible for any operational results regardless of missing information, errors or any misprinting in this manual. Datamax-O’Neil is not responsible for problems created as a result of using options and consumables not approved by them. ... -
Page 6: Getting Started
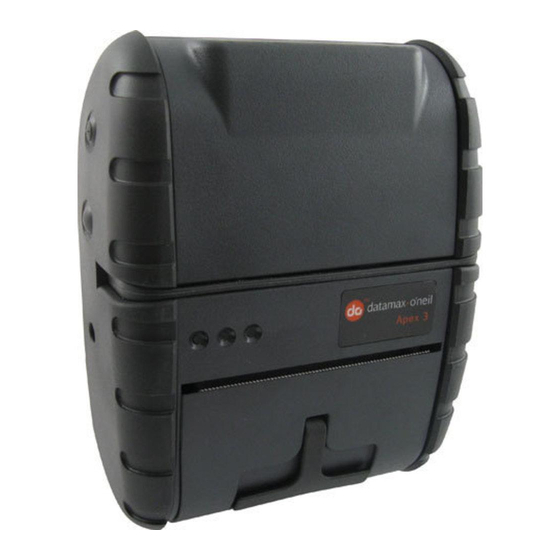
1 Getting Started 1.1 Unpacking the Printer The APEX 3 portable printer is a full featured portable receipt printer designed for a number of environments and uses including field service, field sales, hospitality and restaurants, ticketing, etc. where point of service receipts are required. The package contains: ... -
Page 7: Installing And Charging The Battery Cartridge
Note: One battery cartridge is included with the printer. Similar to a cordless phone battery, the printer’s battery must be charged before use. Datamax-O’Neil batteries must be cycled several times to achieve maximum capacity. To cycle a battery, fully charge it and then allow a full discharge through normal use. -
Page 8: Charging The Battery
50-60 Hz 10VDC/2.4A Output Voltage/Current ( Do not use a charger not approved by Datamax-O’Neil for use with the APEX 3. Use of an unapproved charger could damage the battery pack or the printer and will void the warranty. The battery terminals are well recessed inside the printer. Do not allow them to contact conductive material since this may create a short circuit which could cause injury or start a fire. -
Page 9: Reading The Led Status
1.3 Reading the LED Status Table 1 explains the LED indicator status. Refer to Figure 1 for the locations described for <ON/OFF> and <FEED> push button switches and AC adapter socket. Figure 4 provides the location of the status LEDs on the front of the printer. FIGURE 4: LED STATUS Table 1 - Reading the LED Status Status... -
Page 10: Attaching Belt Loop System
1.4 Attaching Belt Loop System The belt loop system consists of two parts: A knob located on the back part of the printer just above the battery door A strap with a click-on connector To attach the strap to the knob, insert the knob located at the bottom of the printer into the slot of the connector. -
Page 11: Loading Supplies
If fastened by tape or glue, the core will be pulled into the mechanism causing jamming and possible gear damage. Proper paper roll supplies are available from Datamax-O’Neil as P/N 757061. -
Page 12: Tearing Paper
Note: Pull Paper Roll Leader out of printer. Note direction of paper travel. FIGURE 7: OPERATOR CONTROLS AND PAPER LOADING 2.2 Tearing Paper The printer’s paper door acts as a tear bar. Pull one edge of the paper against the tear bar as indicated, then tear down and across against the tear bar to tear the paper. -
Page 13: Using The Printer
Using the Printer 3.1 Initial Power-Up and Self-Test Once the Battery is charged and the paper is loaded, an initial power up self-test can be performed. Press the <ON/OFF> switch once. This turns printer on. LED #1 illuminates in green or blue depending on the mode of communication. -
Page 14: Connecting The Printer
3.2 Connecting the Printer The APEX 3 printer supports Serial RS232 and Bluetooth® has default configuration. IrDA or 802.11g communication is also available as an optional feature. Serial, IrDA, 802.11g and Bluetooth® communication settings can be changed via DIP switches located on the control card. -
Page 15: Dip Switch Functions
3.2.3 Dip Switch Functions Table 2 shows the different printer setting available through the Dip Switches. Table 2 – DIP Switch Setting Switch Switch Dip Switch Function Switch # Notes 1 & 2 SW 1 SW 2 Communication Interface RS232 Baud rate set by Dip switches 3,4 and 5 Baud Rate can be negotiated up to the value IrDA... -
Page 16: Serial Communication
3.3 Serial Communication The RS232C Interface signals for the APEX 3 Series printers are terminated on a 6 PIN RJ type data connector located on the side of the printer. Six connections are provided from the Serial Interface to the host computer. Table 3 lists the Serial Interface signals and pin outs for the RJ connector. -
Page 17: Bluetooth And 802.11G Communications
LED indicator State Status Ready/waiting for card to be swiped. Green Good swipe - Card data read Card not ready to be swiped. Error reading card’s data. 3.7 Programming Information For programming information, please refer to the Datamax-O’Neil Developer’s Manual. -
Page 19: Printer Maintenance
To insure full charge, the printer should not be operated while the battery is charging. 4.2.1 Important Notes on Charging Batteries The model APEX 3 printers require an adapter output of 10VDC/1.32A. The battery fast-charge is initiated each time the power adapter is connected to the printer. -
Page 20: Important Notes On Replacing Batteries
Dispose of used batteries according to instructions in Section 4.5. 4.3 Verifying Battery Charge State It is strongly recommended that the printer be tested before it is returned to Datamax-O’Neil. Follow these steps to identify and correct the battery power problem. These steps will help to determine if the fault is with the printer or some other part of the system. -
Page 21: Battery And Safety Information
After extended printing, print head may be hot; printer will pause before resuming printing. If the problem persists, please contact Datamax-O’Neil Technical Support. Support contact information is listed in Section 6 of this manual. Other than routine cleaning and other maintenance described in Section 4, the printer is not intended to be serviced by the user. -
Page 22: Printer Supplies
(US, UK, Euro & Australian Plug) 756985 IP54 Certified Environmental Case – No MCR 756998-1 Belt Loop System 757061 Apex 3 Thermal Paper (5 rolls), P390, 43” per Roll 757061-CASE Apex 3 Thermal Paper Case of 200), P390, 43’ per Roll 757150... -
Page 23: Specifications
Specifications 5.1 Printer Specifications Height: 2.25 inches (57mm) Width: 4.25 inches (108mm) Length: 6 inches (152mm) Weight: w/battery & paper 1 lb 4 oz, (583 g) Shipping weight: 3 lbs. (1.4 kg) Power: 7.4 V Li-Ion battery Operating Temp. Limits: 14F to 122F (-10 to 50C) Storage Temp. -
Page 24: Regulatory Notes
5.3.2 Warranty This printer is warranted by Datamax-O’Neil to be free of defects in parts and workmanship for a period of one year from date of shipment. This warranty does not apply to defects resulting from action of the user such as misuse, improper wiring, operation outside of specification, improper maintenance or repair, or unauthorized modification. -
Page 25: Customer Support
Tel: + 33 (0) 4 75 75 63 00 Fax: +33 (0) 4 75 82 98 38 eurotech@datamaxcorp.com Datamax-O'Neil Asia-Pacific Singapore Monday - Friday 0830 - 1730 Tel: +65 6505 2250 Fax: +65 6769 8135 tsaspa@datamax-oneil.com COPYRIGHT © 2010, DATAMAX-O’NEIL...
Need help?
Do you have a question about the APEX 3 and is the answer not in the manual?
Questions and answers