Table of Contents
Advertisement
Quick Links
Advertisement
Table of Contents

Related Manuals for Pentair Pool Products Pool Cleaner


Summary of Contents for Pentair Pool Products Pool Cleaner
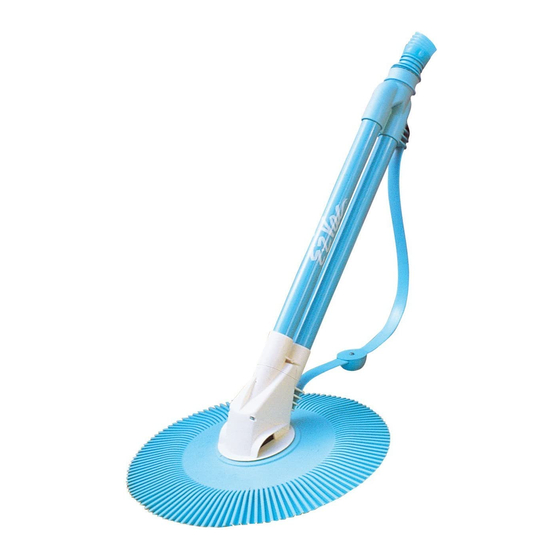
- Page 1 The world’s best built aboveground pool cleaner! nstallation and Operation Manual...
-
Page 2: Table Of Contents
Parts & Accessories ........13 Before you begin to install E-Z Vac in your pool, please record the serial number of your E-Z Vac in the space below. -
Page 3: Pool Requirements
I. Pool Requirements • E-Z Vac is recommended for use in pools that have a cove* height of at least 6 inches. Pool coves less than 6 inches may inhibit the cleaner’s operation. *The pool “cove” is the embankment between the pool wall and floor. It is generally constructed with either a banked or radius shape as shown in Figure 1. - Page 4 Bumper Weight Foot Pad Step 3. Attach The Hose Weight And Assemble The Hose E-Z Vac’s Hose comes in sections which must Figure 5 be assembled. You will also have to attach one hose weight to the end of the third hose section.
-
Page 5: Installation
NOTE: One section is fitted with two female ends. See Figure 5. Attach this section last. Begin by attaching the female end of a male/female hose section to the swivel head of your E-Z Vac. See Figure 6. Connect two more male/female hose sections to the first section. Then install the hose weight near the male end of the third hose section as shown in Figure 6. - Page 6 “Optional In-Line Installation” on this page. 4. Place the E-Z Vac into the pool, with the hose attached and allow it to sink to the pool floor. Continue to feed the hose vertically down into the pool to fill it with water and purge the air.
- Page 7 See Figure 9. 7. Place E-Z Vac into the pool and allow it to sink to the floor. Continue to feed the hose vertically down into the pool until it is completely filled with water and purged of air.
-
Page 8: Adjustment
After completing the installation, turn the pool pump on. Allow the pump to run for a couple of minutes to allow air to cycle out of the system. E-Z Vac should be moving about the pool at a rate of 8 to 12 feet per minute. Check each of the following initial adjustments to E-Z Vac at this time. - Page 9 Aqua Leader or Olympic, may be too large for the eyeball diverter. In this situation, use the outer ring supplied with your E-Z Vac to adjust for the discrepancy in size. • Snap the outer ring onto the eyeball diverter and position it in the first groove as shown in •...
-
Page 10: Troubleshooting
• Refer to page 9, “Eyeball Diverter Positions.” • Check E-Z Vac’s hose to ensure it has not become bent or kinked. It only takes one bent or • kinked hose section to hinder the cleaning coverage. One way to check for kinks in your •... - Page 11 TO REMOVE DEBRIS FROM THE FLAPPER • Sometimes debris may clog the bottom of the cleaner and prevent flapper movement or restrict flow. The flapper is located inside the main body and must move freely at all times. • You can see the flapper through the opening in the baffle plate, when you turn the cleaner upside down as shown in Figure 12.
-
Page 12: Maintenance
During swimming it is easy to unplug E-Z Vac and pull it to one side. When storing E-Z Vac, do not coil the hose. Lay the hose out flat in an area protected from direct sunlight. If hose sections are disconnected, try not to disturb the hose weight location. -
Page 13: Parts & Accessories
IX. Parts and Accessories K21241B “Insist on Genuine E-Z Vac 3'' Female Blue Hose Connector Parts to Protect Your Warranty” K121683 Eyeball Diverter Outer Ring K12653C Swivel Cone and Bearing Washer K12649 Baffle Plate K12087 Bearing Washer K12653 Swivel Head Assembly... - Page 14 Notes...
- Page 15 Pentair Pool Products, Inc., 1620 Hawkins Avenue, Sanford, NC 27330 1-800-443-5711 E-mail: poolinfo@pentairpool.com Internet: www.pentairpool.com 10M/Jan 04 Part #K50677 Rev. A Printed in the U.S.A. © Pentair Pool Products, Inc. Patent Number 4,023,227; 5,706,540 and Other U.S. and Foreign Patents and Patents Pending...
Need help?
Do you have a question about the Pool Cleaner and is the answer not in the manual?
Questions and answers