Advertisement
Advertisement
Table of Contents

Related Manuals for TRAILMATE JOYRIDER


Summary of Contents for TRAILMATE JOYRIDER
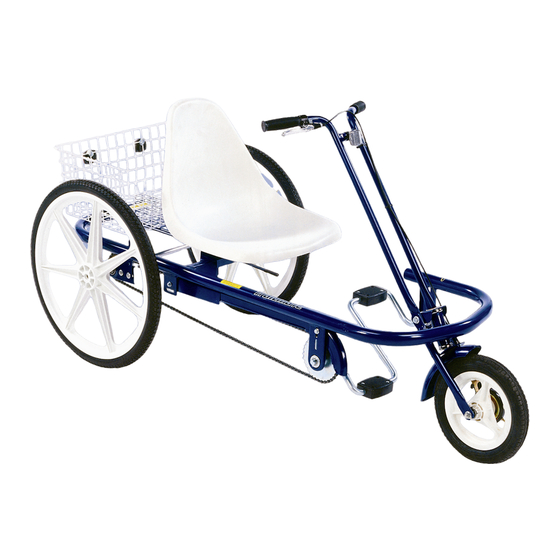
- Page 1 JOYRIDER TRAILMATE OWNER'S GUIDE...
- Page 3 7. 11748 FENDER 24"MWT TRIKE REAR (OPT 2 55. 18709 WHEEL 24x1.75 MAG L. REAR 1 8. 18204 FRAME JOYRIDER 1 56. 18207 WHEEL 24x1.75x36x.080 L. REAR 1 9. 12215 SCREW 5/16-18x3/4 CARRIAGE 4 57. 18203 AXLE JOY RIDER REAR 1 10.
-
Page 4: Rear Wheels
Joyrider Assembly Instructions 1. Preparation (Cycle Upside Down) Remove all parts from the carton. Do not remove pro- tective wrapping until necessary. Open the parts bag and verify that all parts are present (refer to the illus- trated parts list). Check tire air pressure and inflate to 35 psi. -
Page 5: Front Wheel
Note: The handbrake may require further adjusting before riding. 7. Seat With Joyrider on its side, position the seat (77) over the mounting holes in the frame plate (see figure 4). Insert screws (70) and secure seat. -
Page 6: Final Adjustments
Joyrider Assembly instructions 9. Reflectors Install red reflectors on the back of the basket (see schematics). Place the basket holddown (2) over the basket wire and attach reflector with screws provided in reflector kit. Repeat for other side, the reflectors should be about one foot apart. -
Page 7: Maintenance And Inspection
6. Seat: Adjust seat for rider comfort and safety. 7. Tires: Keep tires inflated to the recommended tire pressure, as indicated on the tire's sidewall. 8. Chainguard: Replace damaged or missing chainguard immediately 9. Frame: Replace damaged frame immediately. TRAILMATE owner's guide... -
Page 8: Replacement Parts
Trailmate, Inc., further authorizes a lifetime frame guarantee and will replace any frame, at no cost to the buyer, providing that item has not been used for rental use and that: 1) The item has not been altered, repaired, or modified in any way. -
Page 10: Get Going
Get Going!!! Joyrider and Jr. Joyrider TRAILMATE owner's guide...
Need help?
Do you have a question about the JOYRIDER and is the answer not in the manual?
Questions and answers