Makita MLT100 Instruction Manual
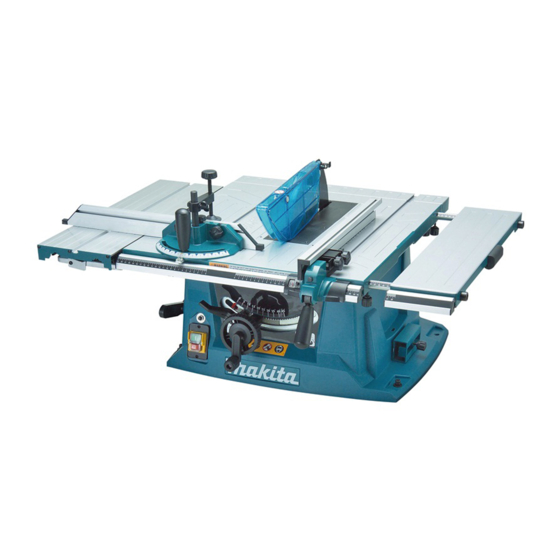
Table saw
Hide thumbs
Also See for MLT100:
- Instruction manual (85 pages) ,
- Technical information (25 pages) ,
- Instruction manual (65 pages)

Related Manuals for Makita MLT100


Summary of Contents for Makita MLT100
-
Page 1: Table Saw
INSTRUCTION MANUAL Table Saw MLT100 009695 DOUBLE INSULATION IMPORTANT: Read Before Using. -
Page 2: Specifications
ENGLISH (Original instructions) SPECIFICATIONS Model MLT100 Arbor hole 25.4 mm Blade diameter 255 mm Blade body thickness 1.9 mm or less 90° 90.5 mm Max. cutting capacities 45° 63 mm No load speed (min 4,300 (685 mm - 835 mm) x (955 mm - 1,305 mm) - Page 3 Dress properly. conditions that may affect its operation. A guard or Do not wear loose clothing or jewellery, they can other part that is damaged should be properly be caught in moving parts. Rubber gloves and repaired or replaced by an authorized service non-skid footwear recommended...
- Page 4 12. Use saw-blade guard and riving knife for every the workpiece until you have pushed it all the operation for which it can be used, including way past the blade, and by not ripping a all through sawing operations. Always install workpiece that is twisted or warped or does the blade guard following the instructions not have a straight edge to guide along the...
-
Page 5: Installation
INSTALLATION Storing accessories Positioning table saw 1. Push stick 1. Hole diameter 8 mm 588 mm 009696 340 mm 009109 1. Rip fence (Guide rule) 1. 6 mm Std. 2. Miter gauge washer 2. No.10 wood screw 40 mm 17 mm min. -
Page 6: Adjusting The Bevel Angle
Adjusting the bevel angle its right edge is aligned to the 0° graduation. 1. Arrow pointer 1. Arrow pointer 2. Lock lever 008763 009027 Switch action Loosen the lock lever counterclockwise and turn the handwheel until the desired angle (0° - 45°) is obtained. CAUTION: The bevel angle is indicated by the arrow pointer. -
Page 7: Installing Or Removing Saw Blade
(R) fully and then tighten the two screws to unplugged before installing or removing the blade. secure it. Use only the Makita socket wrench provided to • install or remove the blade. Failure to do so may Sub table (back) result in overtightening or insufficient tightening of 1. -
Page 8: Installing Blade Guard
1. Blade guard 1. Inner flange 2. Riving knife 2. Ring 3. Saw blade 4. Outer flange 5. Hex nut 009030 008770 CAUTION: CAUTION: Before installing the blade guard, adjust the depth ring 25.4 outer diameter • • of cut to its maximum elevation. factory-installed onto the spindle. - Page 9 1. Scale 1. Blade guard 4 mm-5 mm 2. Riving knife 009698 009710 Assembling slide table 1. Hex bolts 1. Bolts 2. slide rails 3. Clamping screw 008780 009708 Secure the rip fence by lowering the lever on it. Loosen the two hex bolts on the rip fence with the Secure slide rails with bolts provided with the tool.
-
Page 10: Work Helpers
2. Handle 009699 3. Wood screw 120mm 130mm 4. Glue together Connecting to vacuum cleaner 50mm Cleaner operations can be performed by connecting the tool to Makita vacuum cleaner or dust collector. 130mm 50mm 9.5mm 100mm 50mm 009700 006218 OPERATION Use a 19 mm piece of plywood. -
Page 11: Cross Cutting
When cutting long or large workpieces, always (3) When the width of rip is narrower than 65 mm, • provide adequate support behind the table. DO the push stick cannot be used because the NOT allow a long board to move or shift on the push stick will strike the blade guard. -
Page 12: Carrying Tool
Use the miter gauge for the 4 types of cutting shown in Carrying tool the figure. CAUTION: Secure the knob on the miter gauge carefully. • Avoid creep of workpiece and gauge by firm • workholding arrangement, especially when cutting at an angle. -
Page 13: Replacing Carbon Brushes
Only use accessory or attachment for its stated purpose. If you need any assistance for more details regarding these accessories, ask your local Makita Service Center. Rip fence • Miter gauge • Wrench 24 •... - Page 16 Makita Corporation Anjo, Aichi, Japan www.makita.com JM2708B082...
Need help?
Do you have a question about the MLT100 and is the answer not in the manual?
Questions and answers