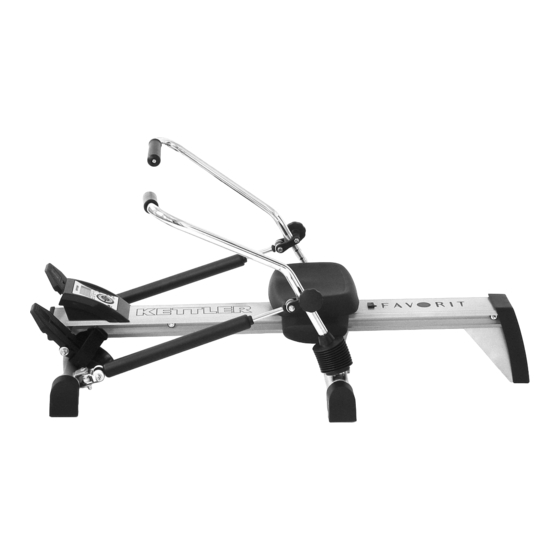
Kettler Favorit Assembly Instructions Manual
Kettler favorit home gym assembly instructions
Hide thumbs
Also See for Favorit:
- Assembly instructions manual (12 pages) ,
- Important instructions manual (29 pages) ,
- Computer and training instructions (44 pages)

Related Manuals for Kettler Favorit


Summary of Contents for Kettler Favorit
- Page 1 Montageanleitung für Rudergerät „FAVORIT” Art.-Nr. 07978-900 124cm 78cm 26cm max. 35 Min. 20 kg 130 kg 10-11 12-13 14-15 16-17 18-19 20-21 Abb. ähnlich...
- Page 2 (drinks, perspiration parts should be replaced immediately and the equipment taken etc.). This may cause corrosion. out of use until this has been done. Use only original KETTLER ■ The machine is designed for use by adults and children should spare parts.
- Page 3 Messhilfe für Verschraubungsmaterial – GB – Measuring help for screw connections – PL – Wzornik do połączeń śrubowych – F – Gabarit pour système de serrae – CZ – Měřící pomůcka pro materiál k přišroubování – NL – Meethulp voor schroefmateraal –...
- Page 4 Checkliste (Packungsinhalt) – GB – Checklist (contents of packaging) – F – Liste de vérification (contenu de l’emballage) – NL – Checklijst (verpakkingsinhoud) – E – Lista de control (contenido del paquete) – I – Lista di controllo (contenuto del pacco) –...
- Page 5 M8x25 ø25 M = 20 Nm M6x90 ø16,5 ø20 16,5 M6 M5x40 ø12 M5...
- Page 6 M8 ø25 ø16x52,5 ø13x372 ø16x52,5 ø25 M8 M = 20 Nm M8x50 ø16 ø13x32 M8x50/7 ø16,5 M8 M = 20 Nm...
- Page 7 – D – Die Sechskantschrauben M8x50mm (kurzes Gewinde) einführen vitatele in modo fisso con le rosette e i dadi auto-bloccanti color und mit Unterlegscheiben und goldfarbenen Sicherheitsmuttern fest oro (La resistenza che oppongono durante l’avvitamento non è un verschrauben. (Die Schwergängigkeit der Sicherheitsmuttern ist difetto, ma li rende sicuri e fa sì...
- Page 8 – D – Zur Veränderung der Ruderkraft lassen sich die Klemmstücke nach – I – Per modificare la forza necessaria a remare, si possono spostare Lockern der Sterngriffmuttern auf den Ruderarmen verschieben. i pezzi di attacco sui remi, allentando le manopole a crociera. Le Die Rändelmarken (siehe Dreieckspfeil) auf den Ruderarmen die- zigrinature (vedi freccia a triangolo) sui remi servono a regolare nen dabei zur Einstellung gleicher Hebelverhältnisse.
- Page 9 Batteriewechsel Entfernen Sie bei der Stillegung dieses Produktes alle Batte- rien/Akkus und geben Sie sie an einer Annahmestelle für das Re- cycling von Batterien oder elektrischen und elektronischen Geräten Informationen über entsprechende Annahmestellen erhalten Sie bei Ihrer örtlichen Kommunalbehörde, Entsorgungsbetrieb oder der Verkaufsstelle dieses Gerätes.
- Page 10 Ersatzteilbestellung – GB – Spare parts order – F – Commande de pièces de rechange – NL – Bestelling van reserveonderdelen – E – Pedido de recambios – I – Ordine di pezzi di ricambio – PL – Zamówiene części zamiennych –...
- Page 11 Ersatzteilbestellung Rudergerät 07978-900 Pos.- FAVORIT Bezeichnung Stück Bestell-Nr. Tragbalken 91210381-40 Vorderrohr 94315230 Bodenschoner (4038) 70127561 Mittelrohr 94315233 Rollsitzunterverkleidung (3588) 70132176 Spreizniete 6 x 9.5 10418503 Ruderarm rechrs 97100361 Ruderarm links 97100362 Klemmschelle ø25 mm 10122012 Sterngriffmutter M8 (62er Kopf) 10105009 KS-Griffe ø25 mm...
- Page 12 Ersatzteilbestellung 28 35 47 48...
- Page 14 7978-900 Favorit - Further Steps to Setting Tension ***The Favorit Rower resistance varies by the amount of leverage the user has which depends on the positioning of the clamps on the chrome rower arms. You will notice numerous little ridges called "knurl marks" on the lower half of the chrome rower arms.
- Page 15 Step 3 Resistance Adjustment Example - Picture “C” shows the clamp positioned ¾ of the way up on the fifty knurl marks, 13 knurl marks above the clamp can be seen. There is a group of ten knurl marks, then a wider gap and then three more knurl marks above the clamp.
- Page 16 Step 6 In picture “F” the arrow is pointing to the 50 knurl mark which is in the highest set of ten knurl marks. If the clamp is positioned in this set of knurls, then the resistance is very difficult. It is recommended that you first try positioning the clamp the lower knurl marks, between 1 –...
- Page 17 HEINZ KETTLER GmbH & Co. KG · Postfach 1020 · D-59463 Ense-Parsit www.kettler.de...
Need help?
Do you have a question about the Favorit and is the answer not in the manual?
Questions and answers