Advertisement
Multi-function Scanner USER MANUAL
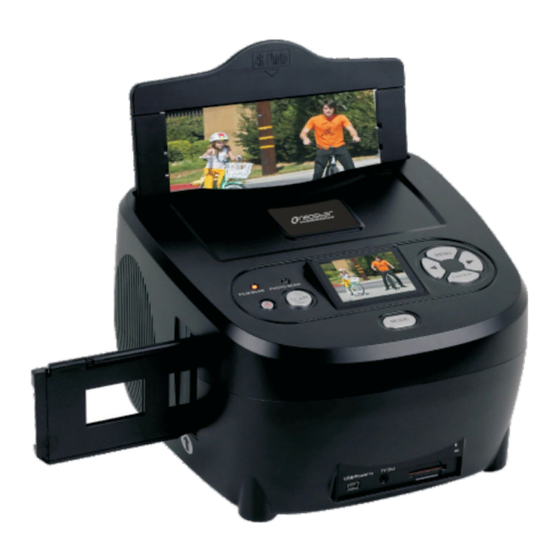
Photos, Slides and Negatives to Digital
Thank you for purchasing your Neostar Scanner.
Please read and retain these instructions for future reference.
Extra 3-packs of Slide or Negative Holders are available to purchase
directly from the www.neostar-electronics.co.uk website or from your
local retailer, or call us to place order 0845 555 4444.
RoHS
Compliant
Advertisement
Table of Contents

Summary of Contents for Neostar Electronics NFS2
- Page 1 Multi-function Scanner USER MANUAL Photos, Slides and Negatives to Digital Thank you for purchasing your Neostar Scanner. Please read and retain these instructions for future reference. Extra 3-packs of Slide or Negative Holders are available to purchase directly from the www.neostar-electronics.co.uk website or from your local retailer, or call us to place order 0845 555 4444.
-
Page 2: Table Of Contents
Safety Precautions..........1 Package Contents..........2 View of Parts…………………………………………..3 Loading Slides..........4 Loading Negatives..........5 Loading Photographs.........6 Quick Start Guide..........7 Quick Menu Guide…………………………………….7 Capture Picture………………………………………..8 Mirror Image / Rotate Image........8-9 Main Menu Options ........9-13 Connect to PC..........13-14 Product Specification........14 Warranty, Environmental Protection and Customer Services........15... -
Page 3: Safety Precautions
Important: Do not expose this product to rain or moisture. Caution: Do not disassemble this unit. To prevent this risk of electric shock, do not remove cover. Ventilation: The device should be situated so that its location or position does not interfere with its proper ventilation. For example, the unit should not be situated on a bed, sofa, rug or similar surface that may block the ventilation openings. -
Page 4: Package Contents
Warranty, Environmental Protection and Customer Services ◆Mains Power Adapter This product is fully-warranted against defective materials and ◆TV video cable (Av cable) manufacturing faults for a period of Twelve Months from The date of registered purchase under the following provisions: ◆USB cable (for connecting to PC) 1. -
Page 5: View Of Parts
C: Preview and read picture on PC. You can now drag / transfer your View of parts: image files from the SD memory card to your PC. Photo FILM SCAN PHOTO SCAN USB/Power In TV Out Function Photo / Slide / 35mm Negatives Sensor CMOS 5 Mega Pixel Support Photo size... -
Page 6: Loading Slides
(1)Hold up the slide toward the light. Face the trademark slide of the slide away from you. Look through the slide and it should appear normally (not a mirror image). Now turn the slide so the image is upside down while looking at the same side. Language (2)Open the slide holder at the marked spot on the top. -
Page 7: Loading Negatives
(1)Hold up the negative toward the light. As you look through the negative, you If there are pictures that you have scanned but would like to delete, then should be able to read the small negative select playback mode from main menu, scroll through images using the numbers normally (not a mirror image). -
Page 8: Loading Photographs
Loading Photographs Options within playback mode 1.Rotation +90: capture picture, then rotate 90 degree 2.Rotation -90: capture picture, then rotate 90 degree 3.Press OK to confirm changes 4.Delete: Delete picture from memory card 5.Exit: return to playback mode 6.Return: back to capture picture mode from playback mode 7.Adjust and save picture (1)Hold up the Photo Holder so that the front of the photo is facing you. -
Page 9: Quick Start Guide
Quick Start Guide 1.B&W photos/slides/negatives: choose B&W (black and white) if you are scanning black and white negatives/slides. 1.Power the scanner by connecting to the mains electric (cable supplied) 2. Select 2 (Slides) if you are scanning Slides. or you can power directly from 3.Colour negatives: choose negative film if you are scanning negatives. -
Page 10: Capture Picture
When image quality (5MP / 10MP) has been selected, the image can be captured (takes about 3 seconds). Once you have pressed ‘scan’ you will see the scanned image display on the LCD screen. Shooting mode Main Menu Options Scanning amount available Resolution Capture Picture Mode Sign to card...
Need help?
Do you have a question about the NFS2 and is the answer not in the manual?
Questions and answers