Table of Contents
Advertisement
Quick Links
Advertisement
Table of Contents

Related Manuals for miniDSP 4x10


Summary of Contents for miniDSP 4x10
-
Page 1: User Manual
4x10 Hd USER MANUAL Revision Description Date V1.0 Initial revision 28-06-2012 V1.1 Updated section on volume control 03-08-2012 www.minidsp.com miniDSP Ltd – Hong Kong / Email : info@minidsp.com / Features and Specifications are subject to change without prior notice... -
Page 2: Table Of Contents
4.4.2 Save configuration.....................................14 4.4.3 Restore Factory default ..................................14 4.4.4 Restore Factory default ..................................14 Firmware upgrade......................................14 IR remote learning feature...................................15 Troubleshooting........................................16 miniDSP Ltd – Hong Kong / Email : info@minidsp.com / Features and Specifications are subject to change without prior notice... -
Page 3: Product Introduction
1 Product Introduction miniDSP 4x10 is a Digital Audio Signal Processor (DSP) capable of performing a wide range of applications, from filtering, equalization to time alignment. Typically located between an audio source (CD player/Receiver/Preamp/PC .. etc) and the amplifier, a miniDSP will provide unparalleled tuning flexibility to improve your audio system’s performance. -
Page 4: Warranty Terms
WARRANTY TERMS miniDSP Ltd warrants all our products to be free of from defects in materials and workmanship for a period of one year from the invoice date. Our warranty terms do not cover failure of the product due to an external trigger, misuse, servicing or usage outside of the recommended use. -
Page 5: System Connectivity
4x10 Hd way speakers or External processors Platform MiniUSB cable PC/MAC for initial configuration only – Not required afterward miniDSP Ltd – Hong Kong / Email : info@minidsp.com / Features and Specifications are subject to change without prior notice... -
Page 6: Dc Power Connectivity
DC Power connectivity miniDSP 4x10 Hd is provided with a universal 12V DC power supply with IEC power connector. If the IEC cable provided isn’t the same as your country’s plug, you can easily source/re-use such cable from computer supplies. -
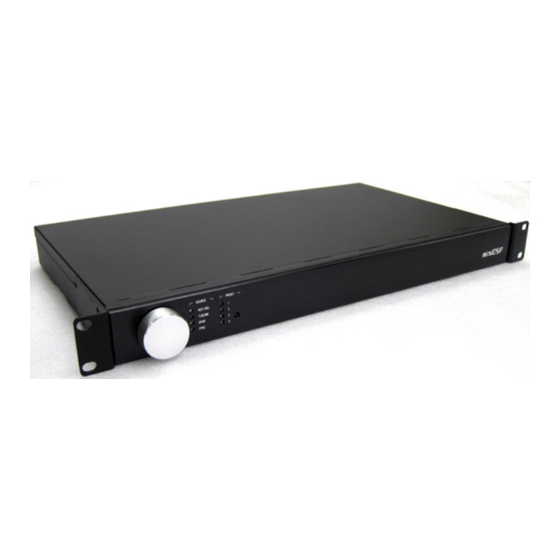
Page 7: Front Panel Control
Channel number Front panel control The miniDSP 4x10 has a rotary front panel for control of 3 elements of the product without requiring any PC connection: Master volume control Digital source selection Active preset (1 out of the 4 preset). -
Page 8: Software Setup
Once the configuration finalized, the plug-in will automatically boot up. You can now connect the miniDSP board to one of the USB 2.0 port of your PC. The device will be recognized as a HID driver and does not require any driver installation. -
Page 9: Plug-In Architecture
If you previously installed a different firmware version on your kit, this button will display: Synchronize & Upgrade. Meaning, the MiniDSP kit firmware will be upgraded to the current plug-in firmware along with the current settings you have. -
Page 10: Preset Memory Selection
Input Tab The first step in configuring your MiniDSP consists in making sure audio is being fed to the input correctly. To do so, click on the button labeled “inputs”. The RMS meter will quickly indicate the average value of the input signal in dBFS (i.e. relative to the full scale of the ADC or 24bit I2S signal). -
Page 11: Output Tab
Monitor Allows you to monitor the input meter of that specific channel on a RMS meter. Note that the information is shown in dBFS miniDSP Ltd – Hong Kong / Email : info@minidsp.com / Features and Specifications are subject to change without prior notice... -
Page 12: Output Volume
Note that the environment will warn you that all current PEQ settings of the current channel will be copied over to the linked channel. At anytime during the operation, you can decide to “unlink” the channels by simply clicking on the “link” tick box. miniDSP Ltd – Hong Kong / Email : info@minidsp.com... -
Page 13: Parametric Equalizer
Advanced mode for custom biquad programming The Advanced mode can be used for your custom filters of external software such as Room EQ Wizard (REW). For more information about the auto-tuning feature of the miniDSP, please check miniDSP’s website for the following application note. -
Page 14: Compressor /Limiter
Master volume control The master volume allows control of all 10 outputs channels (Analog + digital) of the miniDSP unit. It is enabled from the front panel unit (VOL-FP panel) and requires a small configuration from the software to be enabled. Please make sure to select the “IR mode” to make sure your unit is correctly configured. -
Page 15: Ir Remote Learning Feature
A warning may be shown during synchronization if you have the incorrect firmware loaded on your platform. Once the new plug-in installed, please browse to \\Program Files\MiniDSP\MiniDSP-8x8\firmware_tools\Windows. Three files can be found there: - Upgrade steps - Upgrade Tool excecutable... -
Page 16: Troubleshooting
- Have a look at our forums to see if someone else already above suggestions had this issue. - Send us an email (info@minidsp.com) with a clear explanation of the symptoms and descriptions of the troubleshooting steps you already performed miniDSP Ltd –...
Need help?
Do you have a question about the 4x10 and is the answer not in the manual?
Questions and answers