Table of Contents
Advertisement
Quick Links
Advertisement
Table of Contents

Summary of Contents for PoolRite Stingray
- Page 1 OWNERS MANUAL...
- Page 3 CONTENTS Components Pre-installation Check List Stingray Weir Valve Trouble Shooting...
- Page 4 • The Stingray Weir / Skimmer valve Assembly To ensure your Stingray’s optimum performance we have included a Stingray Weir Valve. This valve will immediately give you the state of your fi lter system. Should your fi lter require backwashing this will be clearly visible by observing the position of the fl...
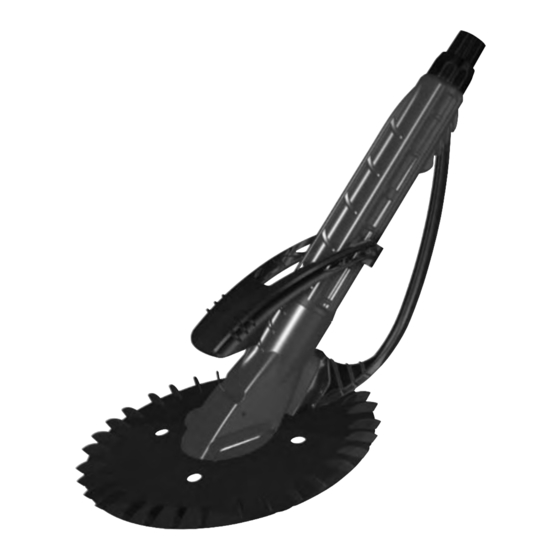
- Page 5 ASSEMBLY AND Step 2 INSTALLATION Once unpacked: Step 1 (Fig. 3) 1. Slide the fl oat assembly over the main body and clip into place – refer to components shown on page 2. (Fig. 3) Step 3 (Fig. 1) (Fig. 2) 1.
- Page 6 Backwash the fi lter, with the hose removed, before installing the weir valve 4. Attach the assembled Stingray cleaner to the other end of the hose and switch on your fi ltration unit. (Fig. 7) Install the valve in the weir Turn on the fi...
-
Page 7: Trouble Shooting
Ensure disc is installed as outlined on rotate freely page 4 2. Obstacle in Hose i) Remove obstacles 3. Stingray is stuck in i) Stuck in a corner i) Remove from the obstacle a specifi c place or on a light fi tting ii) Adjust defl... - Page 8 WARRANTY CARD...
- Page 9 Purchased From Date Equipment and Model IMPORTANT: This card must be fi lled in and returned to Poolrite Equipment Pty. Limited within 14 days of purchase to render the Warranty effective. AUSTRALIA QUEENSLAND HEAD OFFICE SALES & EXPORT BRISBANE 415 Creek Road, MT GRAVATT QLD 4122...
- Page 10 Cleaner will operate effectively for the specifi ed periods 6. This warranty excludes: subject to the following conditions:- (i) Malfunction in the unit if genuine Stingray Hoses are 1. The warranty covers the Stingray Automatic Pool not used. Cleaner unit, and the original Stingray Hoses...
- Page 11 Telephone: (02) 9729 0166, Fax: (02) 9729 2759 Telephone (09) 571 0210, Fax: 0800 766 574 Website: www.poolrite.com.au Email: info@poolrite.com.au Poolrite Equipment Pty Ltd ABN 11 001 674 004 Manufacturer reserves the right to alter specifi cations without notice. PLR/196 (08/05)
Need help?
Do you have a question about the Stingray and is the answer not in the manual?
Questions and answers