Advertisement
Advertisement
Table of Contents

Related Manuals for Bowers & Wilkins M-1


Summary of Contents for Bowers & Wilkins M-1
- Page 2 Welcome to Bowers & Wilkins and M-1 Thank you for choosing Bowers & Wilkins. When John Bowers first established our company he did so in the belief that imaginative design, innovative engineering and advanced technology were keys that could unlock the enjoyment of audio in the home.
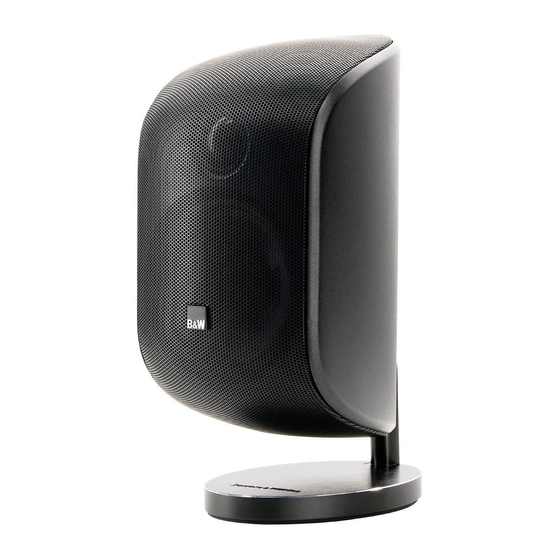
- Page 3 1 Contents Check that you have: Speaker on table stand Wall bracket cover Wall bracket The wall bracket and cover are supplied clipped together. Pull them apart if required for installation. If you peel off the rubber mat on the underside of the table stand, you will find a Torx key that you will need when making adjustments to the way the speaker is Figure 1...
- Page 4 3 Moving the ball socket position You can skip all of Section 3 completely if you are going to use the speaker in portrait orientation on its table stand as supplied, or you want to mount it high on the wall with maximum downward tilt (Figure 7). Note: To achieve maximum tilt, it is necessary to invert the mounting of the wall bracket.
- Page 5 4 Connecting using the table stand Remove the rubber mat from the underside of the base (Figure 15). Strip back the outer sheath of the cable by 75mm (3 in) to expose the two inner sheathed wires. Strip back the positive and negative wires to expose 10mm (3/8 in) of bare wire.
- Page 6 6 Adjusting the angle of the speaker There are two screws next to the ball socket joint at the back of the speaker that tighten the joint to hold the speaker in place. It is only necessary to loosen one of these to free the joint. Indeed, in portrait orientation, only one screw will be accessible (Figure 17).
Need help?
Do you have a question about the M-1 and is the answer not in the manual?
Questions and answers