Table of Contents
Advertisement
Product Reference Guide
Read and follow the instructions contained within carefully before use. Retain this guide in
a safe and easily accessible place for future reference.
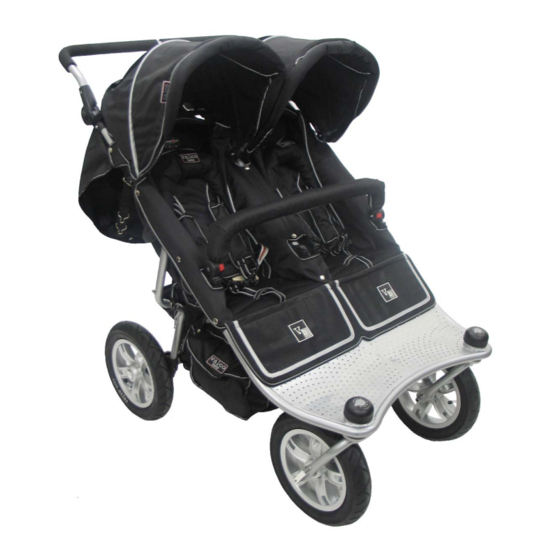
Drawings, pictures and specifications contained in this manual are for illustration
purposes only – actual product may vary. VALCO BABY reserves the right to alter any
specification(s), colour or features without prior notice or incurring any obligation to
similarly alter products previously purchased.
Advertisement
Table of Contents

Related Manuals for Valco baby Tri-Mode Twin


Summary of Contents for Valco baby Tri-Mode Twin
- Page 1 Drawings, pictures and specifications contained in this manual are for illustration purposes only – actual product may vary. VALCO BABY reserves the right to alter any specification(s), colour or features without prior notice or incurring any obligation to...
- Page 2 Thank you for purchasing a quality VALCO product. Due to our policy of continuous product development, this product is constantly evolving. It is possible that some features or procedures outlined here have changed since this document was written. If you are unsure of any procedure outlined here please contact the store from which you purchased it to obtain the most up to date information, or contact us via the internet.
- Page 3 Basic Components 1 x Chassis installed with Seat Liner and Basket 1 x Rear Axle-Brake System 2 x Rear Wheels 2 x Rear Axle Pins (SQR Axles) 2 x Front Forks & Front Wheels 2 x Hoods (Left & Right Side) 1 x Twin Runabout Front Bar 4 x Nylon Housing Bracket Plugs...
- Page 4 Stroller Assembly Remove the stroller from the carton and dispose of all packaging immediately including the black rubber protectors on either side of the brake bar and front wheel protector. The front wheel forks, rear wheels, front bar, and hood all need to be installed prior to use. Installing/Removing the rear axle-brake system 1.
- Page 5 Unfold the chassis: 3. Lift the handle upward and back to 1. Holding the rear centre leg, lift a vertical position. the stroller upwards. 2. Pull the centre leg outwards as far as it can go. 4. Secure the handle by swinging the 5.
- Page 6 Pressing the axle button, insert the To remove the wheel, simply press the protruding long axle into the opening in axle button in the centre of the wheel hub the axle tube. (Refer to ‘Using your simultaneously pull wheel brakes’) outward.
- Page 7 The unique TRI-MODE™ swivel system is as flexible as it is functional over a variety of terrains and uses. 1. LOCK: This position is best for use on extremely rough or soft terrain such as sand etc which inhibit wheel swivel. To lock your wheel, rotate the dial to the “LOCK”...
- Page 8 4. Slide the hood housing downward, 6. Secure each hood to the rear of engaging the track in the channel, the frame with Velcro straps at continue sliding downward until the centre (E), and both sides of the rivet outside (D) is fully the hood (F).
- Page 9 Installing/Removing your front bar 1. Remove the plugs from the nylon 2. Insert the bar ends into the nylon housing at either side of the stroller housing located on either side of the frame by pressing each inner “release frame. Be sure that the red buttons button”...
- Page 10 Folding/Opening your stroller 1. Fold the hood back up against the handle. 2. Release the locking clamps at either side of the stroller. 3. Simultaneously lift the secondary safety catch (located at the left hand side of the stroller while standing behind) and swing the handle forward. 4.
- Page 11 9. With your foot on the inside of the Press down on the basket frame rear wheels, stopping them from locking hinges to lock the frame in moving, lift the handle upwards. the open position. (This will begin to move the rear Secure the handle to the frame wheels away from the front of the by engaging the locking clamps on...
- Page 12 Your Twin Runabout hoods are fitted with zips to which attaches our unique silver insect mesh. 1. Align the centre of the mesh 3. Secure the front edge of the above both expanded hoods, insect mesh by fastening the ensuring that the zip ends are in studs under the footplate as the correct position as shown in shown in (B).
- Page 13 AIRGO™ SYSTEM Your Twin Runabout has been designed to maximise air flow within the stroller by way of our exclusive Airgo™ system. This unique system combines a special breathable seat fabric, with our unique hood skirt. This incorporates a zip-off bag which reveals a mesh air vent, which allows additional air flow for your child’s comfort.
- Page 14 OPTIONAL/ADDITIONAL ACCESSORIES UV Protective Insect Net Our unique insect net zips directly in to the inside of your RUNABOUT Tri Mode hood. In addition to keeping baby cool, comfortable and safe from insects, it also blocks up to a massive 80%* of the sun’s harmful rays.
- Page 15 OPTIONAL ACCESSORIES The VALCO HITCHHIKER is a boon to any parent with a child who is old enough to walk but young enough to need to rest along the way. Made of high quality and extremely sturdy materials (maximum weight 30 kg’s / 66 lb’s), the HITCHHIKER is easily adjustable for height, width and distance from the stroller which makes it fit most brands, makes and...
- Page 16 WARNINGS Your child’s safety is your responsibility ……… • Be sure to check that all clamps and buckles are securely fixed and in place before use. • Check all parts for breakage or fatigue before use. Discontinue immediately if any part is found to be damaged or broken.
Need help?
Do you have a question about the Tri-Mode Twin and is the answer not in the manual?
Questions and answers